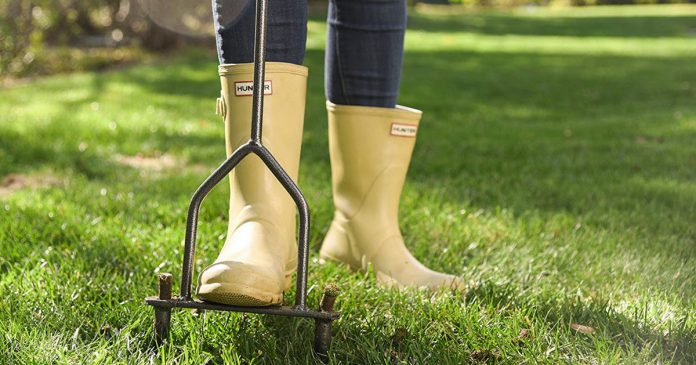
Lawn aeration is the process of loosening the soil to allow air, nutrients, and water to penetrate into the ground easier. This process helps to condition the soil and promote a long-lasting, healthy plant growth. How do you aerate your lawn? There are several methods to get it done, but the ideal way is using a liquid lawn aerator.
If you are not familiar with liquid lawn aeration, we will briefly talk about what it is and how you can revive your yard in the most efficient, cost-effective, and easiest way.
What Is Liquid Lawn Aeration?
Liquid lawn aeration is a method of loosening the soil through the application of a liquid solution. There are already many soil loosening products on the market. Most of these have less harsh ingredients that do not cause stress to the grass and the surroundings.
Because most products are concentrated and water-soluble, you will need to mix it with water and spray the mixture onto your lawn. Make sure to check the label for the proper ratio.
Once the solution reaches the ground, it softens any hard and compacted soil, creating tiny pores. This will allow proper air circulation and more effective water and nutrient absorption into the critical root-zone of the grass.
Steps to Liquid Aerate the Lawn
Now that you have a better understanding of how liquid lawn aeration works, let’s discuss how you should properly loosen your soil:
Step 1: Check the Soil Condition of Your Lawn
The first thing you need to do is check the health of your lawn’s soil. There are signs you should look for that indicate if the ground is too hard and compacted:
- Thick clover strands
- Thin or patchy spots
- Hard clay soil
- Difficulty in using a shovel when digging
- Thick thatch layer
- Water pooling in some parts of the lawn
If you notice some of these in your lawn, it is time you aerate your soil.
You can also do a soil test. Slightly moisten the ground, and then use a pencil or screwdriver to push into the soil. If digging is extremely difficult, it’s an assurance that the soil is hard and compacted.
Step 2: Apply the Solution at the Right Time
Timing is crucial in the success of letting the solution absorb into the ground. Ideally, you should liquid aerate any time before 10 am or after 5 pm. This is to avoid liquid evaporation when the sun is at its hottest.
Step 3: Prepare Protective Clothing
Once you have decided on the time, you should prepare protective clothing. It’s important to wear this during the application to make sure you will avoid any liquid contact. You can wear old clothes, and typically, the things you will need are:
- A pair of long pants, boots, and hand gloves
- Shirt with long sleeves
- Hat (optional)
Step 4: Mix the Solution with Water
The liquid aerator needs to be mixed with water before you spray it on your lawn. Check the label for the recommended ratio. Secure a sprayer that you can combine the solution and water into. We recommend using a paint mixer to properly combine the ingredients well.
Step 5: Spray the Mixture Onto Your Lawn
When spraying, adjust your sprayer’s nozzle to a fine mist, so the solution reaches the soil more effectively. Spray from one side to the other, and make sure not to step on the wet lawn. Keep a spraying distance of 6-8 inches from your nozzle to the turf for a more accurate application. Once done, don’t allow people or pets to step on the lawn for a few hours, so the solution gets deeper into the ground successfully.
The Takeaway
Now that you know what a liquid soil aerator is, how it works, and how you should apply it on your lawn, it’s time for you to start considering this method for taking care of your turf. It’s easier and cheaper than using machinery to aerate the soil, and much less expensive than hiring a professional. Just make sure to prepare the materials you need, so there will be no interruptions during the application. Time to loosen your lawn’s soil!


