

Homesfornh.com – Garlic is an Allium plant. It is one of the recipes to make soups and pasta more delicious. This ingredient has a spicy taste and sometimes can hurt your eyes with its aroma. Garlic is easy to find in the market, you can also find them in powder texture. Most people in the world use garlic to add flavor. It is a must-have recipe to store in the kitchen. If you like to use garlic, why don’t you try to grow them in the kitchen scrap? The kitchen scrap like garlic gives you free seed to plant in the pot. Let’s learn how to grow garlic from scrap and make it simple to harvest!
The Species of Garlic to Grow from Scraps
Garlic has 700 species in the world. You should know the species of garlic before regrowing this crop at home. It consists of hardness and softness garlic. Here are some species of garlic to regrow:
-
Hardneck Garlic
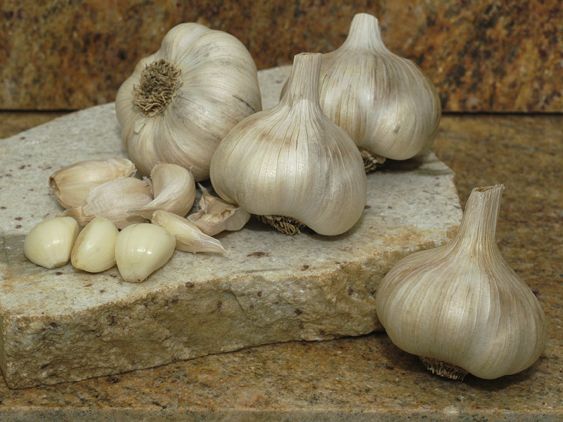
The hardneck garlic is easy to identify by its stiff and woody skin. It has large cloves but fewer cloves. You can regrow this garlic but you need to cut the woody skin. This species prefers a cold climate rather than a warm climate, thus, winter may do just fine for their growth. More species for hardneck garlic are Asiatic hardneck, Glazed purple stripe hardneck, Middle Eastern hardneck, Creole hardneck, etc.
-
Artichoke Garlic
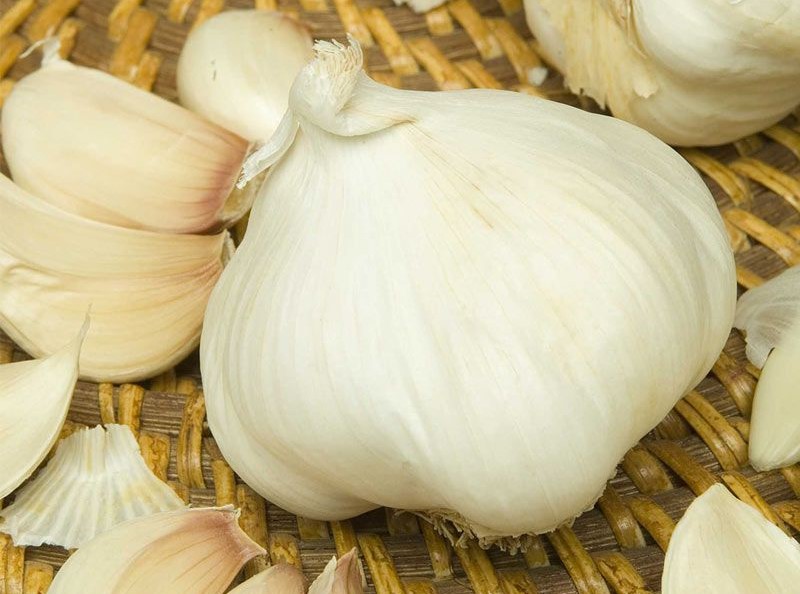
Artichoke garlic is a common species of garlic in a supermarket. It includes softneck garlic. You can find them in homemade dishes. It includes softneck garlic species. Another type of softneck garlic is silverskin. Artichoke garlic contains 20 cloves per bulb. They have white and thick skin.
How to Grow Garlic from Scrap
Garlic has a strict smell. It is a sturdy plant that can grow in the warm season and winter season. To know more about garlic, let’s start gardening!
-
Germinate Their Roots
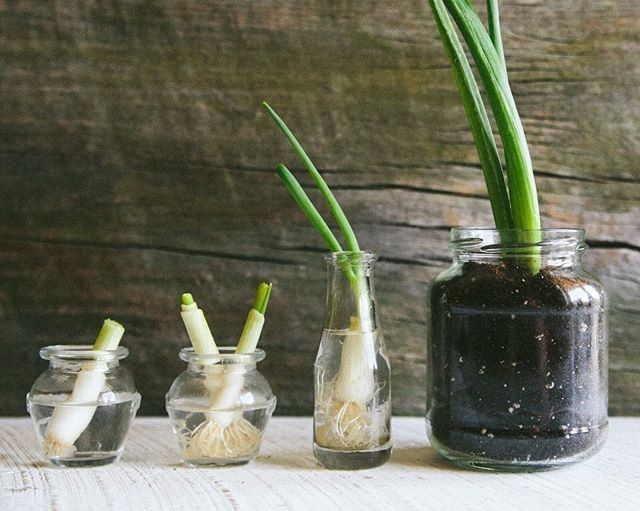
The old garlic has few roots, then it needs to grow the new ones. You can use the watering method to regrow their roots. Use three toothpicks on three sides on garlic, then put them on a glass of water. Ensure that their roots touch the water. Their roots will germinate again after 7 to 10 days, sometimes it takes more time, and just be patient to see this process. The germination process needs cold temperatures to sprout.
-
Prepare the Medium to Grow
Use regular potting soil to stimulate the garlic. Add compost, yard waste, and organic fertilizer to make fertile soil. Garlic will thrive well in rich soil. The best soil to plant garlic has a loose texture. You can add some sand to the good soil mixture. Sand is well-draining material for succulents, it helps soil to release water through it. Before planting the garlic, you can pour a sand layer on the bottom of the pot.
-
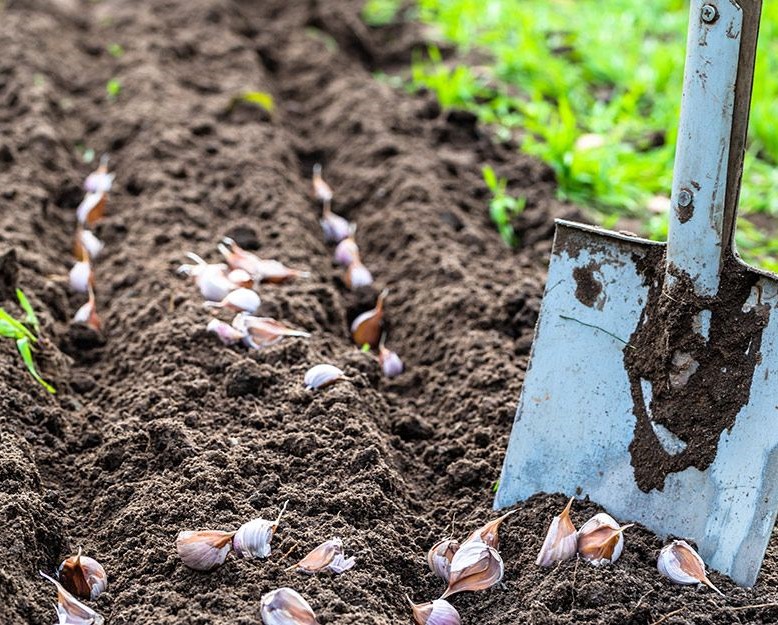
Transplanting the Garlic
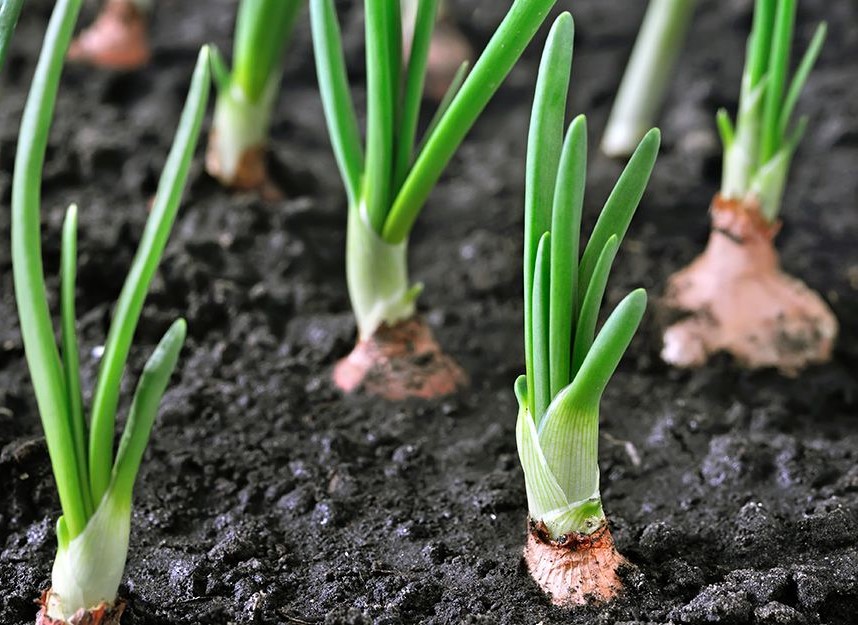
Take the germinated garlic and remove the outer skin. Plant the garlic with the tip-up position. Separate each crop at least 4 to 6 inches apart. It keeps each garlic to spread roots and grow new buds. The adequate room for garlic can maximalize their growth. Every garlic clove can grow to multiply in the soil, thus it will produce more garlic bulbs. Ensure that your garlic crops get good maintenance and normal conditions such as a stable temperature, enough water, sunlight, and fertilizer.
-
Add Mulch Around the Garlic Crops
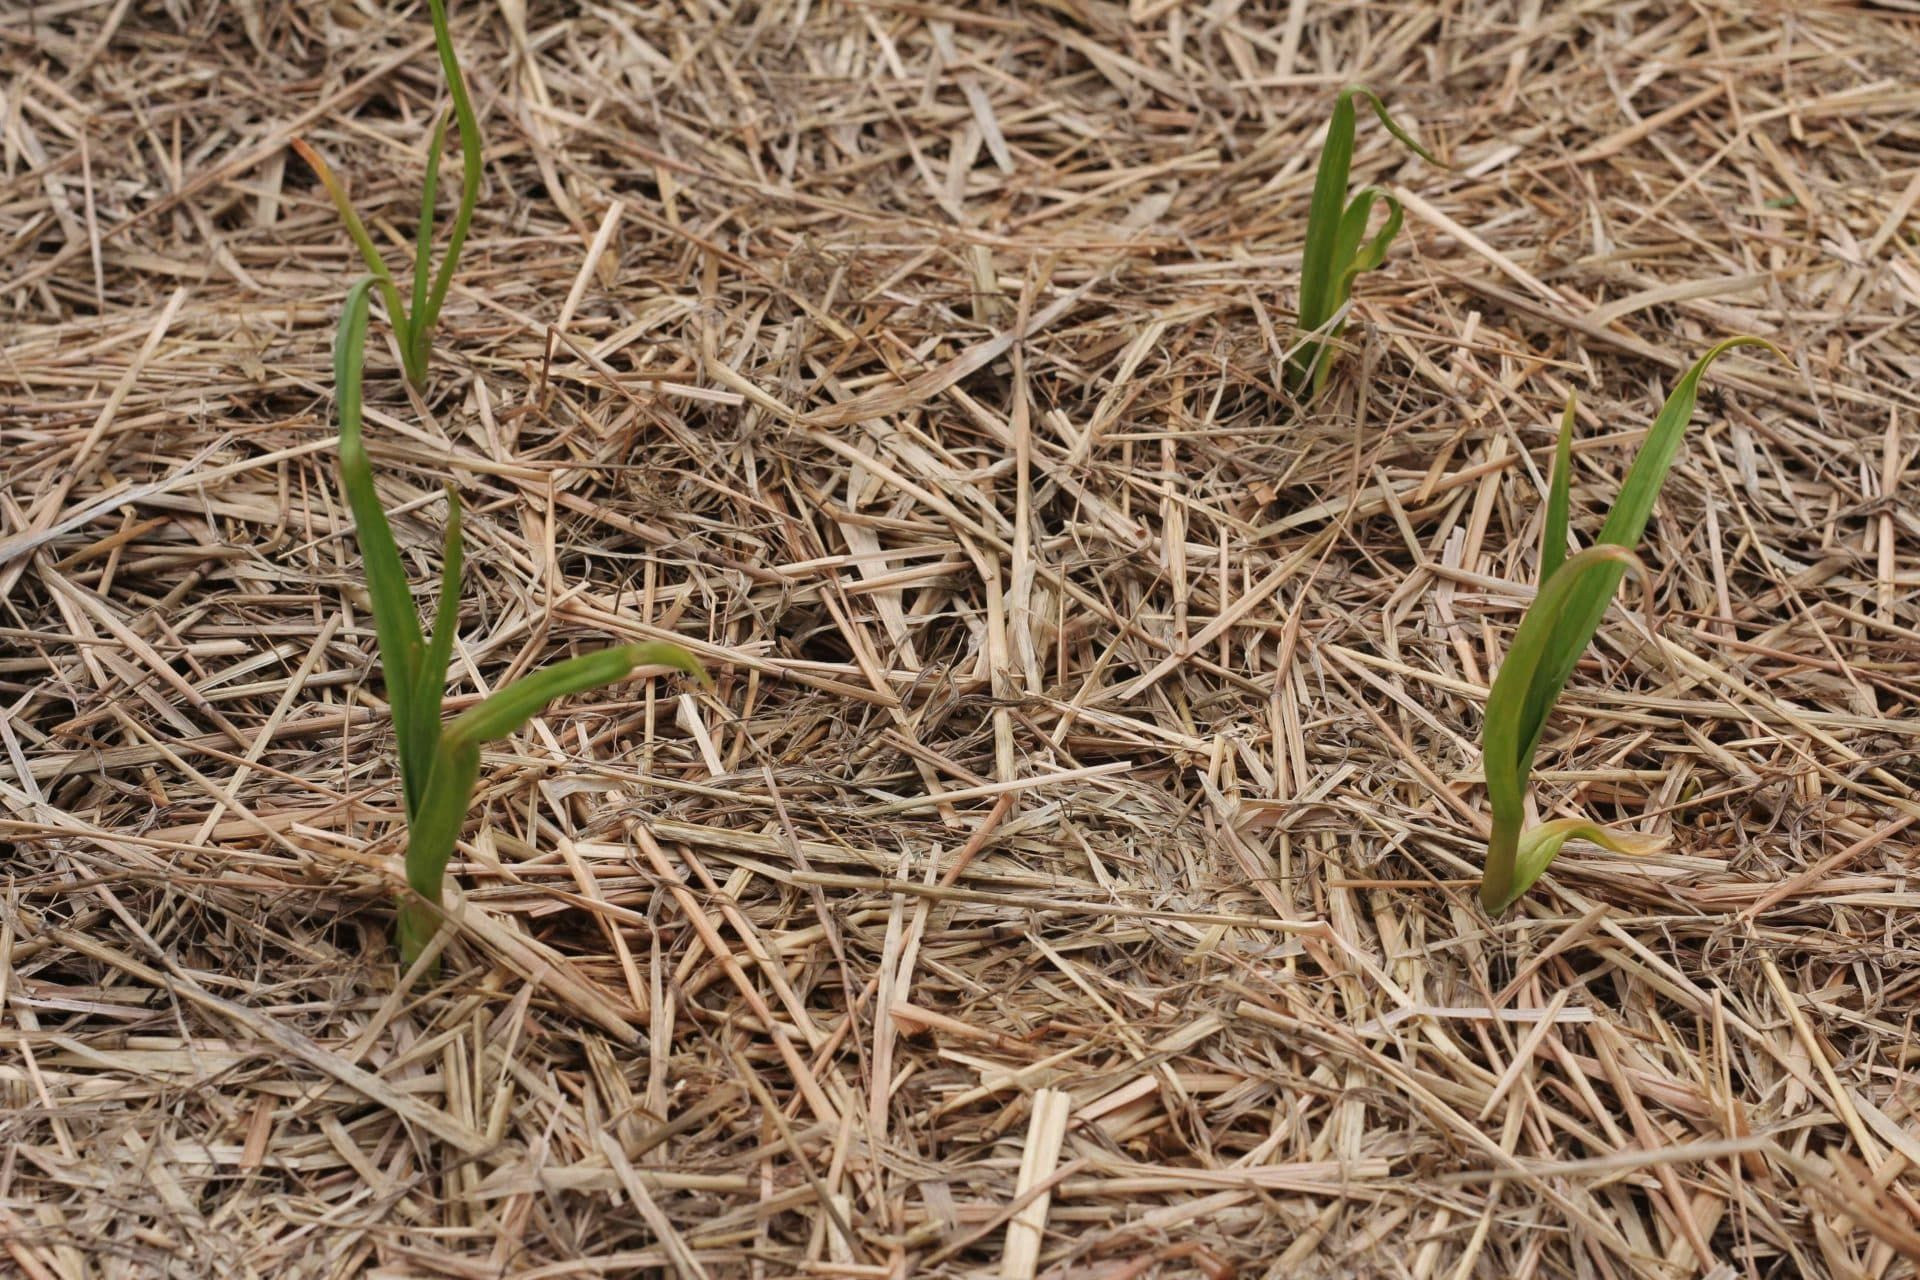
Mulching the plant is an important thing to do after planting. Mulch materials will protect your plant from dehydration and prevent damages from bad insects. The first thing to consider is the mulch is clean from any fungus and infected part. Spread an organic mulch such as straw, pine straw, wooden chips, compost, shredded leaves, etc on the surface of the soil around the garlic plants. You can collect this organic mulch for free.
-
How to Water the Garlic Plants
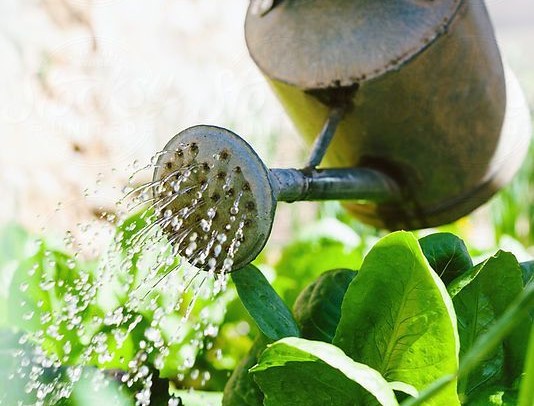
Watering the garlic every day in the early morning or evening. Like other plants, garlic needs more water during the early growing season. You can reduce the amount of water for the next six weeks after planting. This step is important to prevent rotten roots. Since it can grow in a pot, the soil should drain quickly to avoid soggy soil.
-
The Best Fertilizer for Garlic
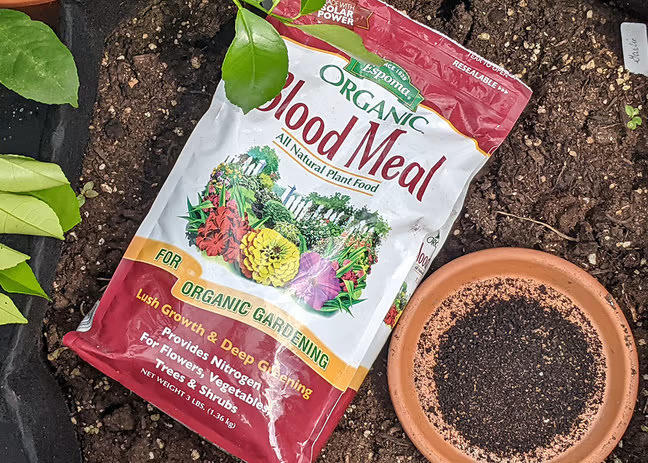
Give fertilizer for garlic at least every two weeks. We recommend you to use compost or NPK with a ratio of 10-10-10. Mix them thoroughly into the soil. This fertilizer is the food for your garlic crops. Another choice to fertilize your garlic is an organic blood meal. Moreover, the organic mulch on soil is useful to feed your garlic too. Let them decay slowly as the growing process goes on. They prevent weeds to attack your garlic crops.
-
The Sign of Mature Plant and How to Harvest

Observe your garlic crops every day to know their growing process. You can add some growing lists to your book note. Normally, the mature garlic sprouts long green leaves. If their leaves turning yellow with dry and brown spotted, it means ready to harvest. Garlic needs 3 to 4 months to mature after transplanting into soil. Harvest them before they become sour. Usually, you will get 5 cloves for every garlic bulb.
Conclusion
Thus our discussion of Easy Ways to Grow Garlic from Its Scraps in Your Home. The simple steps to growing garlic can start by germinating one garlic bulb. Every bulb at least consists of 5 cloves. Some garlic species are easy to grow in a pot. They will not consume lots of space. This step is beneficial for you to get free recipes to store in your kitchen. Look at how garlic can regrow from its scrap! May this short guide is helpful for you. Explore your garden and happy gardening!


