")
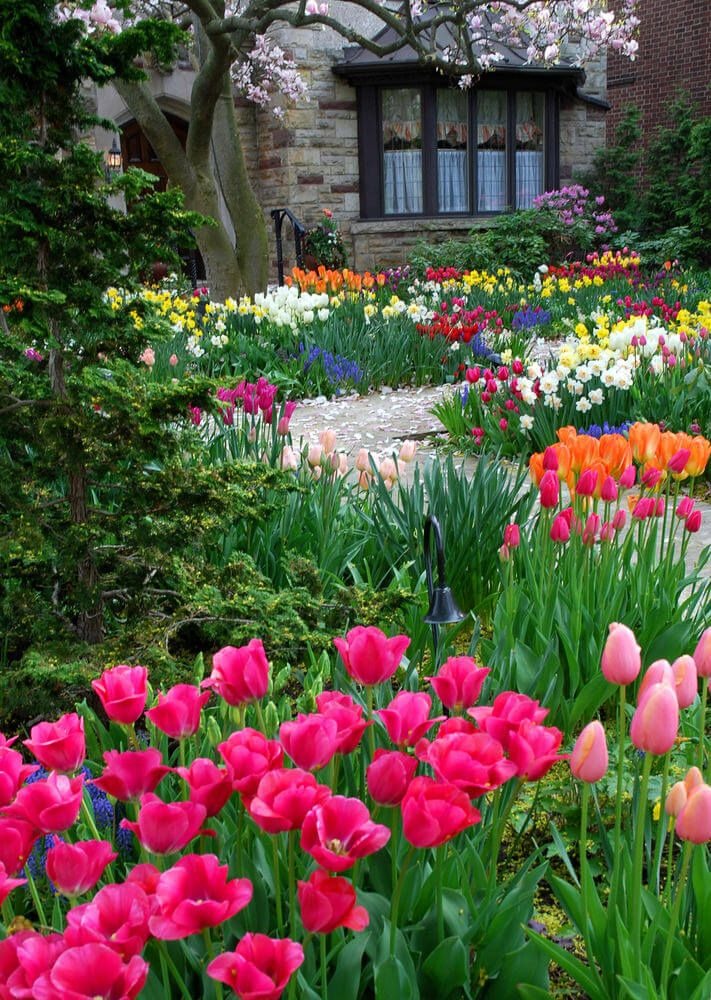
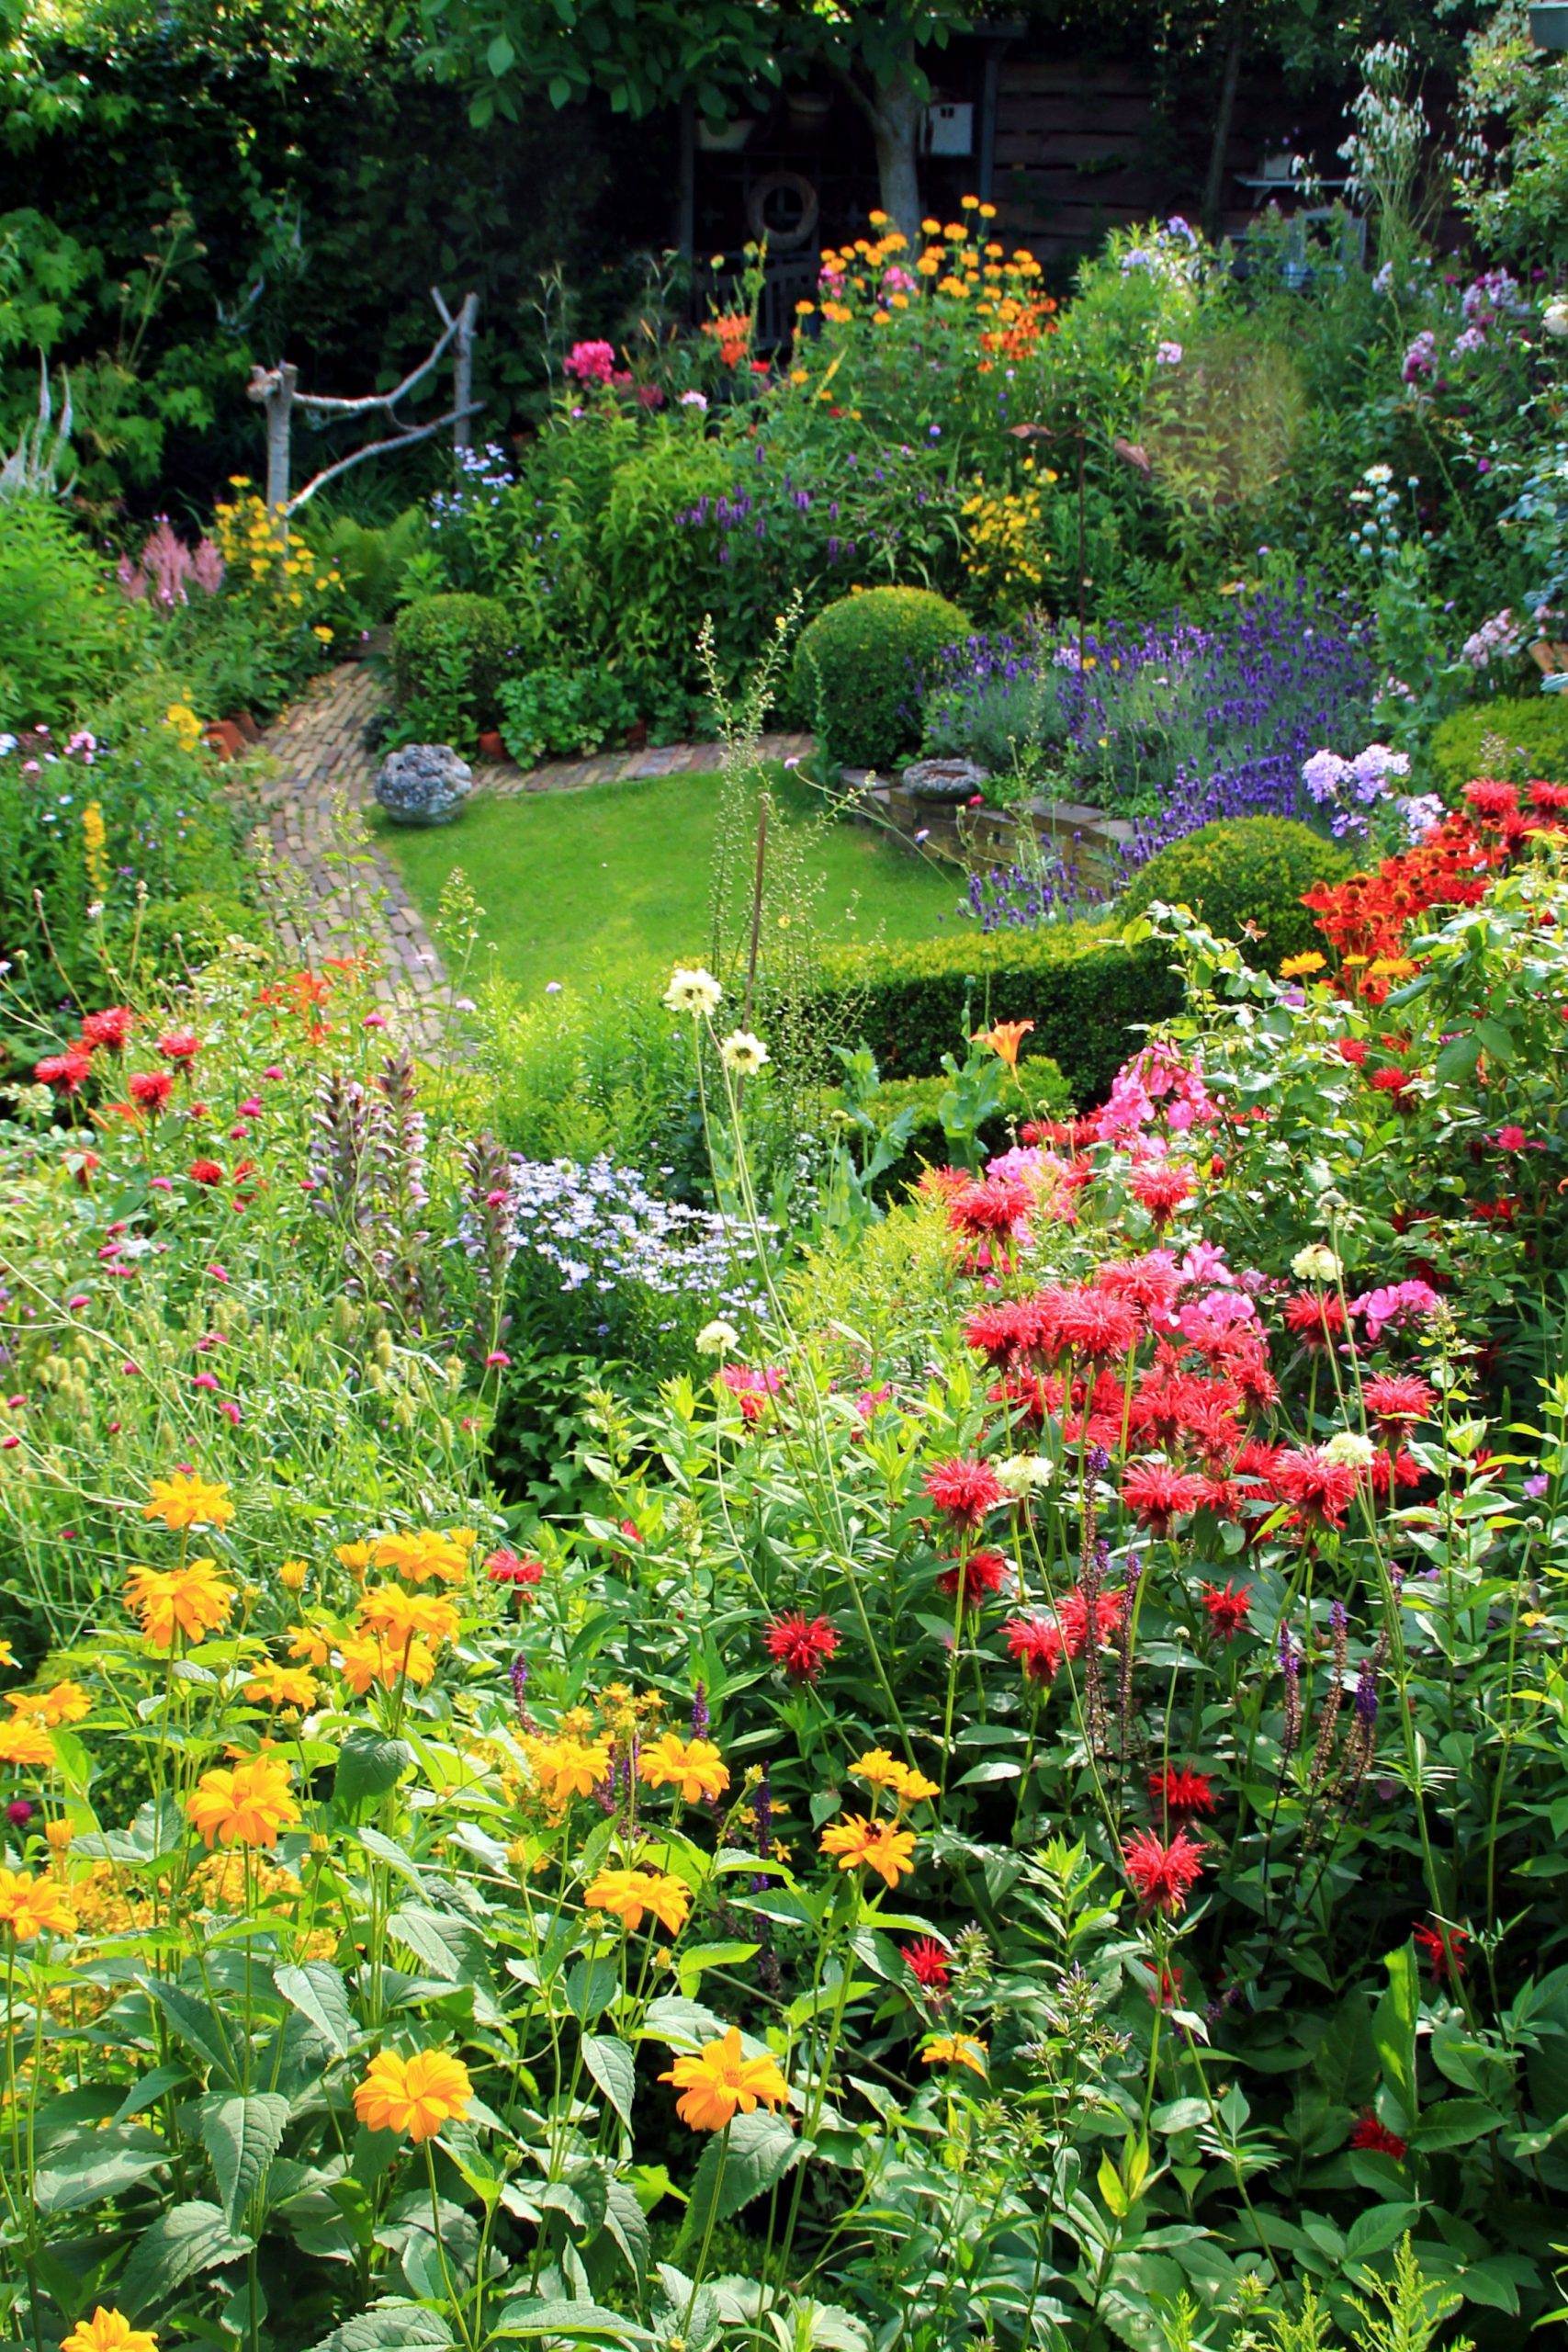
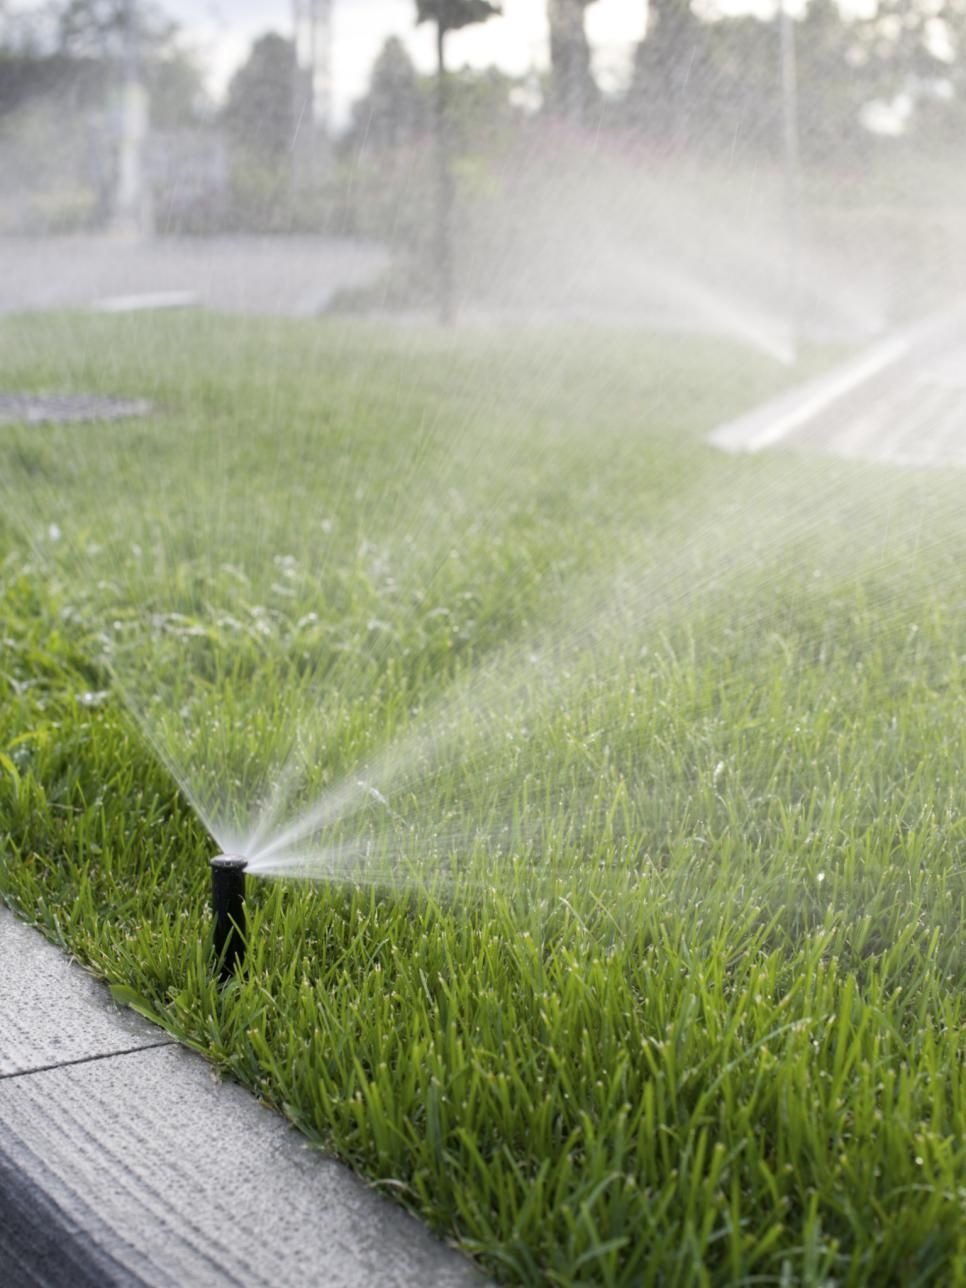
Homesfornh.com – A cottage garden is identical to a traditional landscape with lots of plants. Most plants in a cottage garden are colorful. This garden has some layers of plants that make it crowded. There are trees, shrubs, perennials, ferns, etc. Also, every plant needs a different requirement to grow well. Therefore, it takes time when decorate a cottage garden. You can start by growing one by one. Eighteen plants grow perfectly as a cottage garden accent. Let’s see the 18 Plant Ideas to Design A Cottage Garden in Full Colors below!
-
Crape Myrtle
Crape Myrtle is a decorative tree for a cottage garden. It is also known as Lagerstroemia. Crape Myrtle loves full sun and it grows better in hardiness zones 7-10. This tree can grow up to 25′ so it is perfect as the first layer in your garden. Crape Myrtle won’t grow too high and is more small to medium-sized.
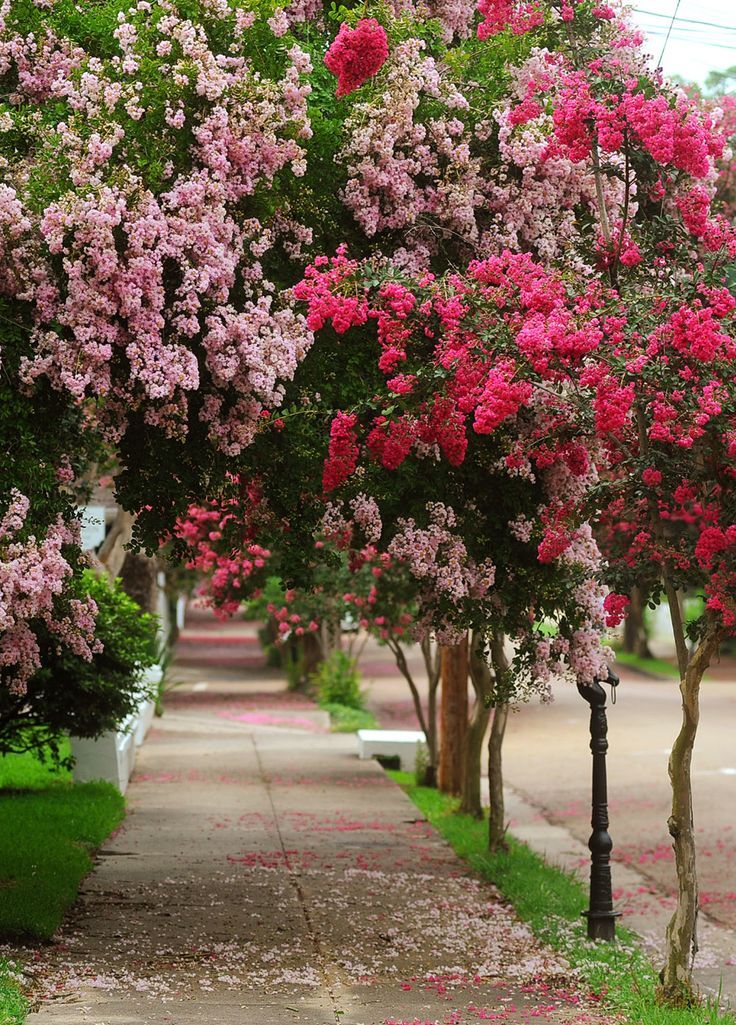
This plant can grow flowers in the summer season. It decorates the green leaves with plenty of colors. Besides that, Crape Myrtle has a Dwarf variety. It looks cute as it grows up to 15′. Moreover, most Crape Myrtles are spreading branches. It is beneficial to grow Crape Myrtle as a shelter plant.
1o f 18
-
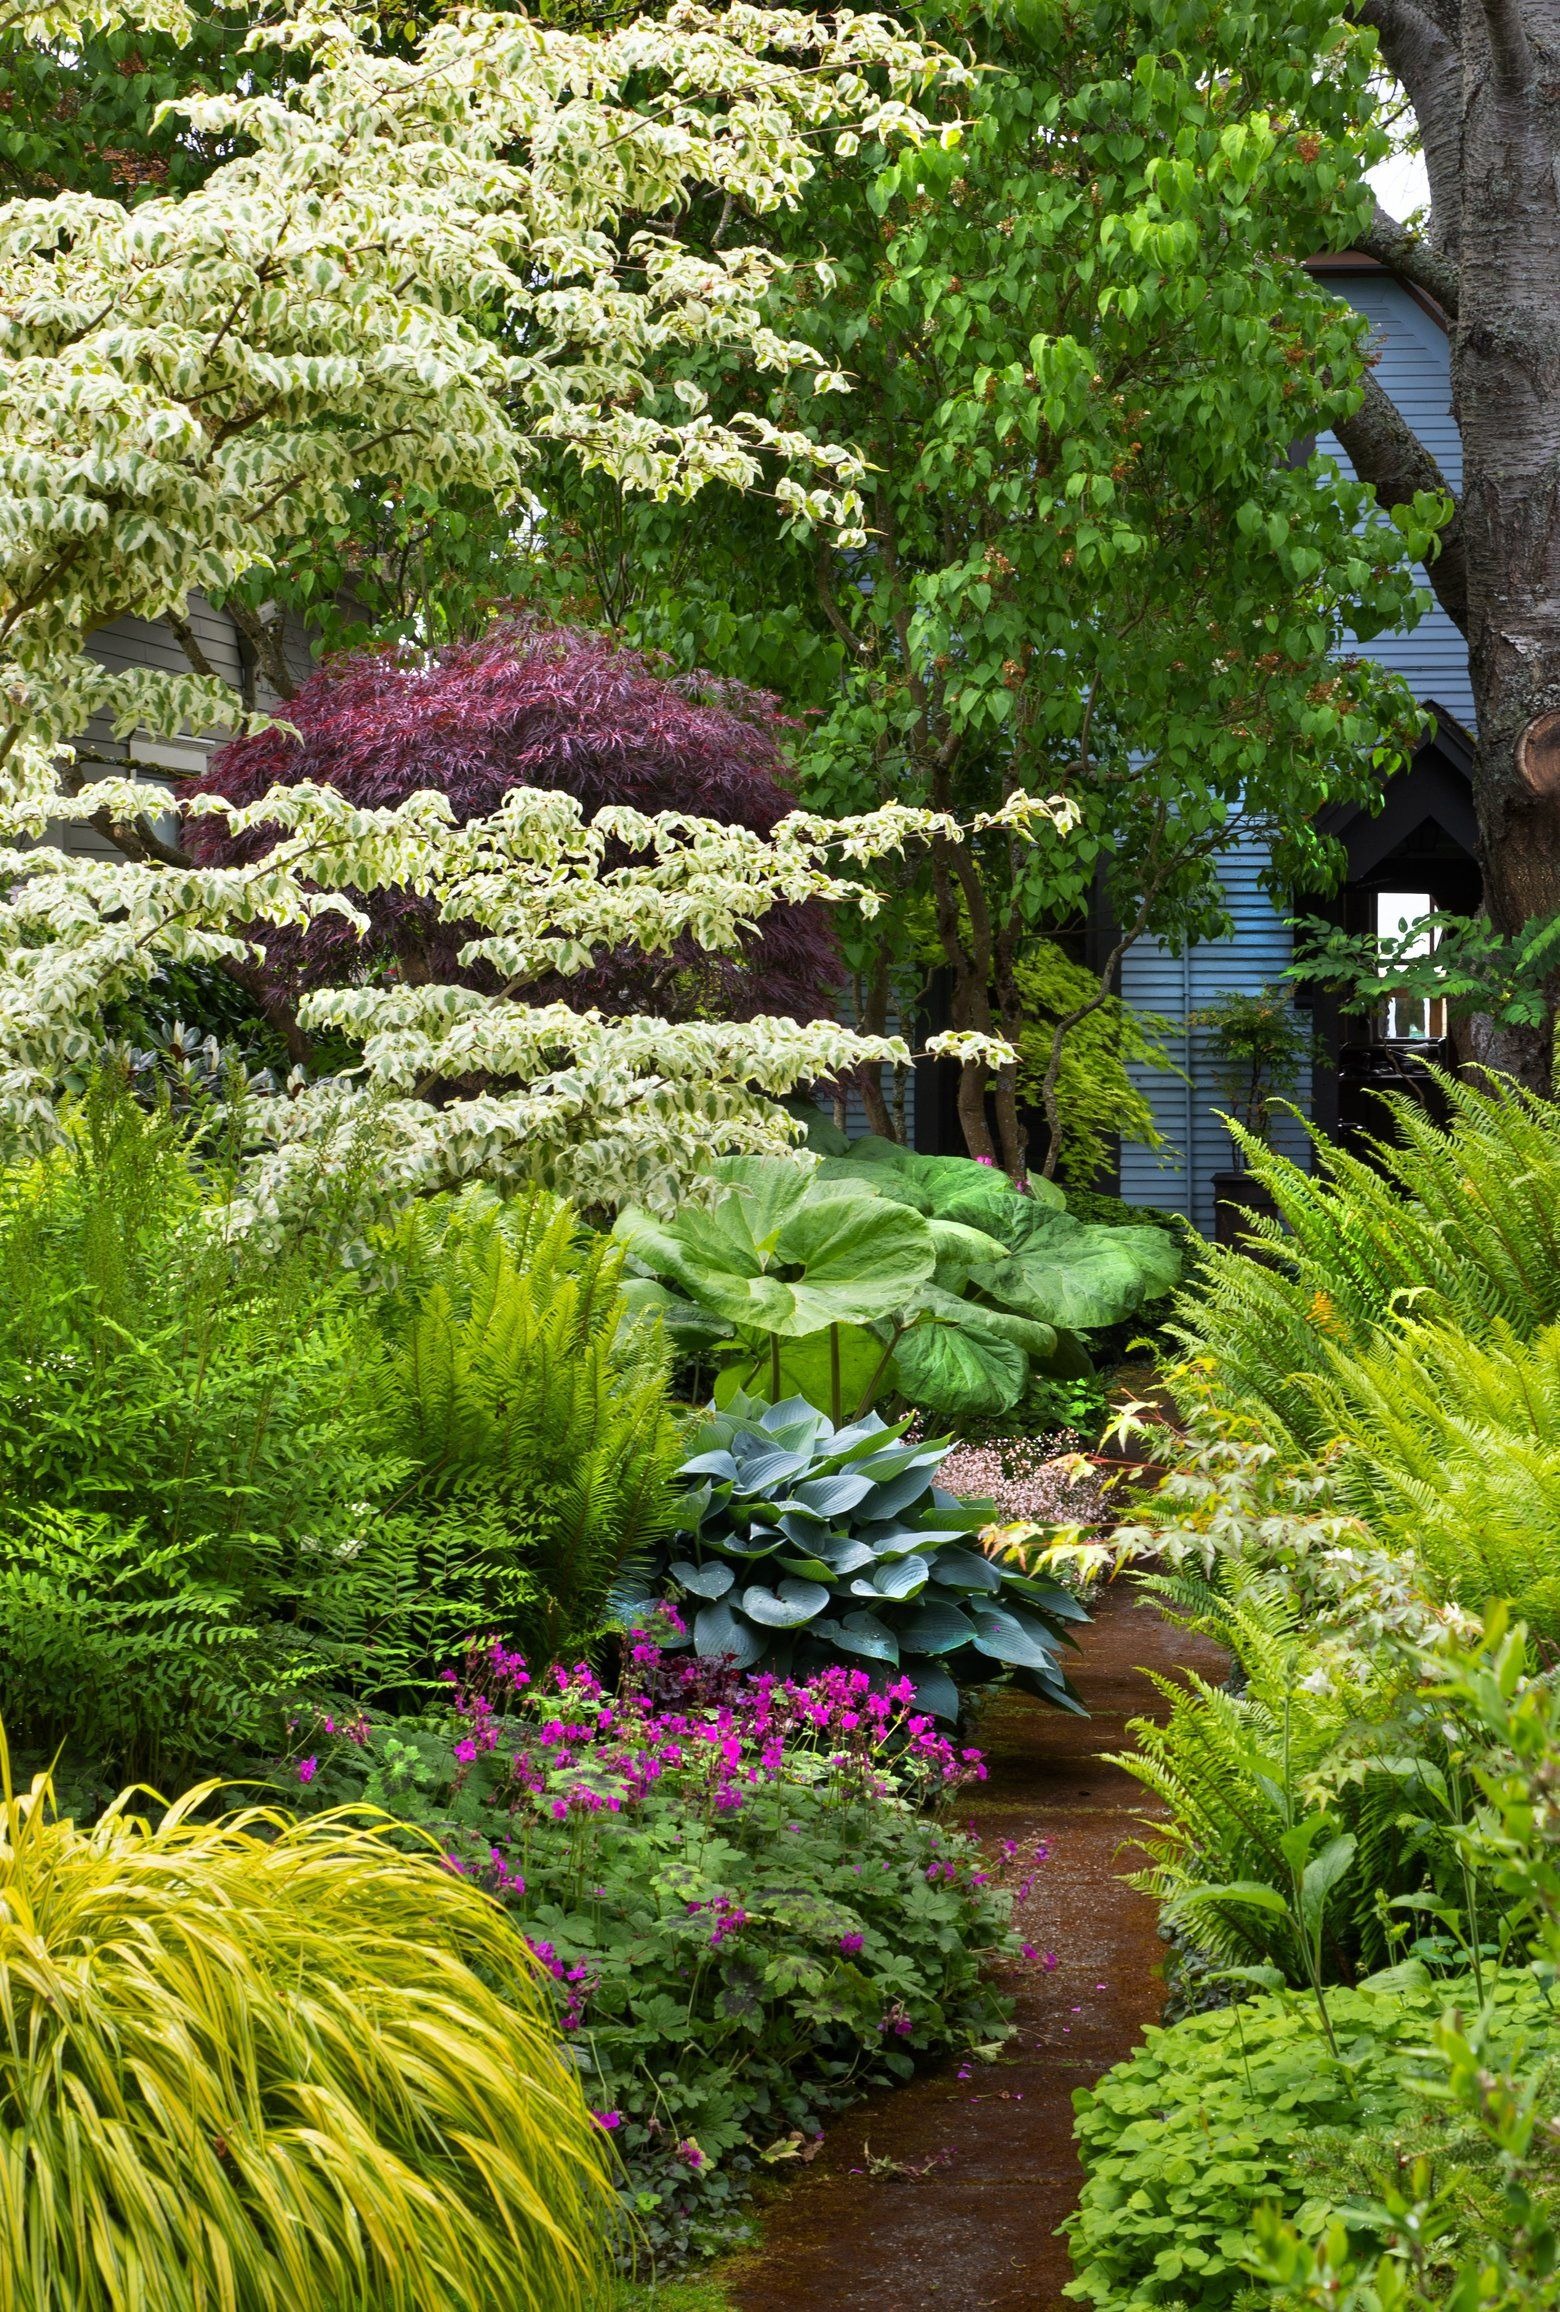
Flowering Dogwood
Flowering Dogwood is an interesting plant for your cottage garden. It produces pink or white flowers during the blooming time. Meanwhile, the leaves are attractive with scarlet colors. Flowering Dogwood is also known as Cornus Florida. This plant needs partial shade and can’t stand in hot temperatures.
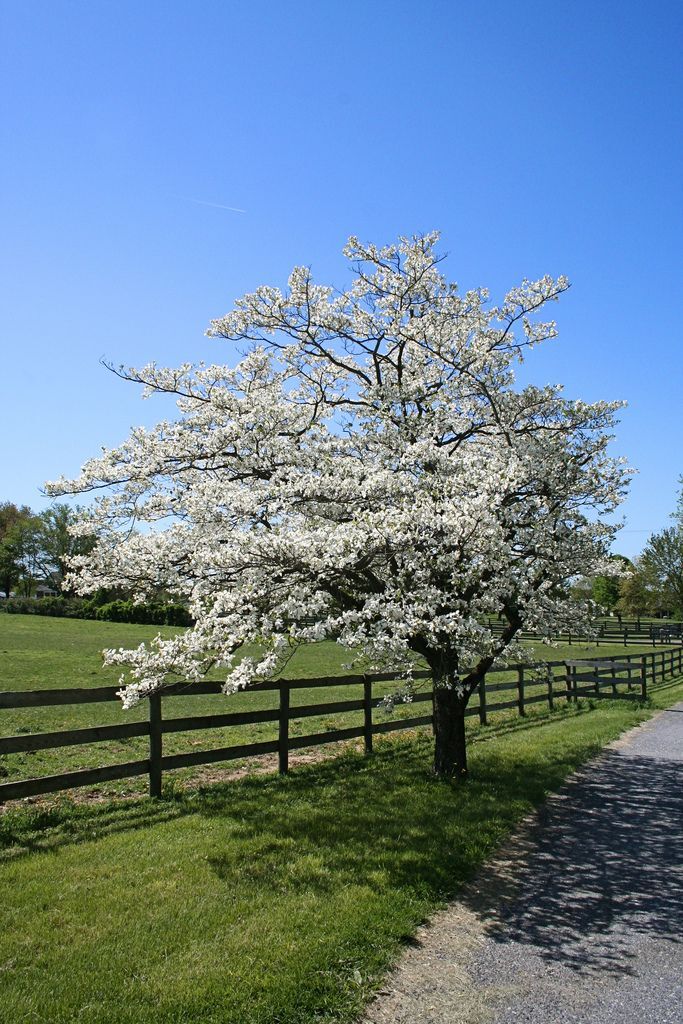
Flowering Dogwood can grow up to 40′. Most Flowering Dogwood will bloom in early spring to late summer season. After blooming pink-white flowers, it produces red fruits. In the next season, Flowering Dogwood will fall their scarlet leaves. Moreover, this plant has a nice scent from aromatic branches and flowers.
2 of 18
-
Camellia
Camellia is a decorative shrub for a cottage garden. It looks stunning as a backdrop in a green accent. Camellia loves partial sun and is better to grow under a shady tree. This plant can grow up to 20′ in hardiness zones 5-9. It will spread its stems and make a larger shrub.
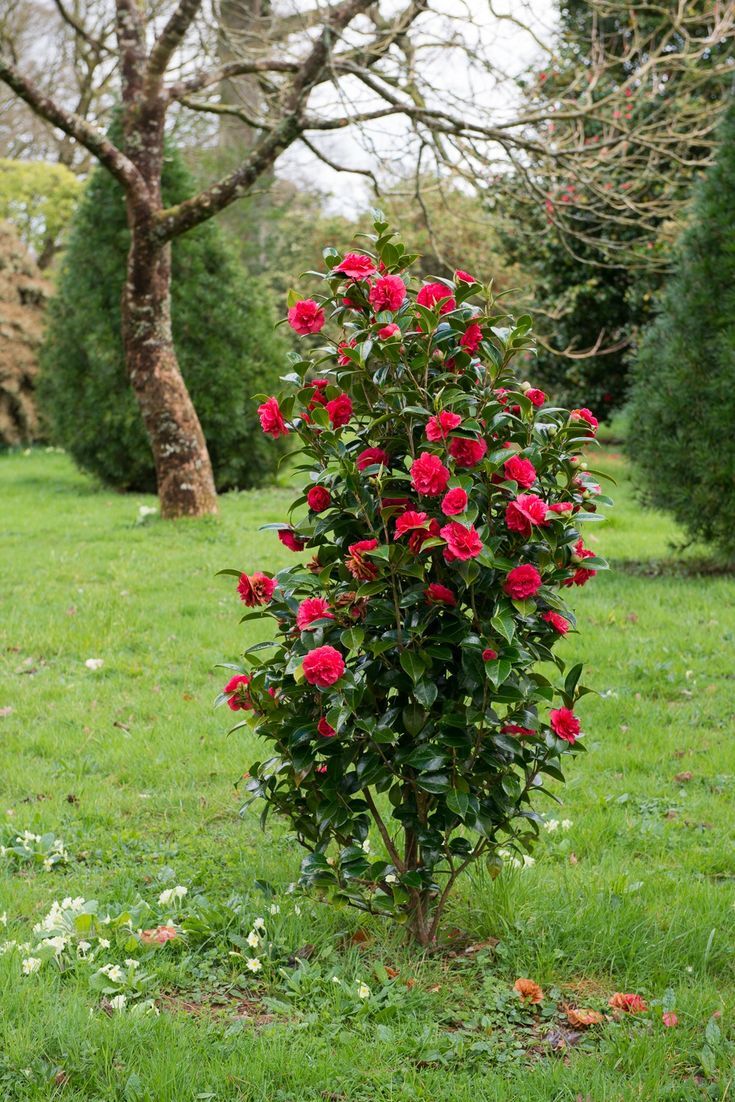
Camellia has a stunning appearance for a cottage garden. It grows dark green and glossy foliage. Some Camellia varieties bloom a different times. Camellia C. sasanqua varieties bloom in late fall. Meanwhile, Camellia C. japonica varieties start to bloom in winter. There are flowers in red, pink, white, and pale yellow.
3 of 18
-
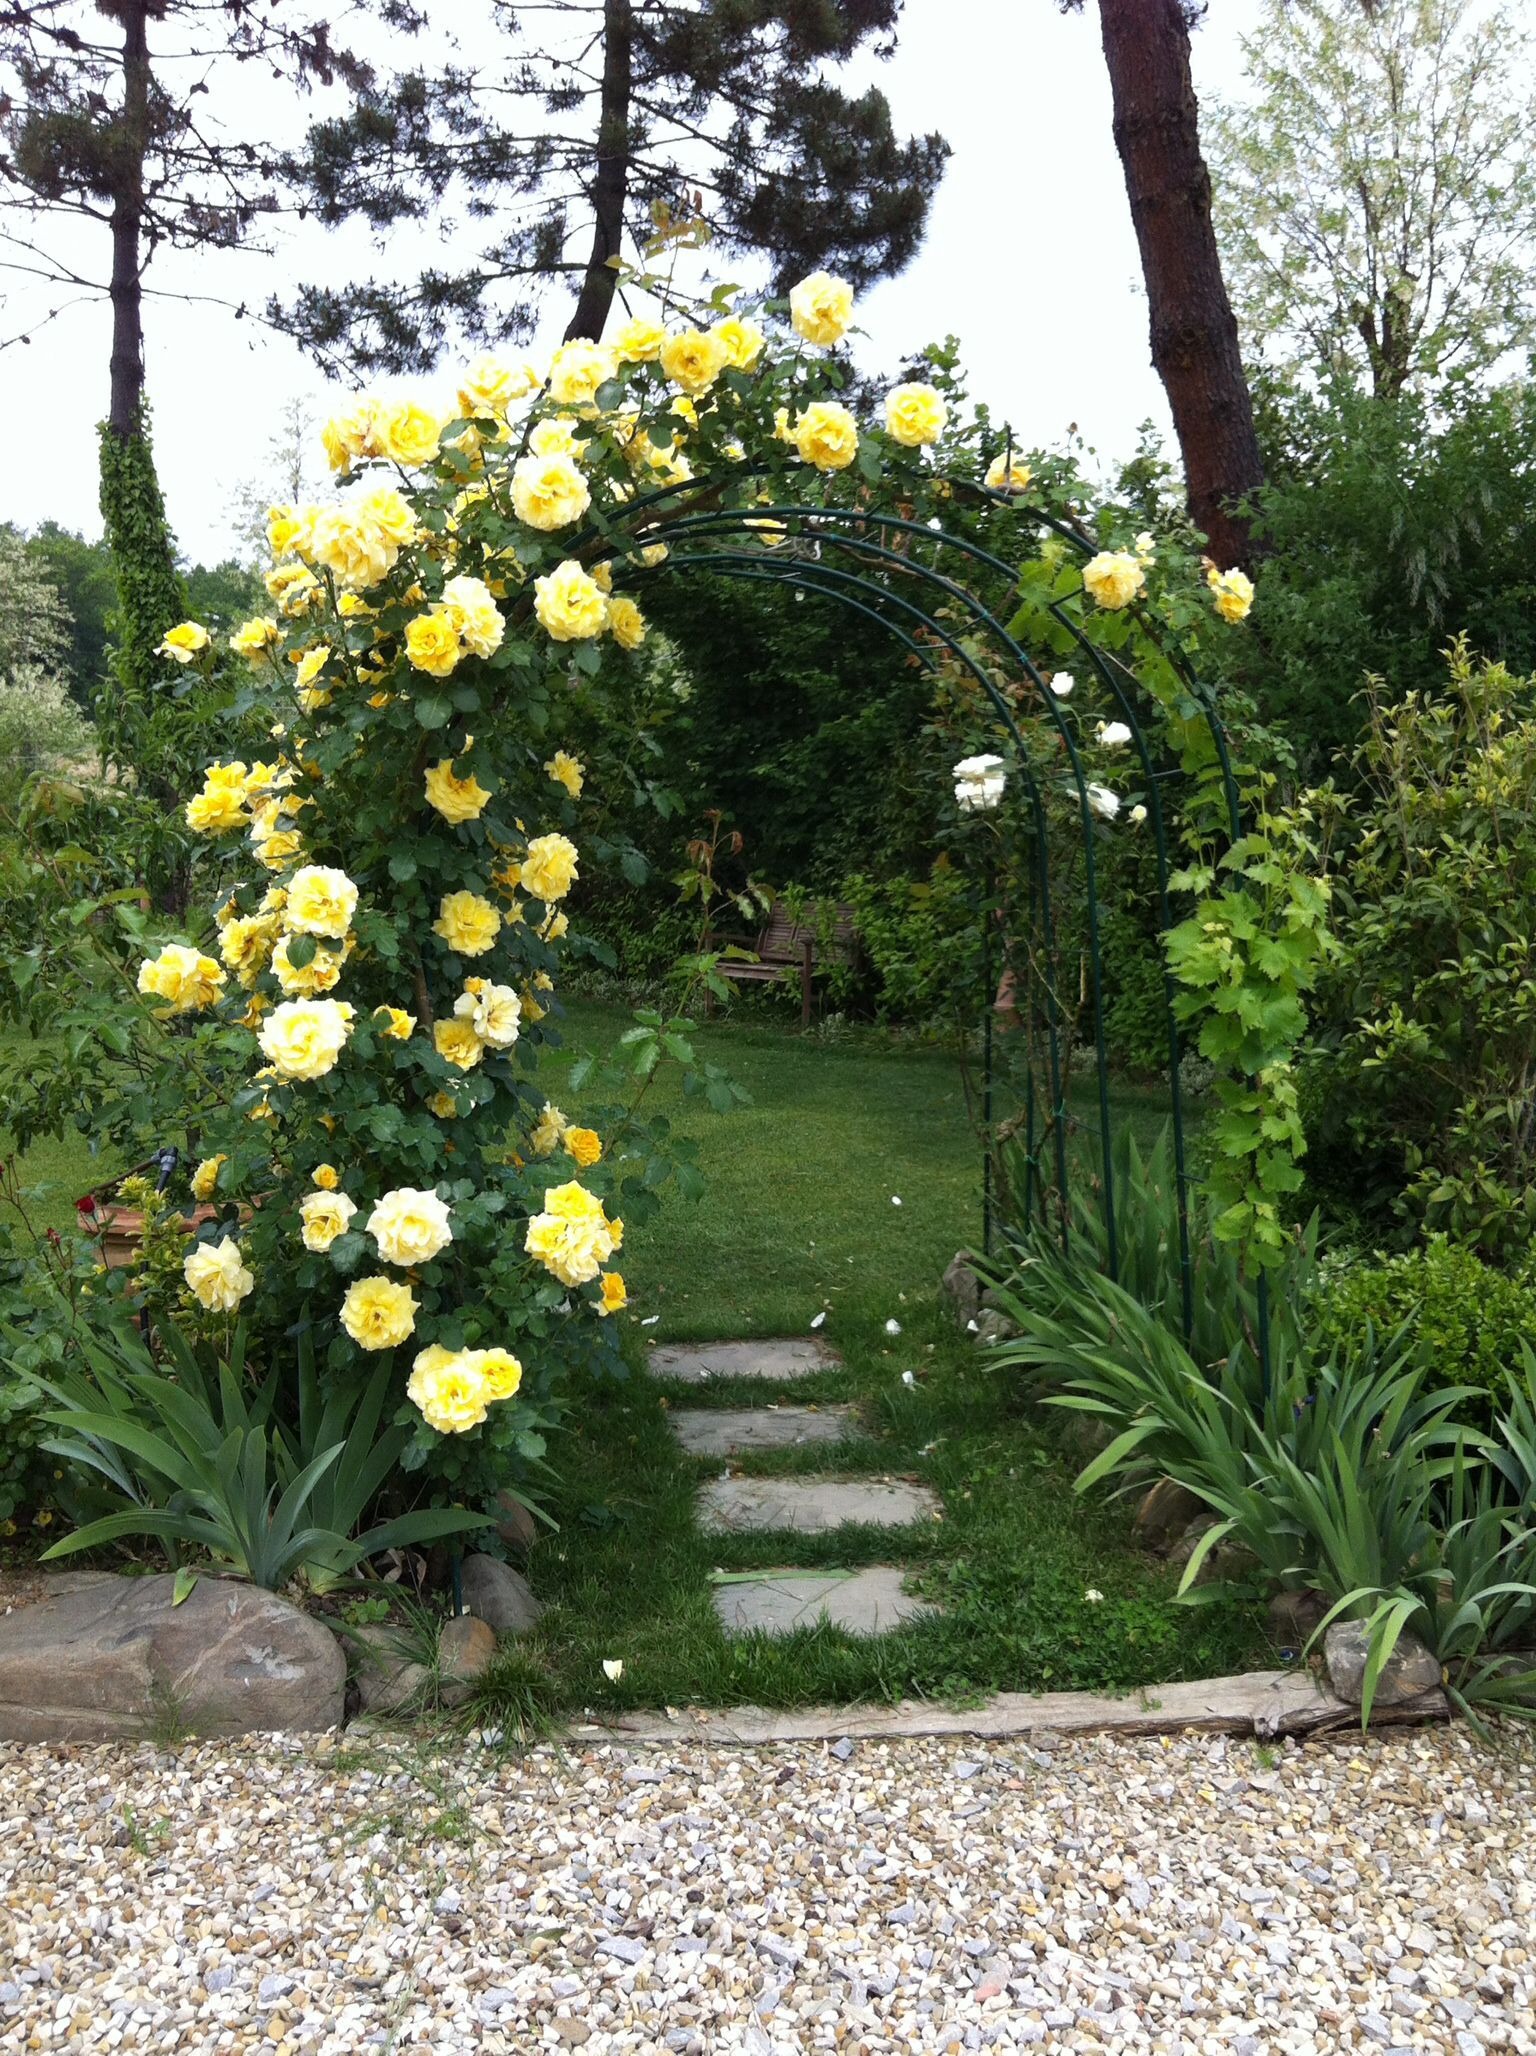
Rose
Rose is another shrub. It is an infamous variety of shrub. Rose decorates a cottage garden with colorful flowers. Rose or Rosa rubiginosa requires full sun to grow maximum. It can reach a height of up to 7′. Also, the best place to grow Roses is in hardiness zone 5-8.
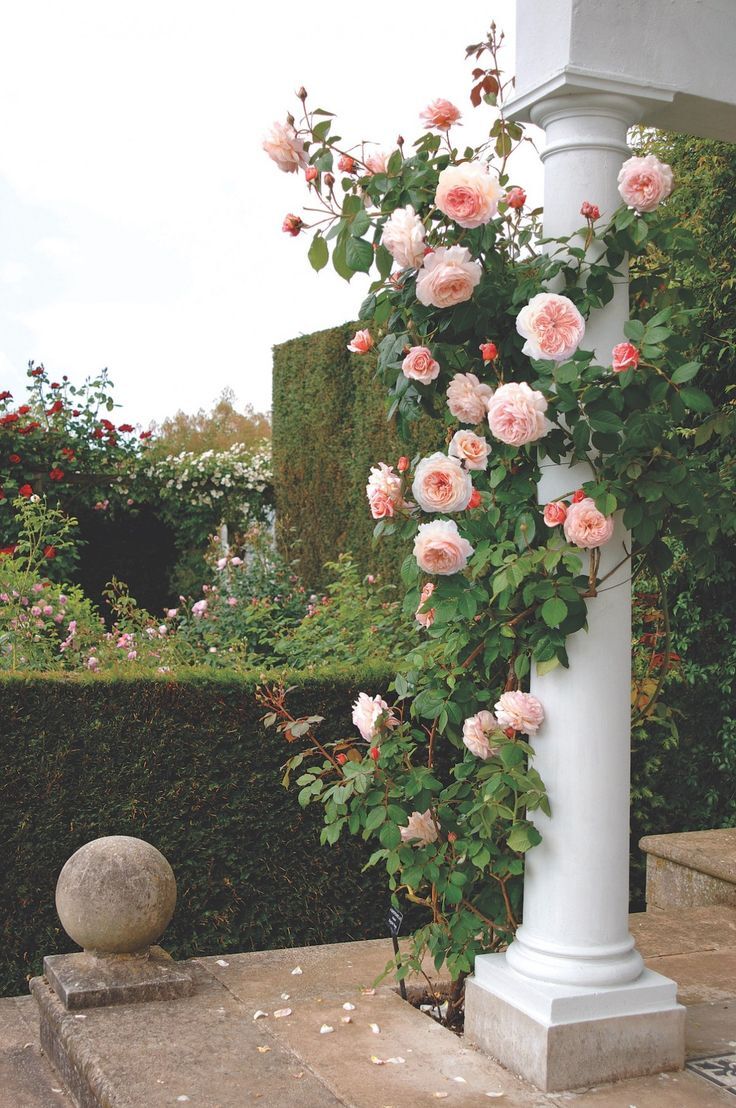
Moreover, it won’t declutter your cottage garden. Most Rose bushes are smaller than other bushes. You can pick an interesting Rose variety to enliven the atmosphere. There are white, pink, red, yellow, and green roses. It looks stunning to grow a rose as the third layer after a green bush and a tree.
4 of 18
-
English Daisy
English Daisy or Bellis perennis will bring a cheerful impression to your cottage garden. It grows well in cool temperatures with morning sun. English Daisy blooms striking white flowers with bright yellow centers. It makes a perfect accent in your cottage garden. Also, English Daisy can spread new plants by dropping the seeds.

You will have a group of English daisies if you add this to garden soil. It grows massively under full sun to partial shade. Most English Daisy will grow up to 6 inches. It prefers hardiness zones 4 to 8 to get maximum growth. If English Daisy grows massively, you can control their growth by pruning some plants or replanting them in another area.
5 of 18
-
Boxwood
Boxwood is another shrub for a cottage garden with whimsical topiaries. It is also known as Buxus. Boxwood requires full sun to partial shade. This plant grows up to 20′ in height. The best place for growing Boxwood is in hardiness zones 4 to 9. Therefore, it tolerates cool and hot temperatures.
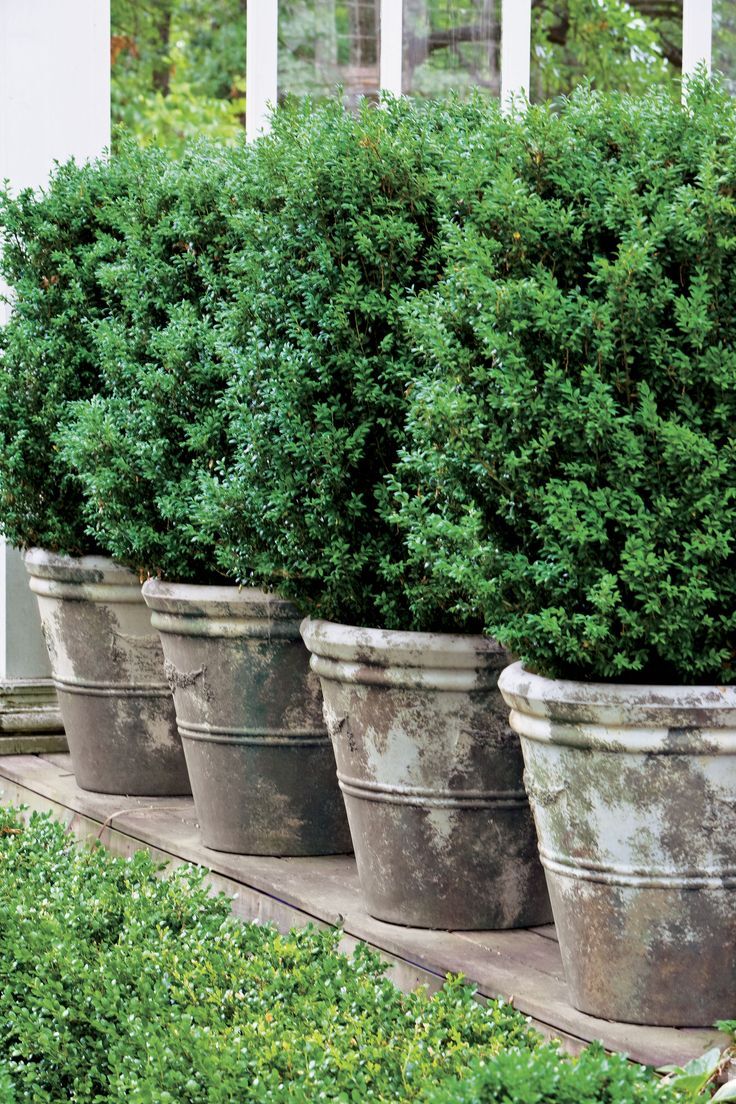
Boxwood will complete a layer for the cottage garden. It is a low-maintenance shrub and only requires basic needs. Regular watering and pruning will help it to grow healthy. Besides, Boxwood makes an aesthetic separation as a garden layer. The large varieties of Boxwood will give more options for you.
6 of 18
-
Thyme
Thyme is a versatile plant. It is a part of herbs. Many people grow Thyme in the kitchen windowsill. Thyme or Thymus vulgaris is a sun lover. It grows faster under full sun and will reach 12 inches in height. This herb is interesting to grow in a cottage garden. Thyme is best to put in the front layers of your garden.
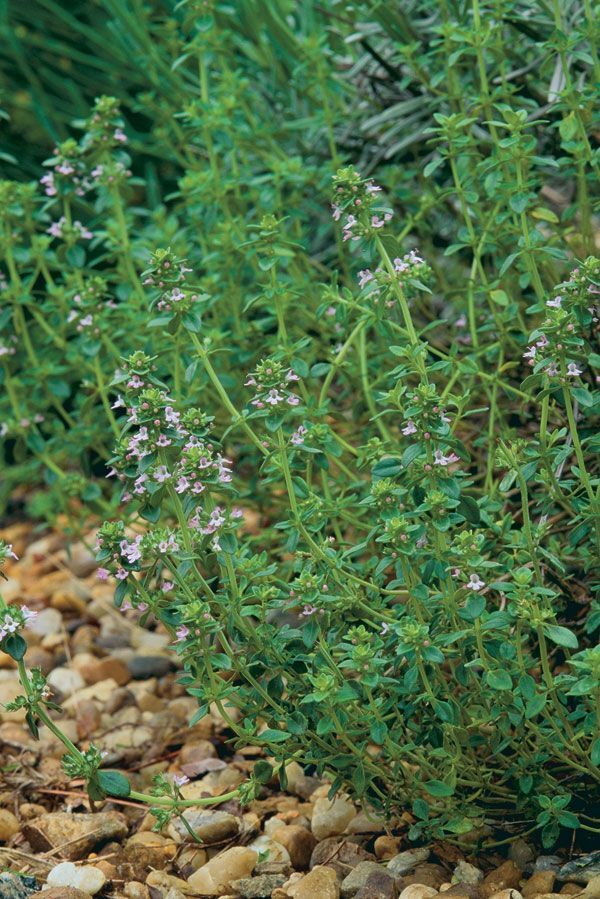
Besides, Thyme can attract pollinators like honeybees and be a great plant to tackle mites. Also, this herb is a low-maintenance plant. You can plant Thyme in sandy and well-draining soil. Their tiny roots will adapt to soil materials better than other plants. Moreover, you can replant Thyme in a greenhouse during winter or cold climates.
7 of 18
-
Zinnia
Zinnia is a popular plant for garden landscapes. This versatile plant is easy to grow in everywhere. The best place to grow Zinnia is under full sun and well-draining soil. It will grow up to 4′. Thus, it looks striking to put in front of a green backdrop. It won’t declutter the taller or smaller plants.
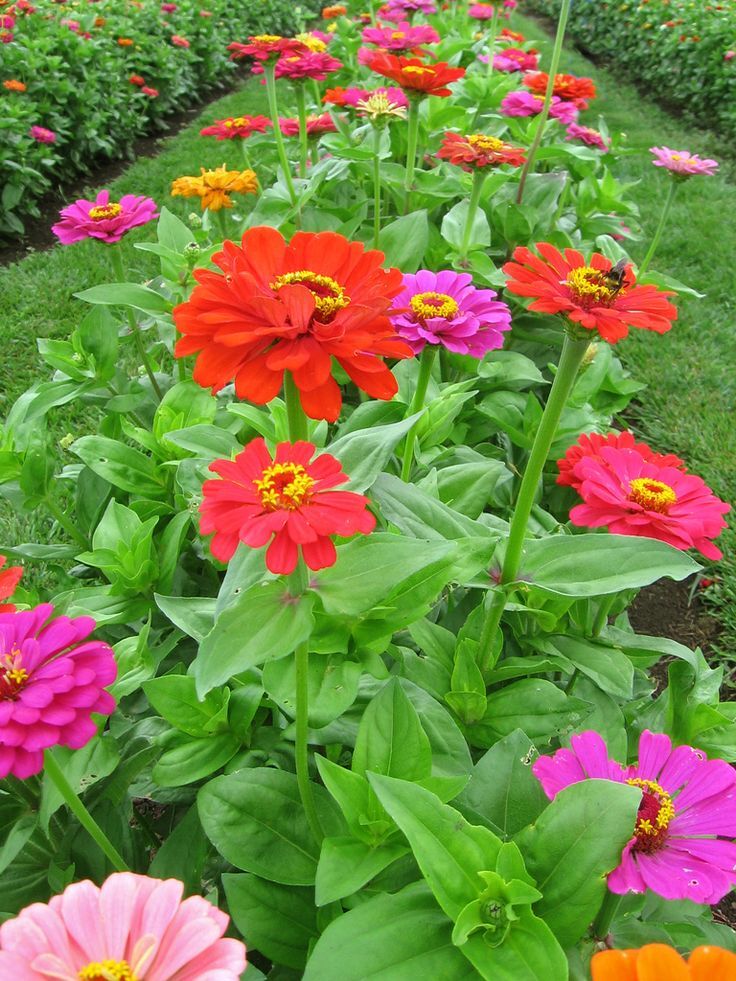
Zinnia has varieties that you will love to collect in the garden. If you love to have the smaller ones, then pick a dwarf Zinnia. Most Zinnia plants are a bit invasive with self-seedings. They love to drop the deadheads.
8 of 18
-
Hydrangea
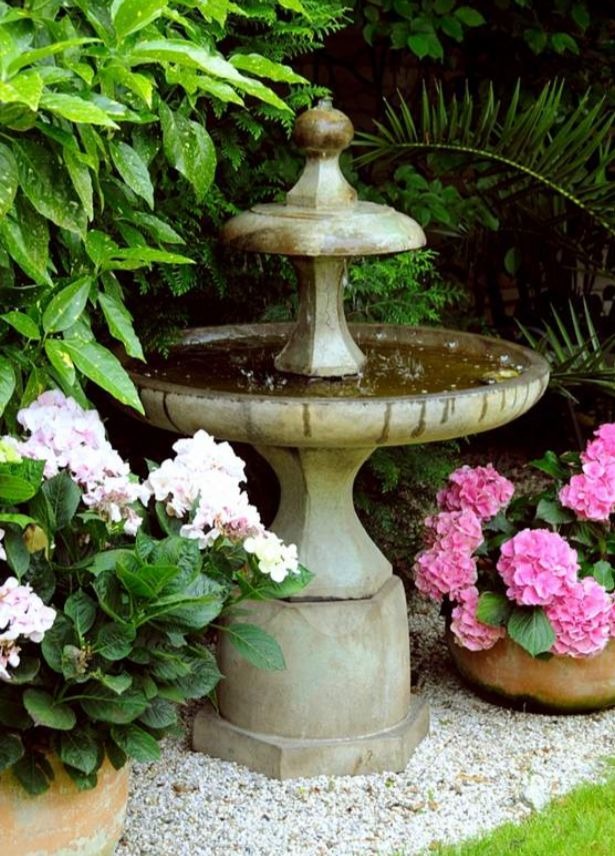
Hydrangea is a decorative shrub that grows best in a sunny area. This shrub is popular with its hardiness, lush green foliage, and large blooming. Hydrangea or Hydrangea macrophylla tolerates partial shade and hardiness zones 3 to 9. This plant can grow up to 12′. You can grow Hydrangea as a colorful background for your cottage garden.
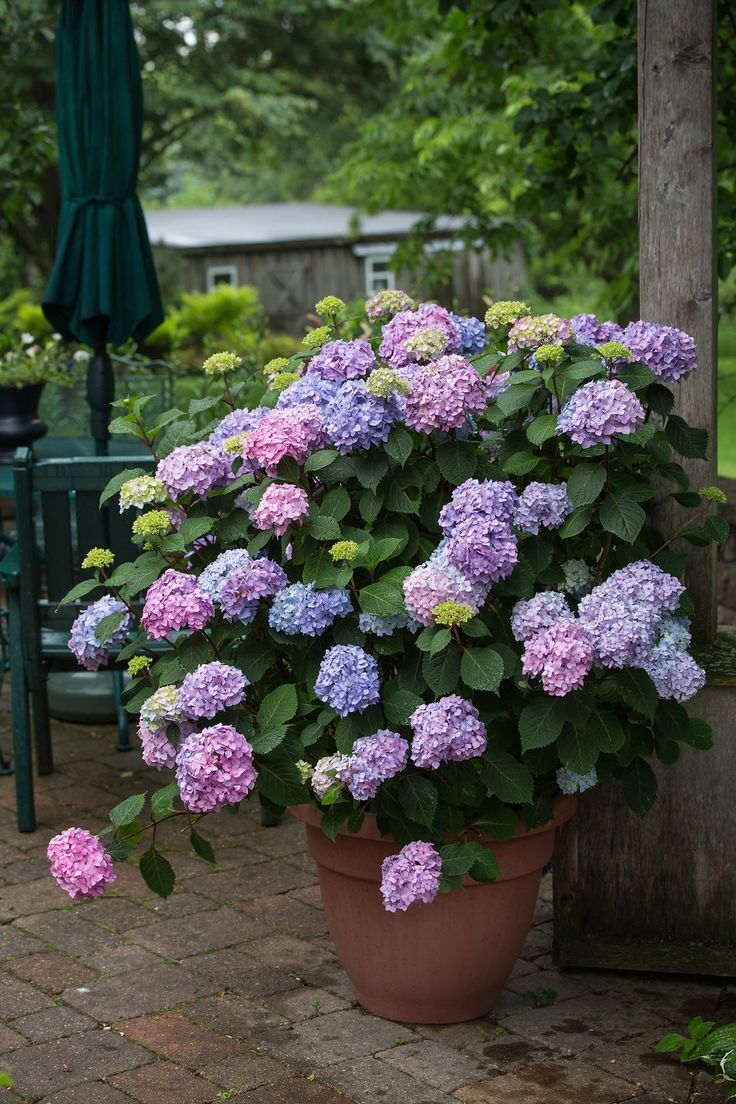
Besides, Hydrangea is easy to care for. It requires regular watering and fertile soil. Hydrangea will bloom massively in the spring and fall season. Most Hydrangea stop blooming in the summer season. Therefore, keep watering it during hot seasons, then it will bloom again in the next season.
9 of 18
-
Mint
Mint is a beneficial plant. It grows best in full sun to partial shade. Mint or Mentha is a fast-spreading herb. It can grow up to 2′ and hardiness zone 3 to 8. Many people grow Mint for cooking and desserts. You can add Mint to a glass of tea and get a fresh Mint taste.
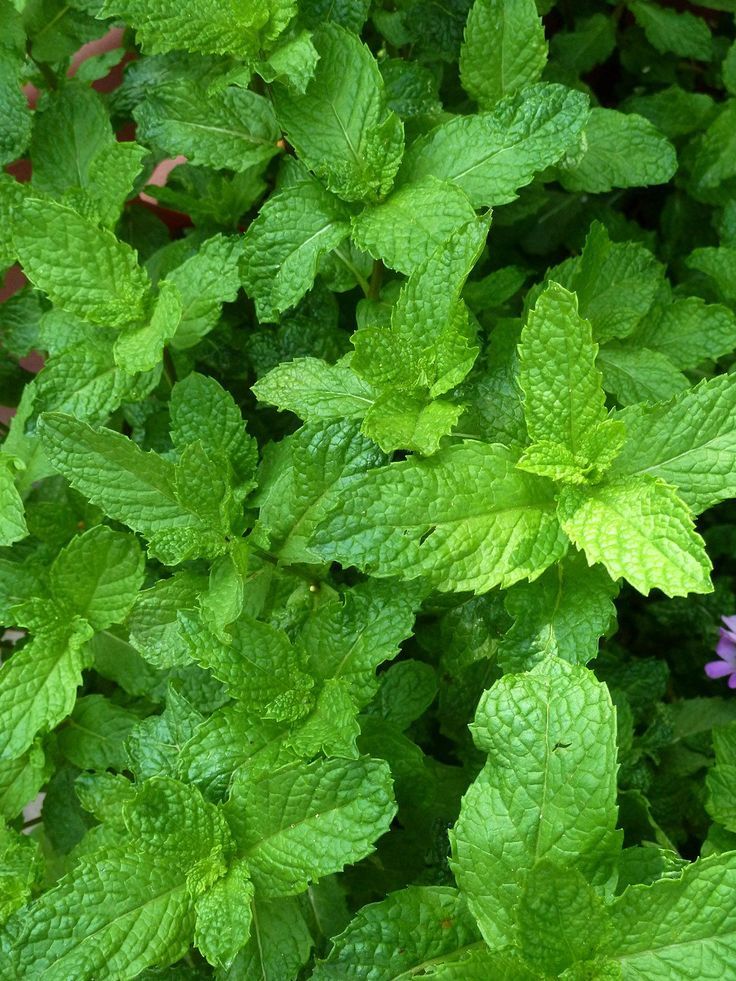
Mint is a low-maintenance plant. It grows easily in well-draining soil with adequate water. If you grow Mint in a cottage garden, you can plant it in a container. This plant is invasive and spreads quickly in fertile soil. Therefore, a container will limit their spread. You can prune some Mint leaves to control their growth.
10 of 18
-
Gardenia
Gardenia will refresh your garden with white flowers. Most Gardenias love warm climates. It grows naturally under full sun to partial shade. Gardenia tolerates cool weather so it can survive during winter or cool seasons. This plant offers various foliages. The large leaves will make a natural background.
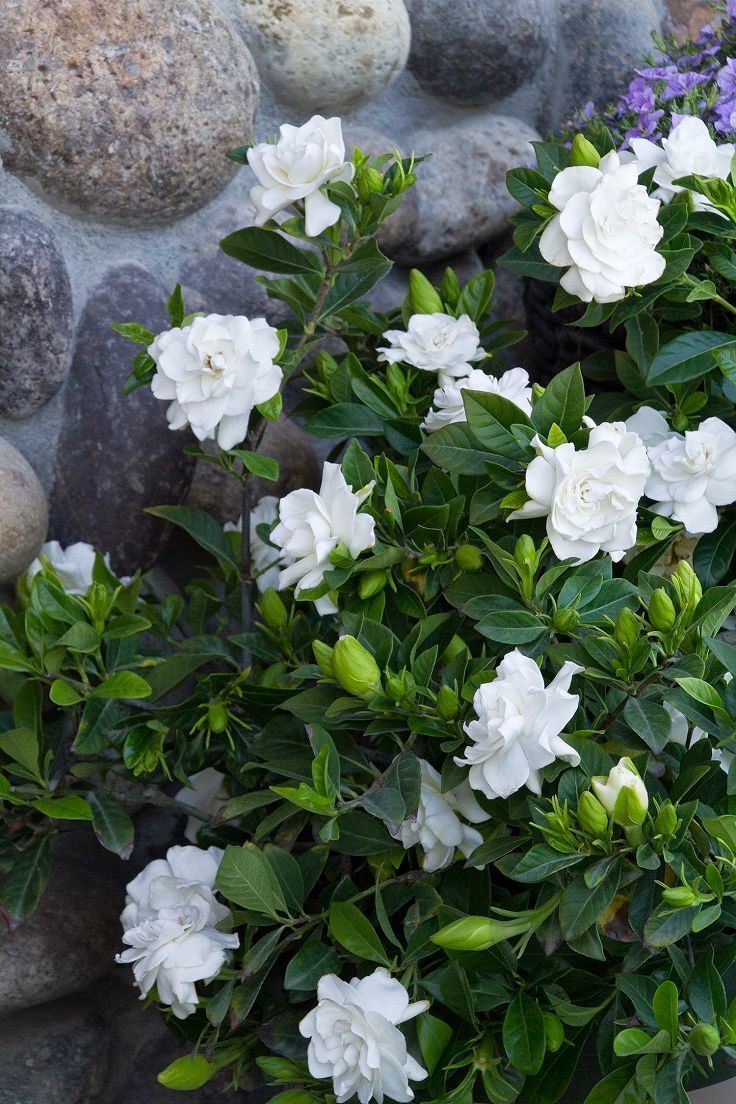
Gardenia is a fast-growing plant. It can reach up to 8′ and prefer hardiness zone 8 to 11. Gardenia will transform your cottage garden during blooming time in the summer season. Their flowers produce a nice fragrance. Therefore, it is better to plant Gardenia near the garden pathway. The floral scent will change the atmosphere along the path.
11 of 18
-
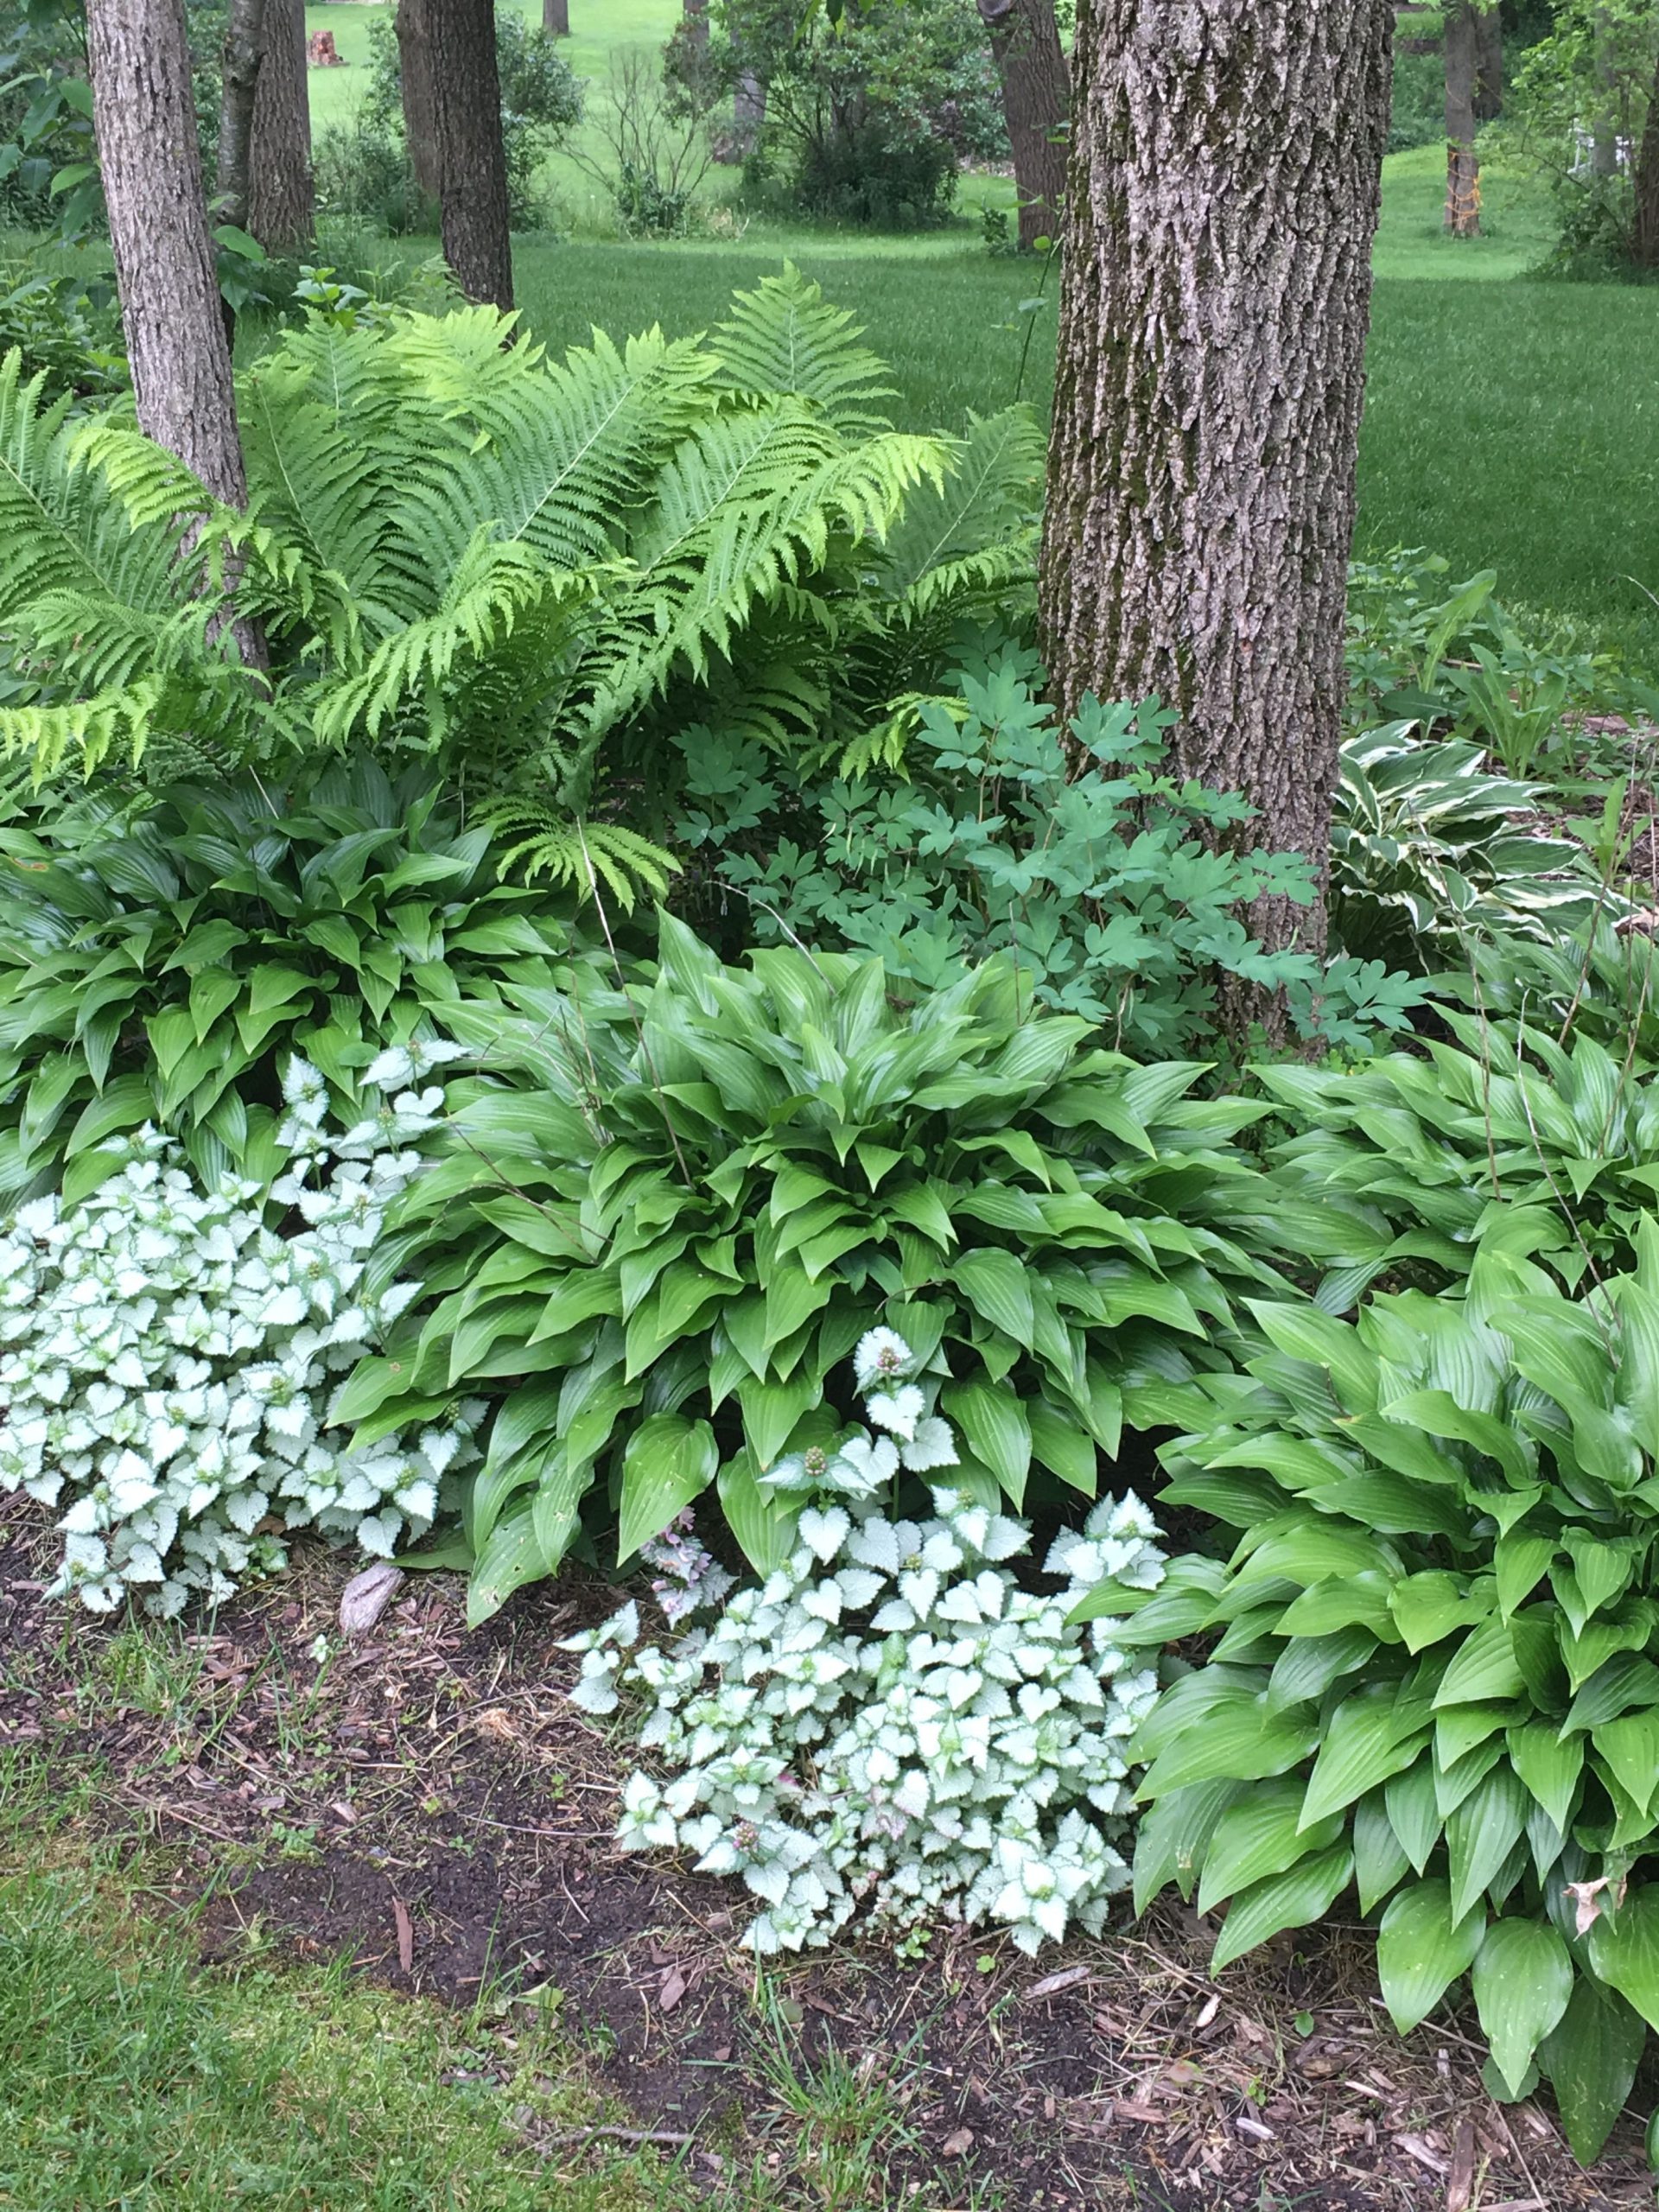
Bird’s Nest Fern
Bird’s Nest Fern is one of the popular ferns for decoration. This tropical fern is interesting to complete your cottage garden. It makes a striking landscape with its wavy leaves. Most Bird’s Nest Ferns thrive in bright indirect sunlight. This fern can grow up to 5′ and survive well in hardiness zones 11-12.
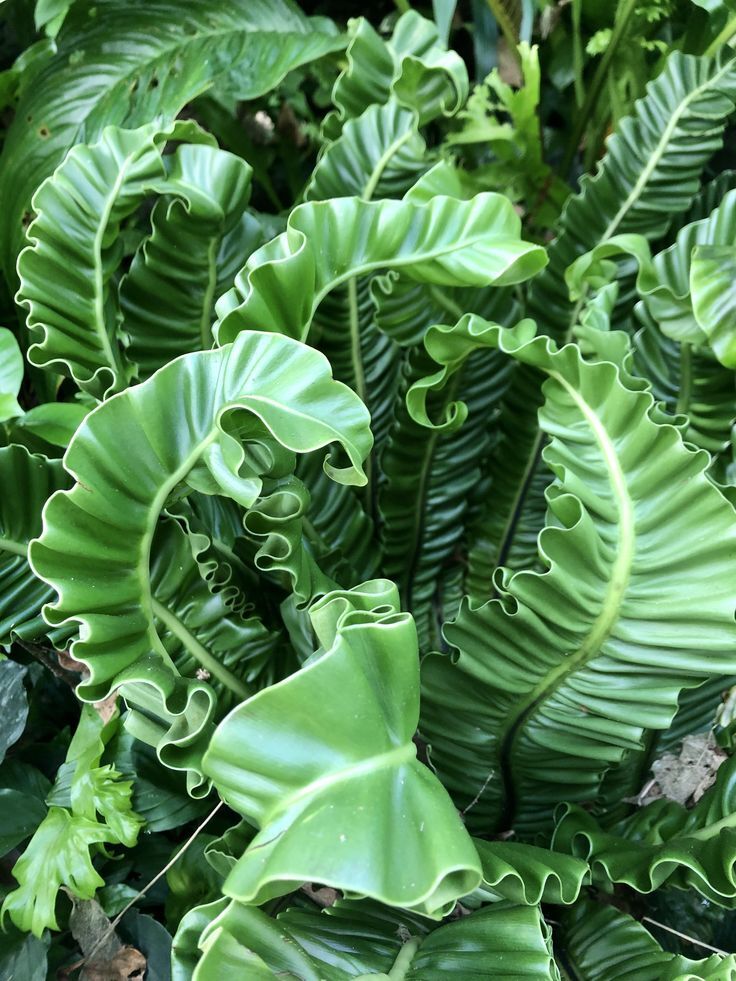
Bird’s Nest Fern or Asplenium nidus is an attractive fern. You can treat it like an orchid. Grow it beneath a tree for perfect partial shade. Once it grows well, the Bird’s Nest Fern offers smooth and shiny leaves. Therefore, keep watering it in well-draining soil because it prefers lightly soil.
12 of 18
-
Delphinium
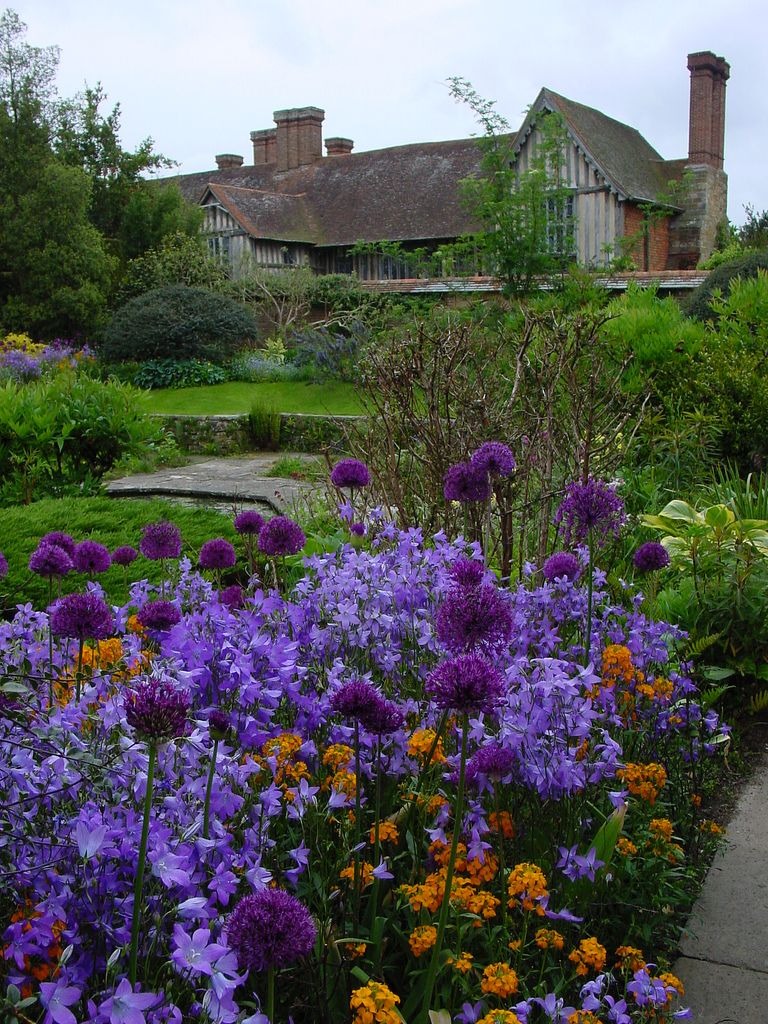
Delphinium is an interesting plant for cottage gardens. This plant is a long-lasting bloomer in the summer season. It grows well under full sun and hardiness zones 3 to 7. Delphinium will grow up to 6′. Besides that, most Delphiniums are poisonous, thus keeping your pet and kids away from exploring them.
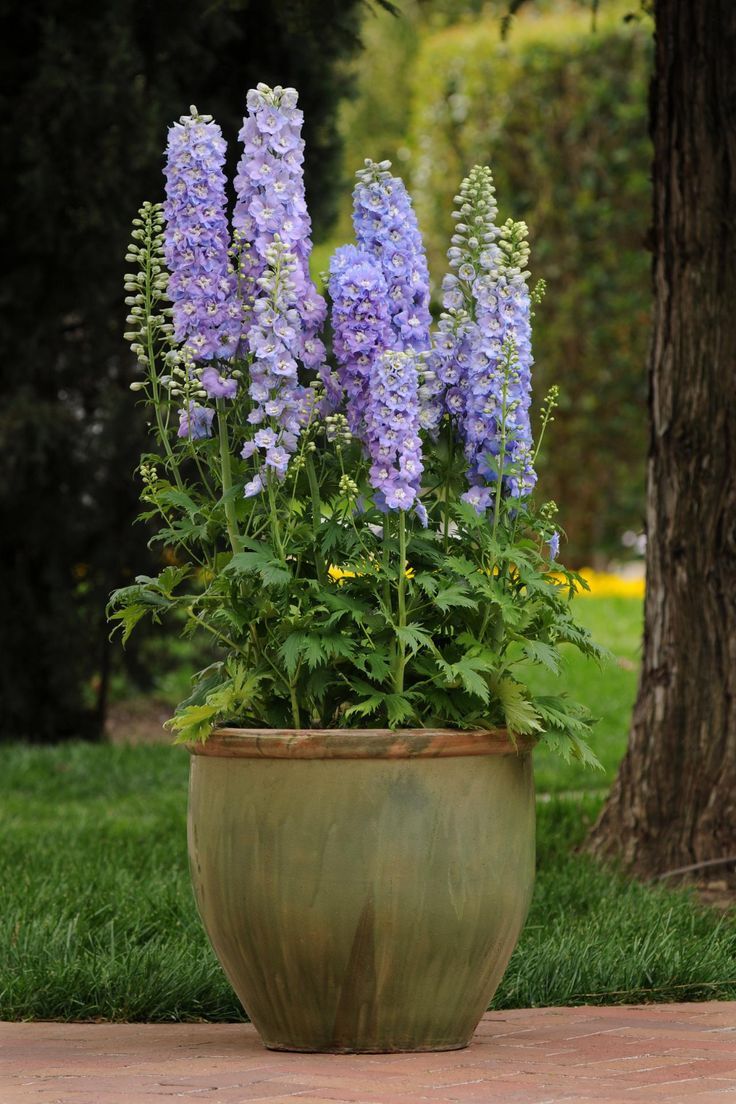
It is one of the decorative plants. Some Delphiniums don’t grow in the same heights. Therefore, place them based on their height. It makes an interesting layer for your cottage garden landscape. Their flowers come in pink, blue, purple, and white shades. The long-lasting flowers will add colorful accents to your garden.
13 of 18
-
Sage
Sage is another herb. Like Mint leaves, Sage is delicious to add texture and taste to foods. Sage is also known as Salvia officinalis. It loves full sun and hardiness zones 4 to 10. Most Sage plants can grow up to 3′ in height. Thus, it is interesting to grow Sage in the kitchen garden as well.
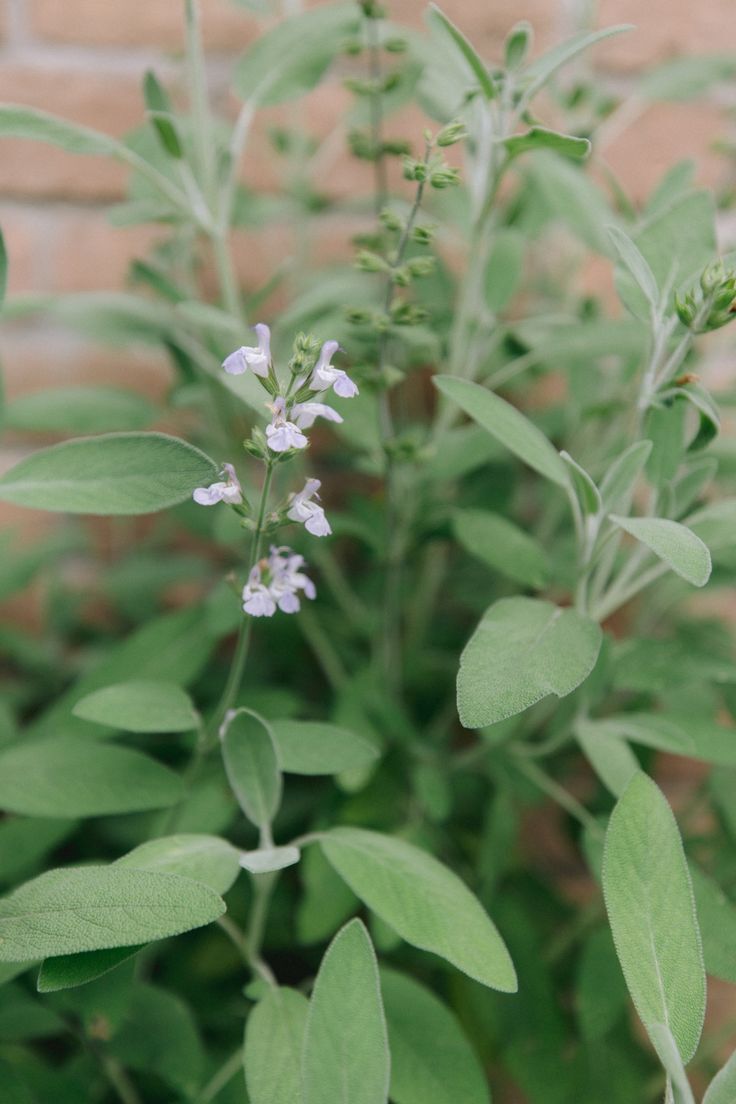
Sage can be a green line in a cottage garden. The silver-green leaves make contrast and a great separation line in your garden landscape. Sage is attractive to grow near colorful flowers. It can attract pollinators with their tubular and colorful flowers. You will love to have Sage in your cottage garden.
14 of 18
-
Forsythia
Forsythia is a deciduous shrub. This plant has shiny leaves and striking yellow flowers. Forsythia requires full sun to partial shade. It can grow up to 10′ in height. Most Forsythia love hardiness zones 5-8. It is a massive growing plant as its roots can adapt to new environments.
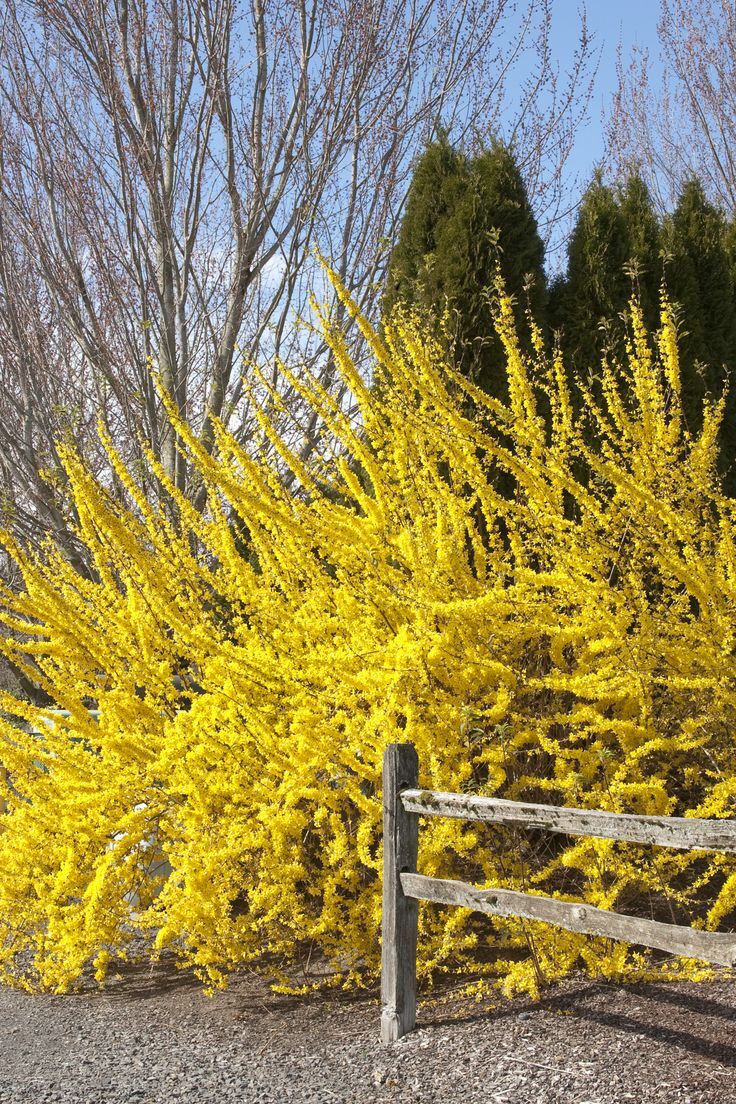
Forsythia will change the color of their leaves in the fall season. Meanwhile, during the winter season, Forsythia will drop all leaves to survive. Their yellow flowers will remain on branches for a few weeks. Forsythia makes a striking accent in your garden. Therefore, add Forsythia to your garden landscape.
15 of 18
-
Autumn Fern
Autumn Fern is similar to the Japanese fern. This plant has an orange-yellow appearance. The green-rusty red leaves turn into orange-yellow during their growth. Autumn Fern requires partial sun to full sun. This fern can grow up to 18″ and grow better in hardiness zones 5 to 9.
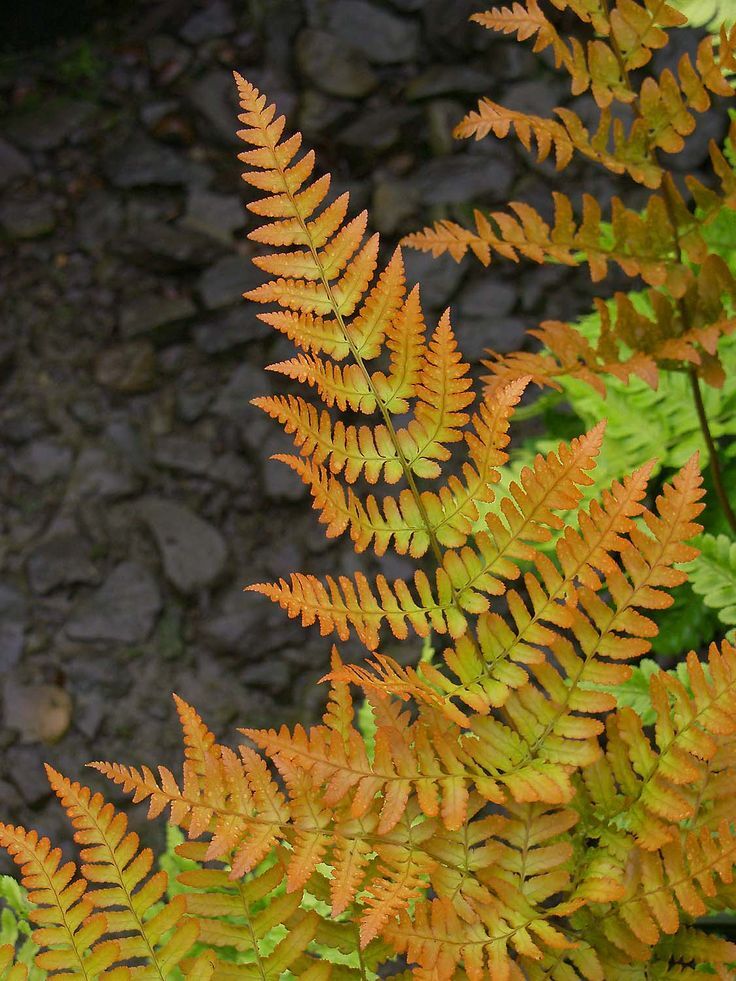
Autumn Fern or Dryopteris erythrosora will make a stunning accent in your garden. Their orange-yellow leaves will catch the attention of a garden landscape. It brings out the natural and traditional nuance of a cottage garden. Therefore, plant Autumn Ferns in a group to get a large accent. It will grow like a small shrub.
16 of 18
-
Columbine
Columbine is a colorful plant. It has a delicate appearance. You can choose an attractive variety with stunning colors. This plant is an ideal choice for your cottage garden. The flowers can enliven a traditional nuance. Columbine will grow maximum in full sun to partial shade.
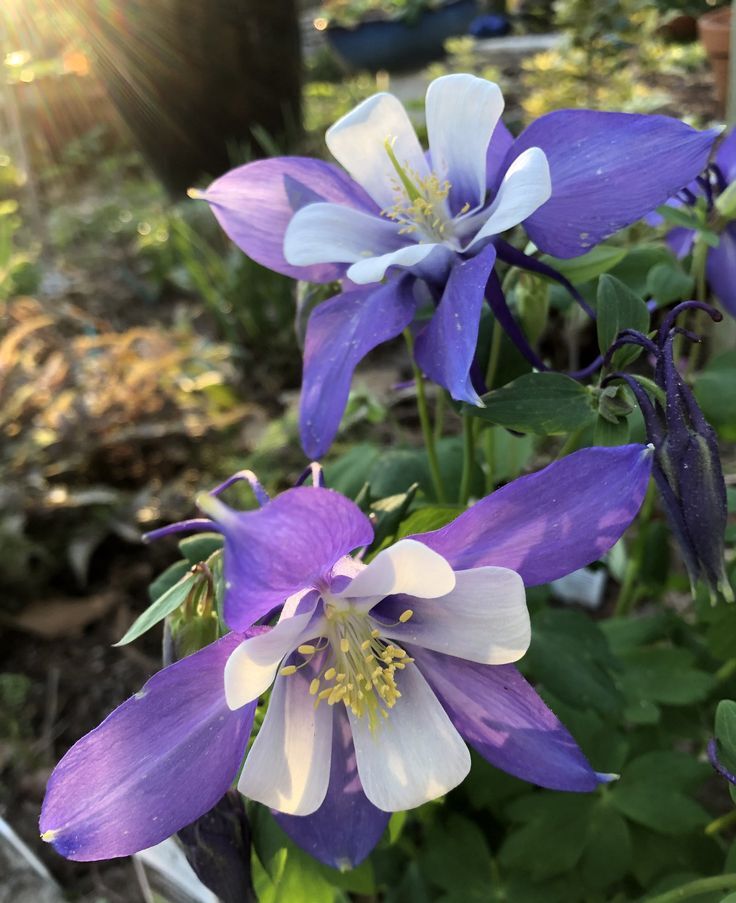
Columbine or Aquilegia prefers hardiness zones 3 to 8. Therefore, it can grow well in cool to hot temperatures. Besides, some Columbine flowers offer two colors. It brings more colors into your garden like bright blue, purple, and red. Moreover, Columbine is an easy-growing plant. It requires regular watering and fertile soil to grow well.
17 of 18
-
Foxglove
Foxglove is a striking plant with tall flowers. It has colorful spikes that make it interesting. Foxglove flowers can attract pollinators like honeybees, butterflies, and hummingbirds. Thus, this plant is beneficial to place near other flowers. You can grow smaller plants too and make them look dense.
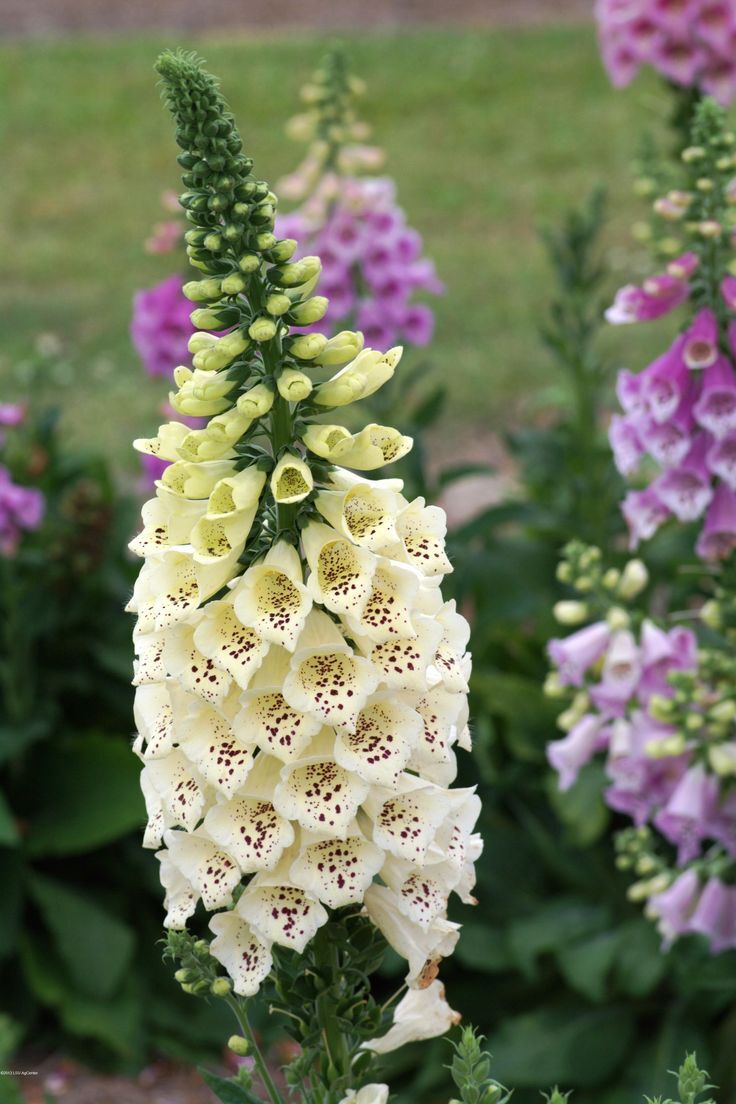
Foxglove or Digitalis spp requires full sun to partial shade. It can grow up to 5′ and prefers hardiness zones 4-8. Most Foxglove plants will bloom massively in the spring season. It can rebloom if it has enough water and nutrients. Besides that, Foxglove is a poisonous plant so keep your pets away from it.
18 of 18
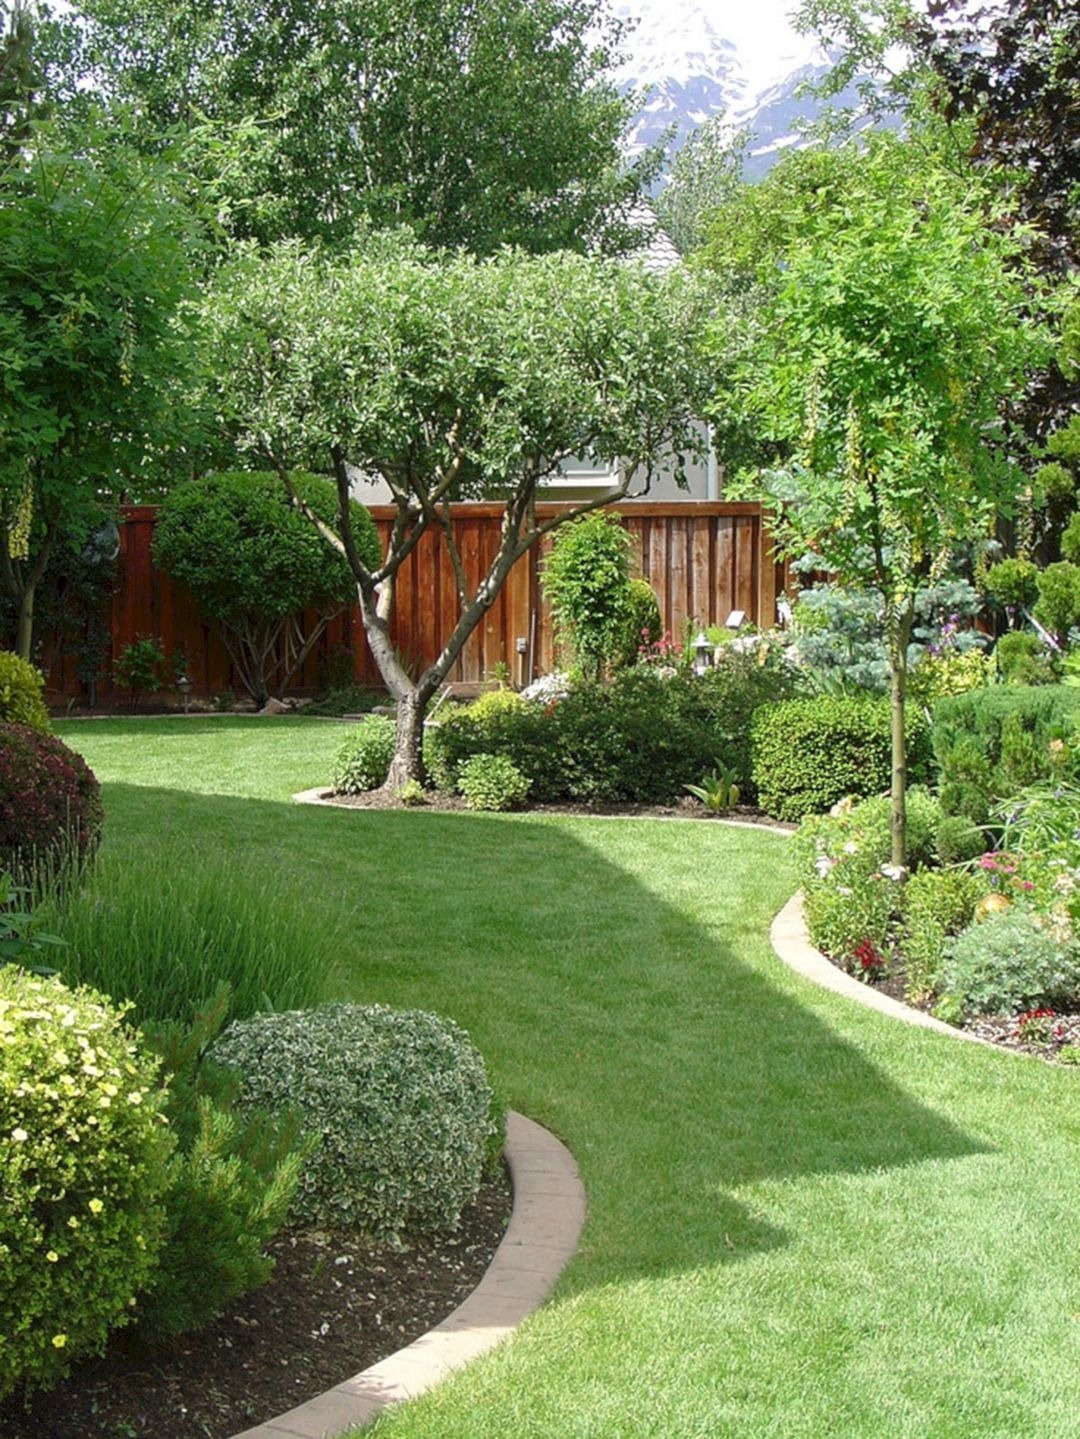
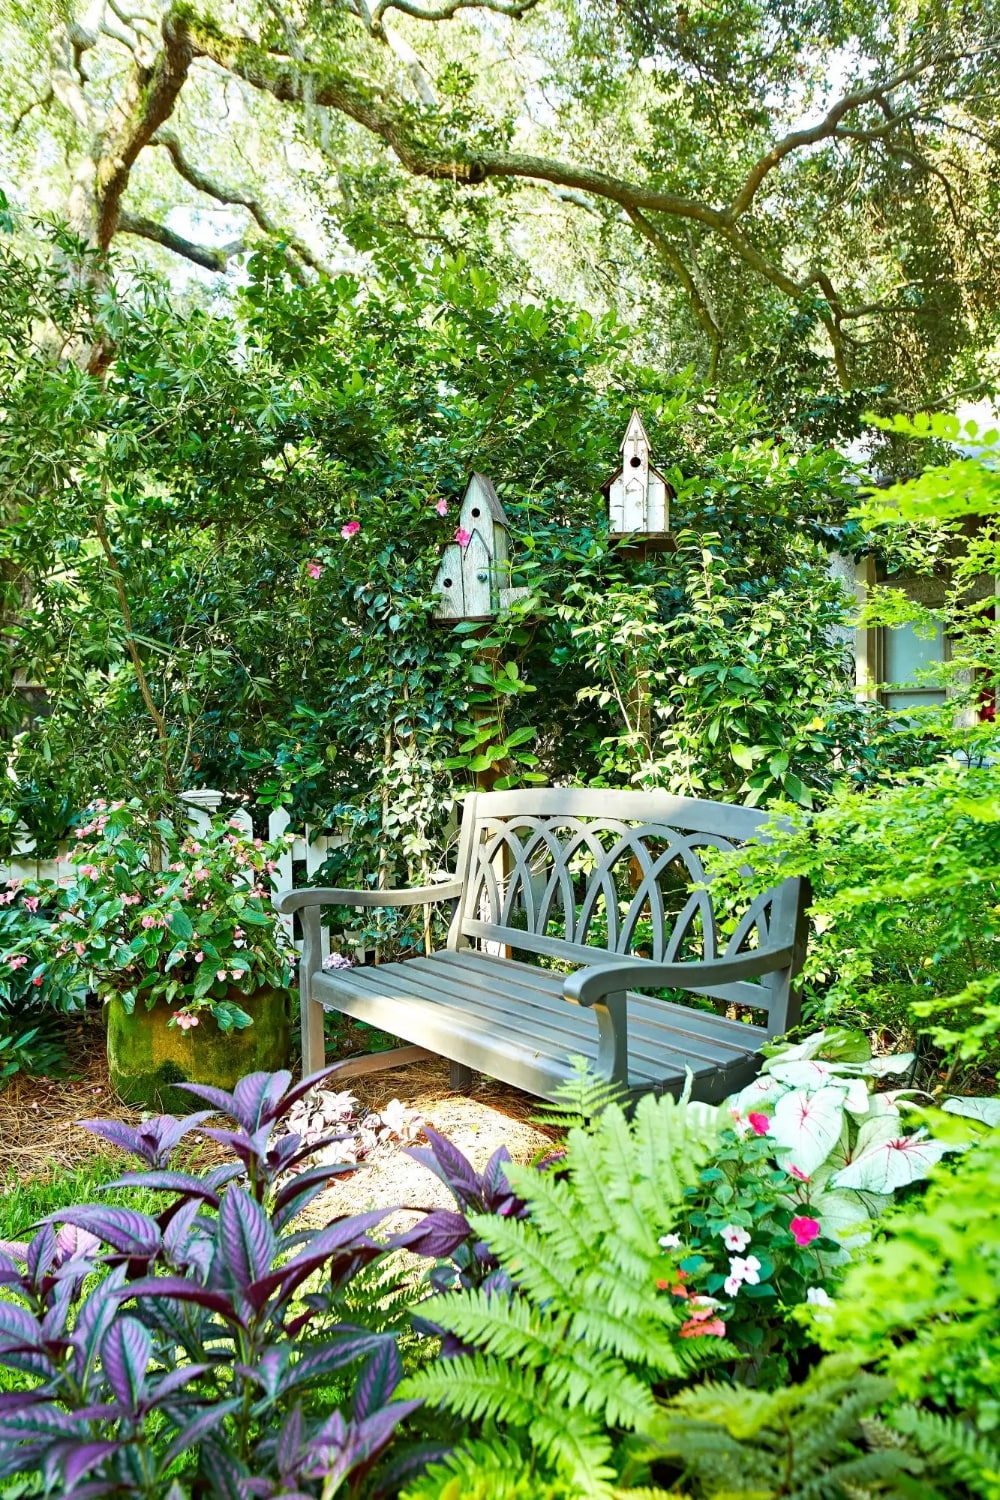
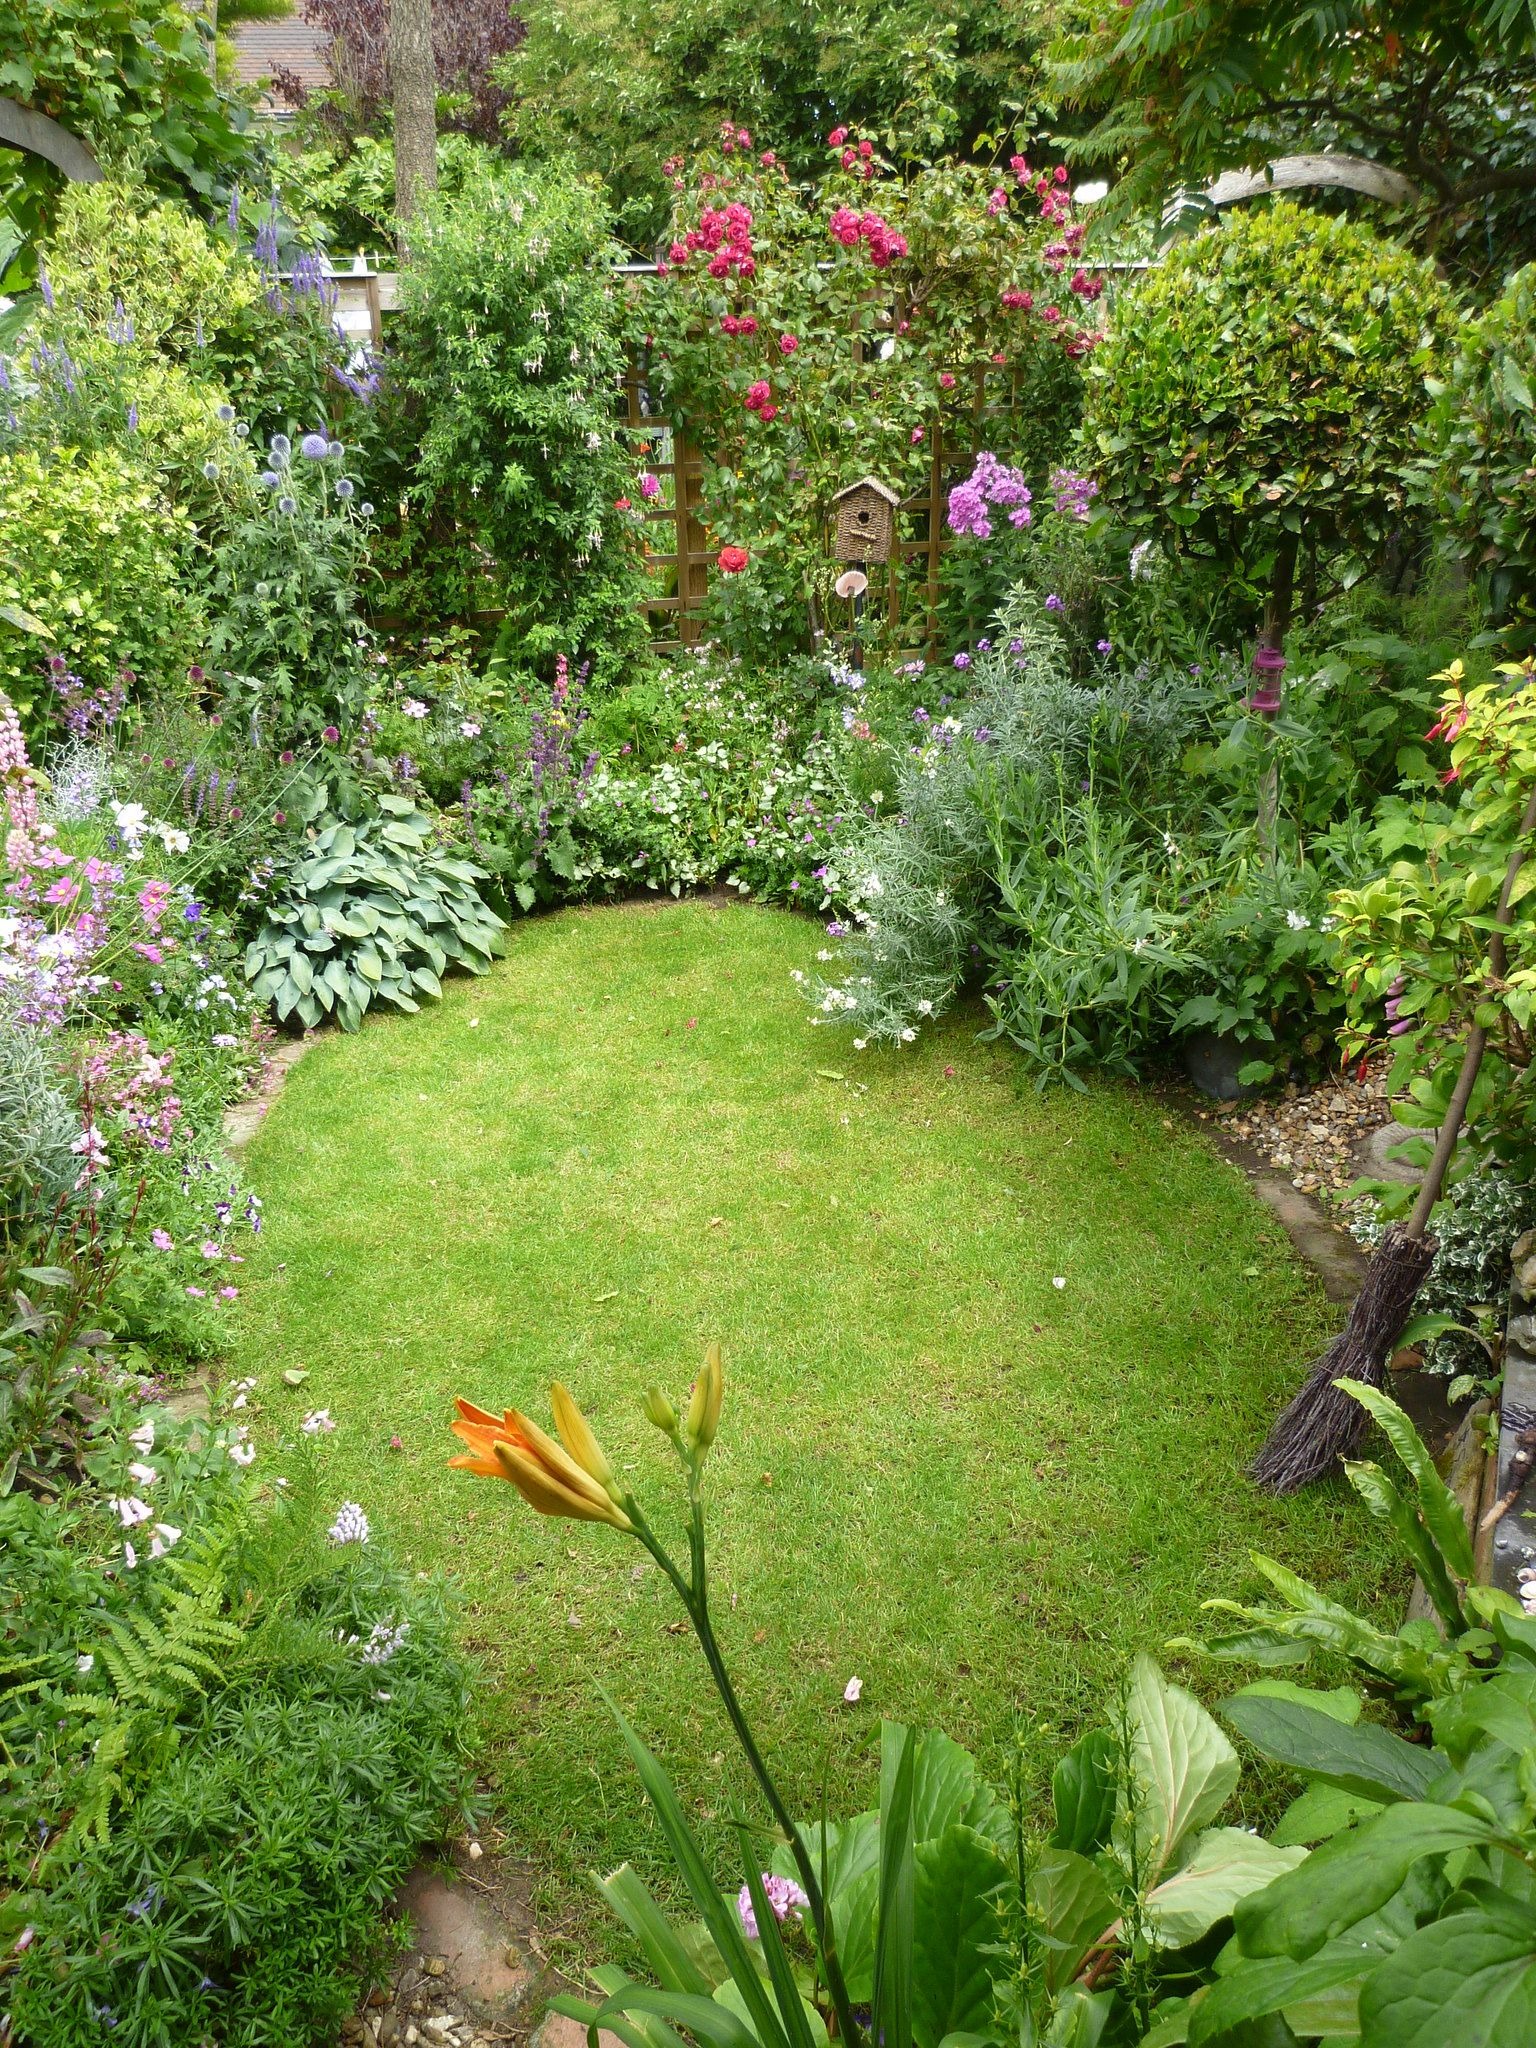
These are 18 Plant Ideas to Design A Cottage Garden in Full Colors. The cottage garden is identical to a large area with a wide variety of plants. Thus, most gardeners grow many plants and make an interesting landscape. The first line should be taller for smaller plants. Also, they arrange some colorful or evergreen shrubs to make a border. Meanwhile, the colorful flowers will add beautiful accents in the green background. Therefore, you need some different plants to make a beautiful dense garden. Hopefully, this post will help you to get attractive plants for a cottage garden.