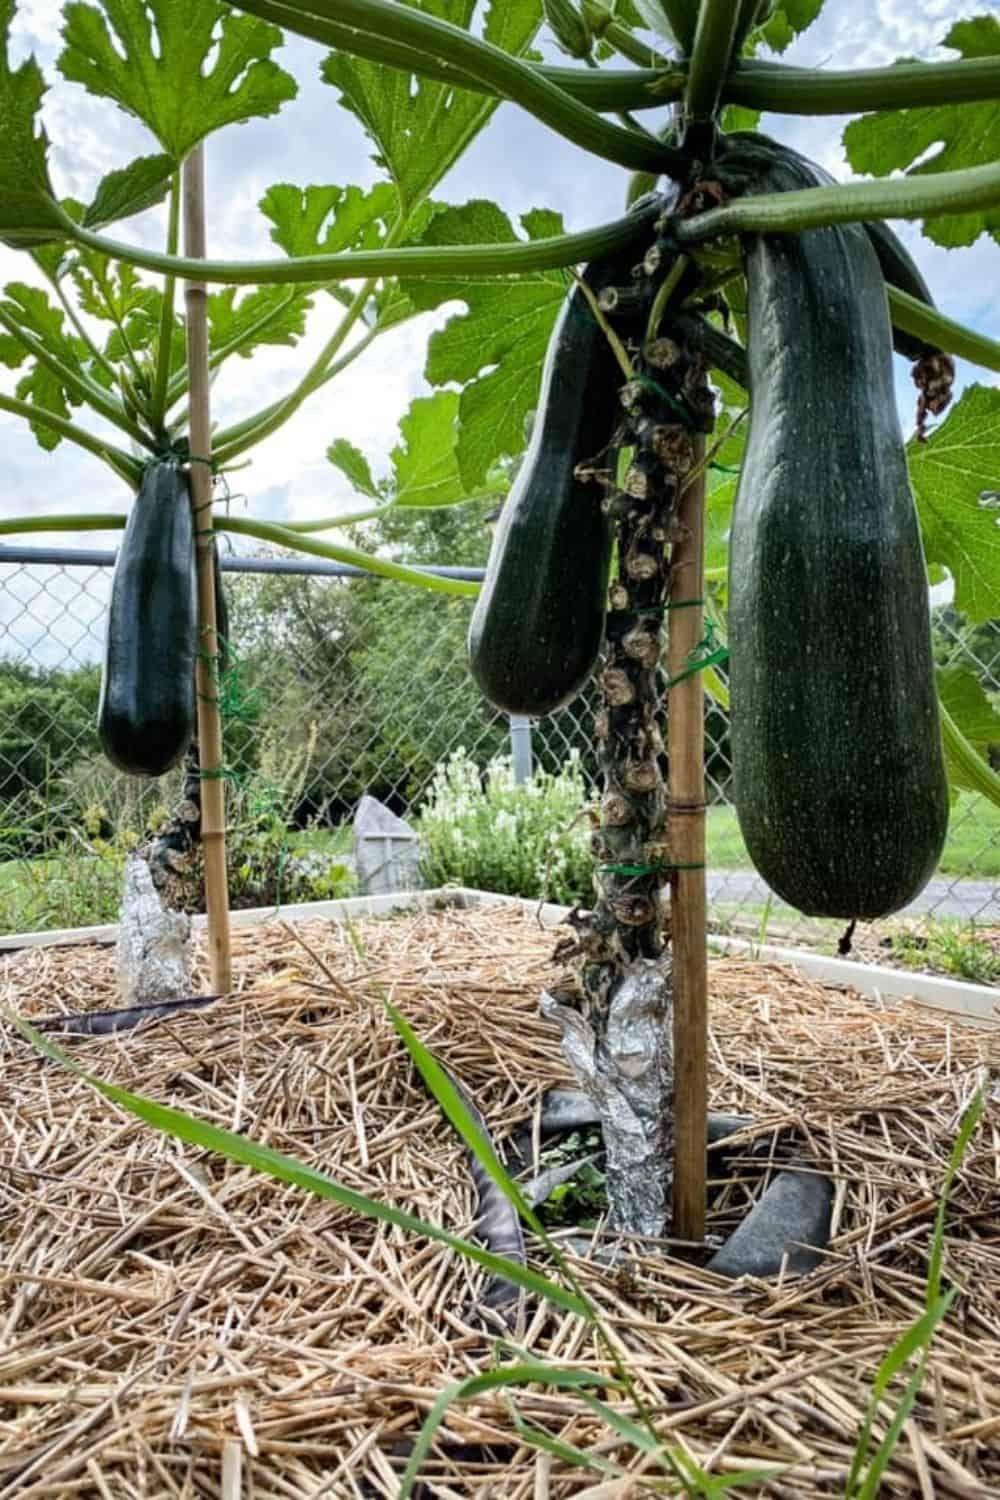

Homesfornh.com – Mulching the plant is important to keep humidity in the soil. The early growing plants need more water and consistently moist soil to grow their roots. You can cover the surfaces of your soil with shreded leaves, hay, moss, and other organic materials to keep the humidity beneath it. Mulching the soil around your early growing plant is also important to stimulate their growth. It makes them healthier and fresher. Moreover, you can water it once a week to supply the water substance in the soil. To mulch your plant, you can use the fall leaves in the autumn season. If you wonder how to make a mulch, we will give a short guide for you. For that, in this article we will discuss about Mulching Fall Leaves: Create Beautiful Gardens and Backyards. Let’s see the steps below!
Benefits of Mulching Fall Leaves
By mulching your plants, you can get various benefits that are beneficial for you. You can benefit from a more beautiful and tidy view of your garden or backyard. In addition, you can also get good benefits for the growth of your plants. Let’s discuss!
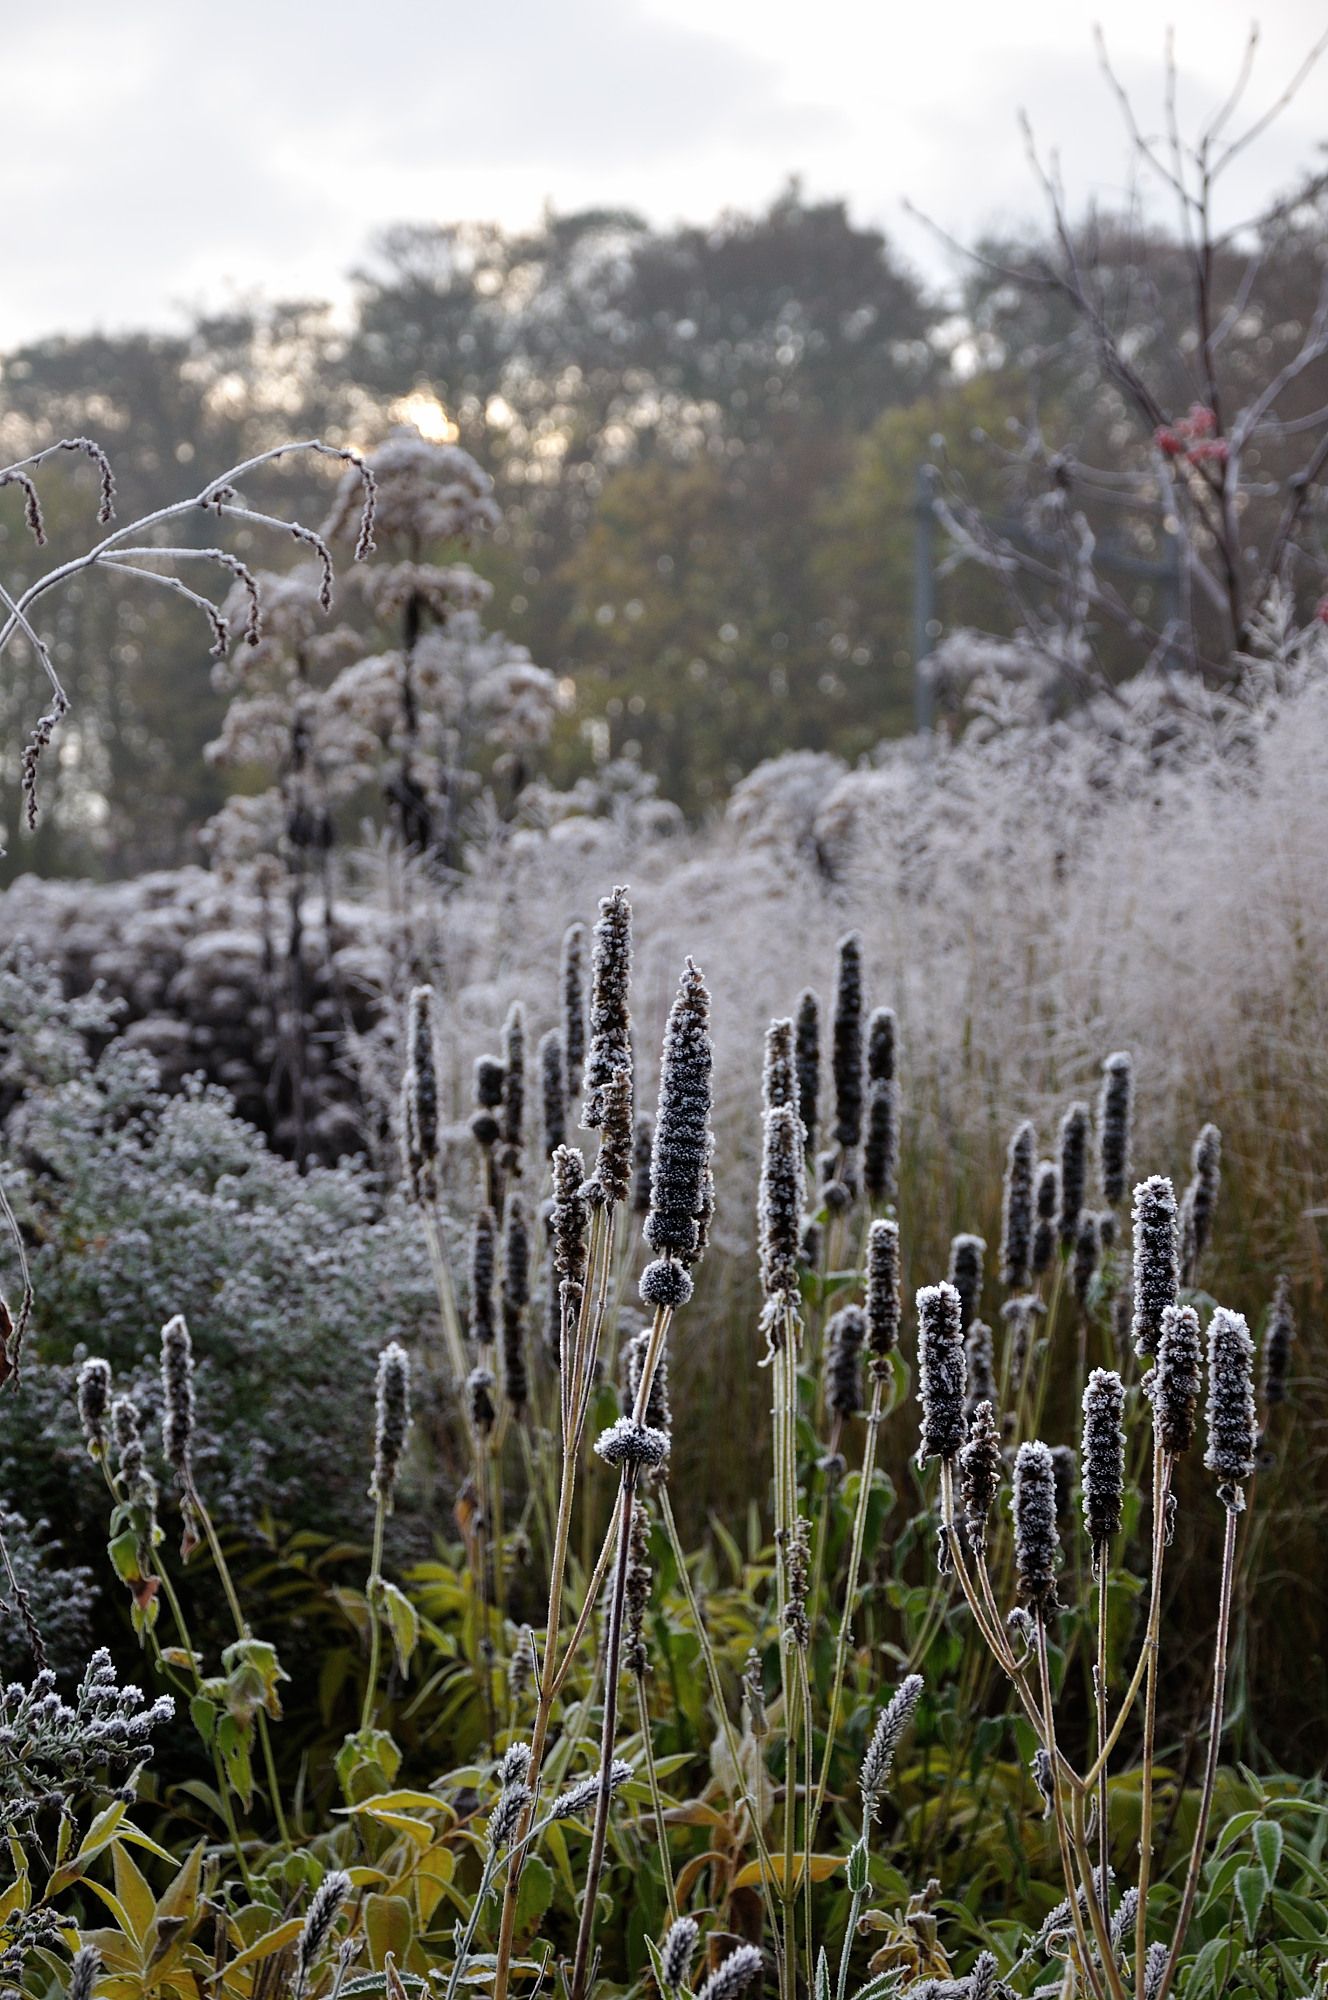
- Help to regulate soil temperatures. The mulch keeps the temperature in the soil remain stable. When the climate is cold, this mulch can warm the soil because shredded leaves produce natural heat when they touch the soil. It also keeps the soil moist when the climate is dry because shredded leaves can hold water.
- Less water to evaporation. Since the shredded leaves hold water, they will not dehydrate your plant even in dry conditions. The water will not evaporate and remain safe under the shredded leaves of mulch.
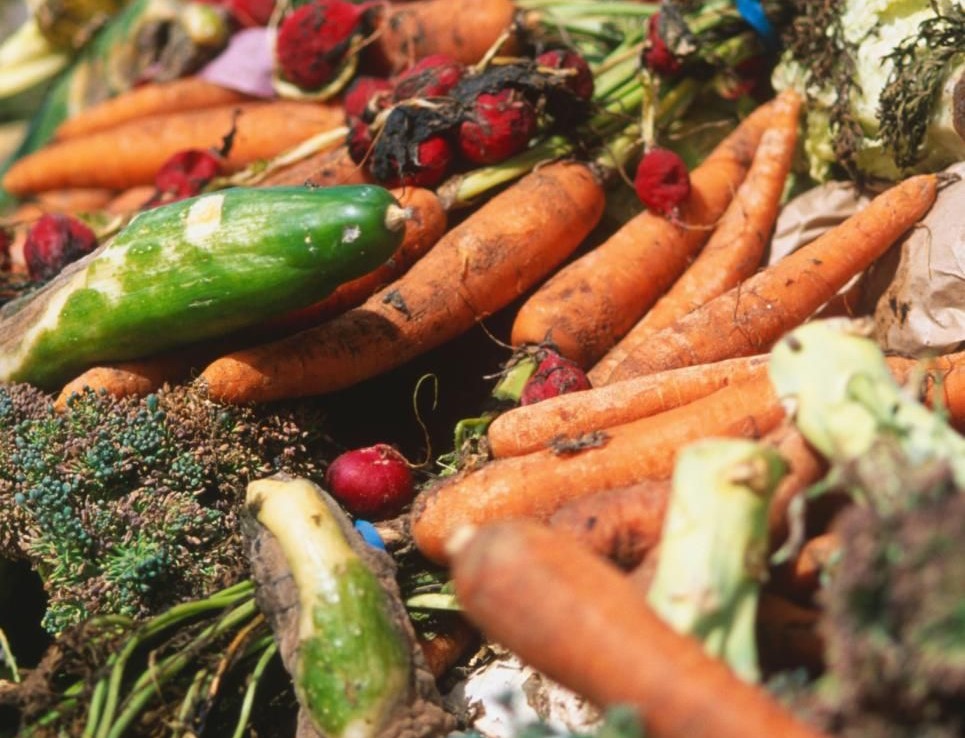
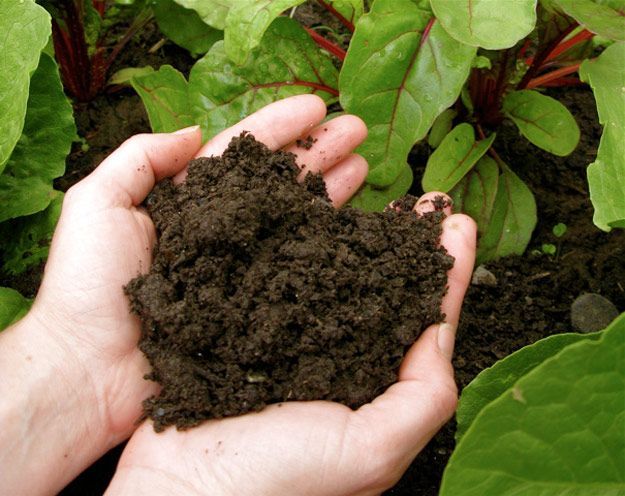
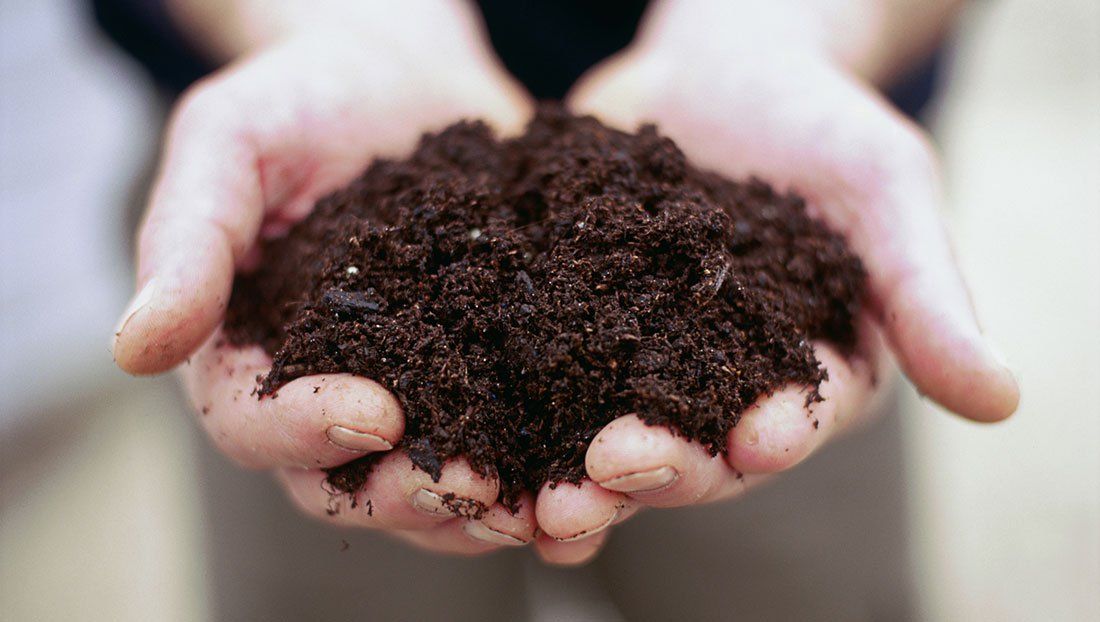
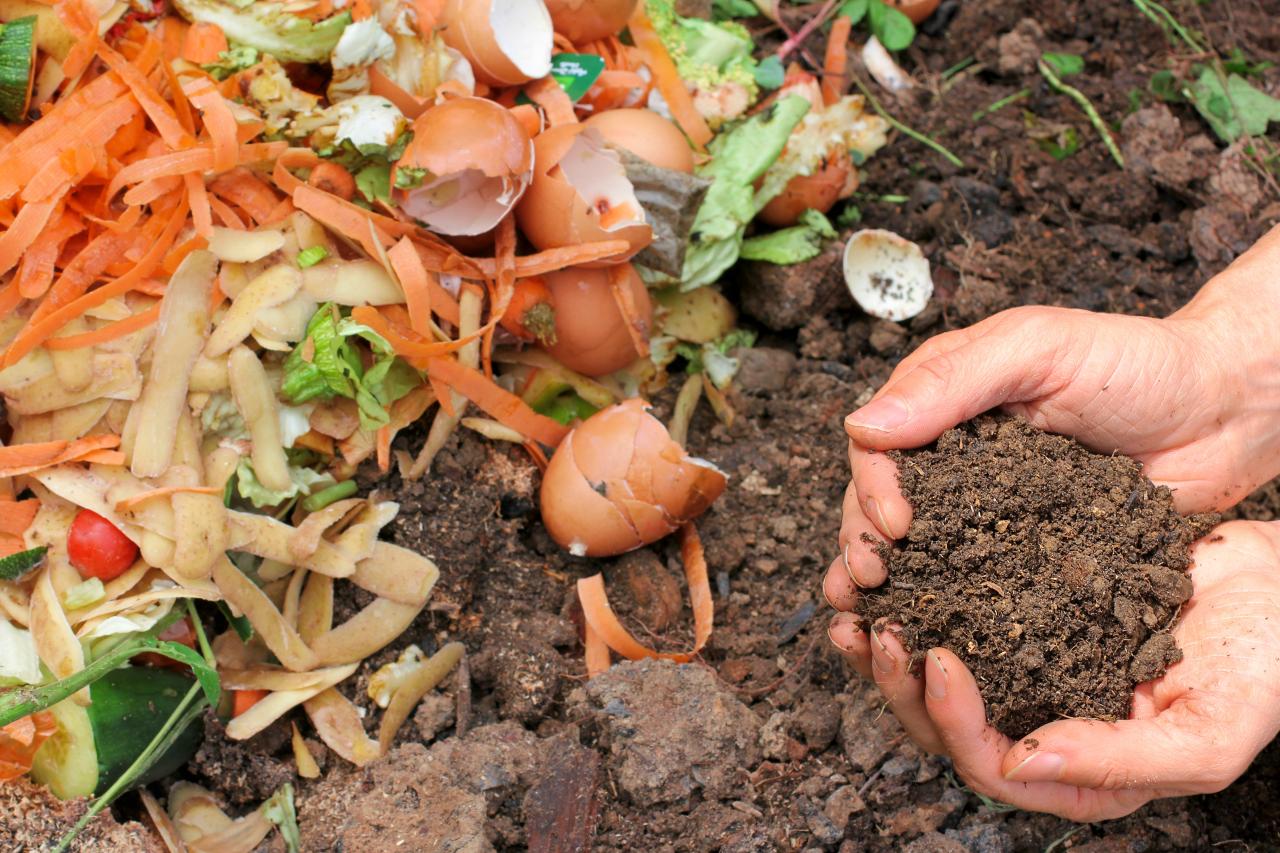
- Adds organic matter to the soil. The mulch is made of shredded leaves and as such, so it will decay and turn to compost when you watering the plant regularly. It provides organic fertilizer for your plant.
- It provides more beneficial microorganisms to live in the soil. The organic matter from mulch helps to prevent weeds because it has many beneficial microorganisms.
Mulching Preparations
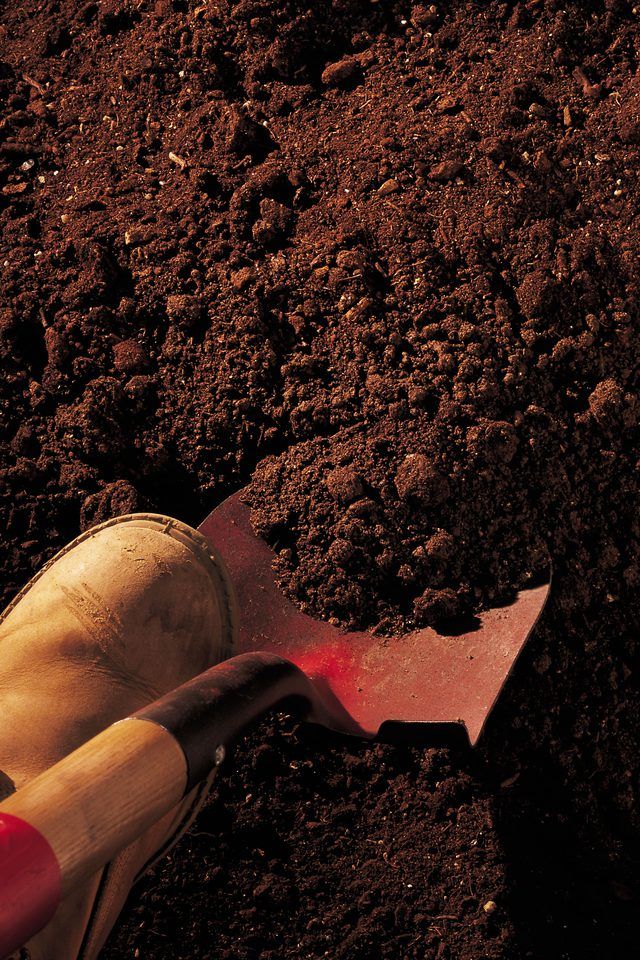
Before we start to mulch the fallen leaves around your house or in your backyard garden, you need to know the various preparations you need to do. The preparation starts from determining gardening tools to preparing other things that are essential in this activity. Here are some preparations that you can follow.
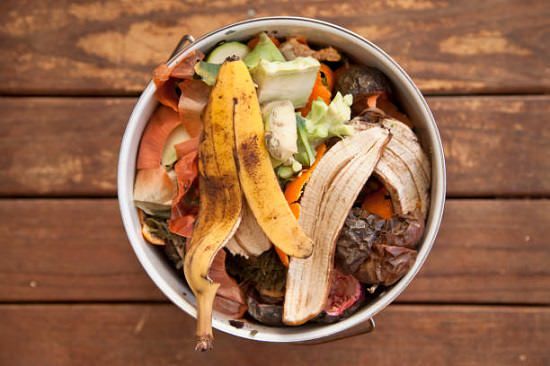
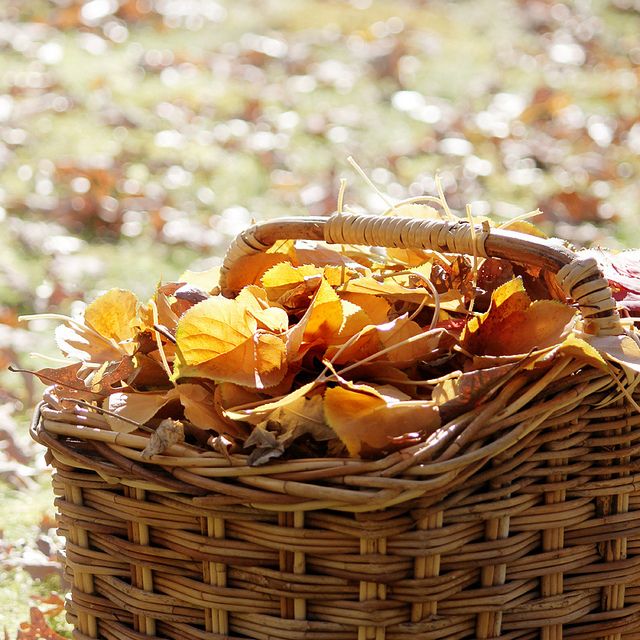
- The piles of dry leaves. You can pick all the fall leaves around your house. There are the fall leaves such as sweetgum, red oak, white oak, horse chestnut, red maple, silver maple, and sycamore that you can find in the autumn season.
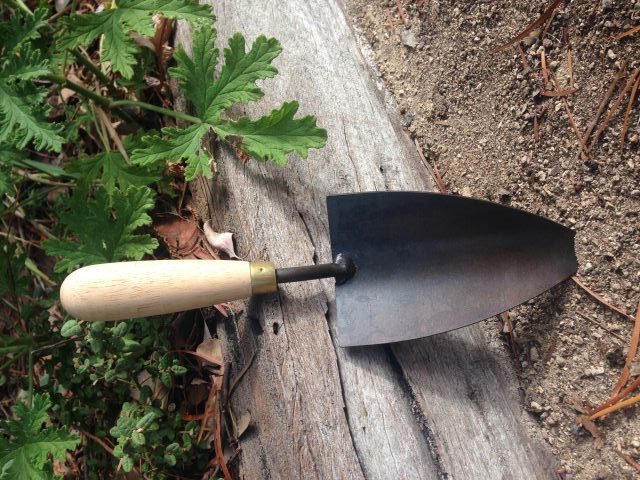
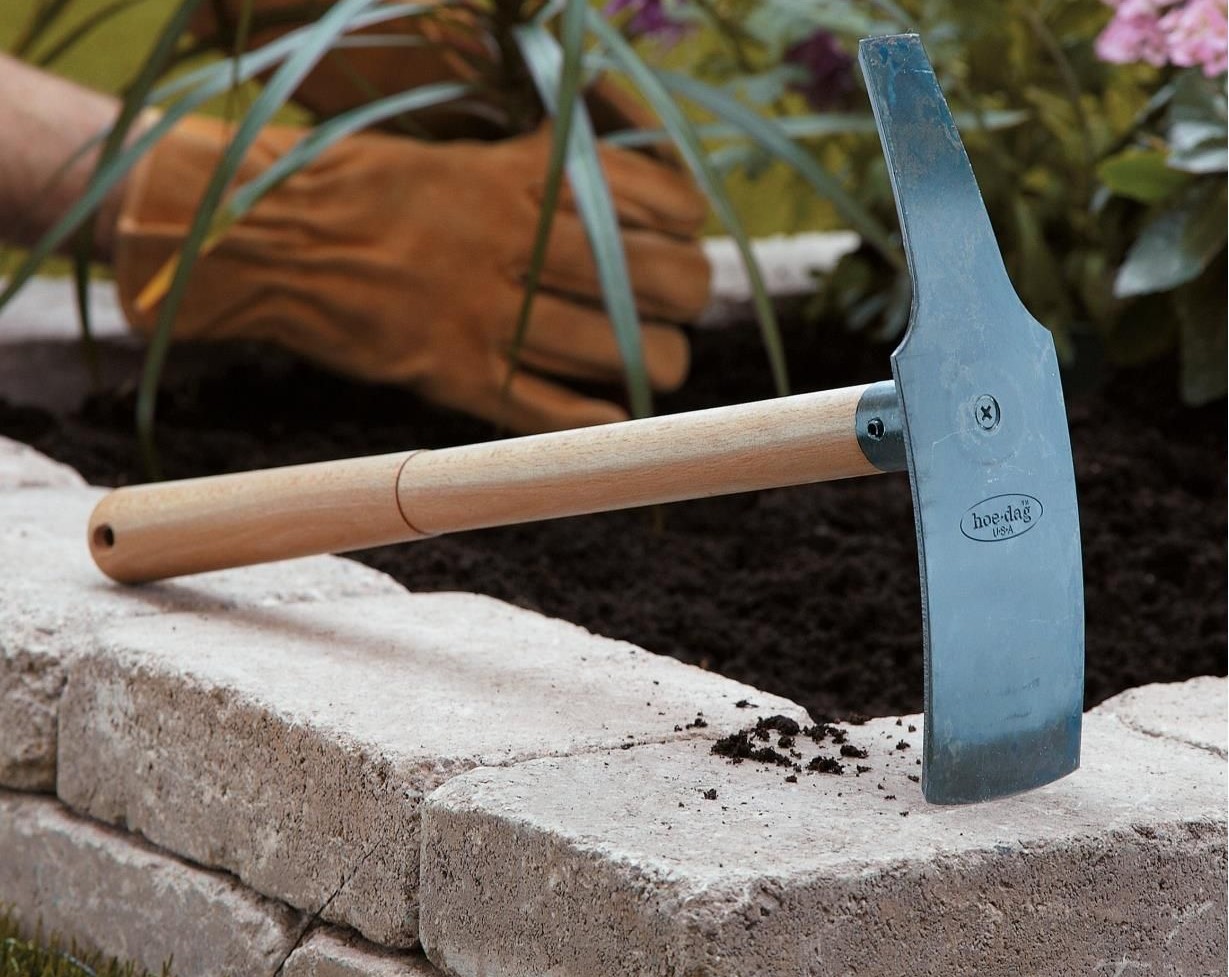
- Gardening tool to chop the leaves (Lawnmower/leaf shredder/leaf mulcher). To make mulching leaves, you need a shredder machine to chop them. It helps you get shred leaves quickly.
- Watering can. You will need some water to wet the shredded leaves.
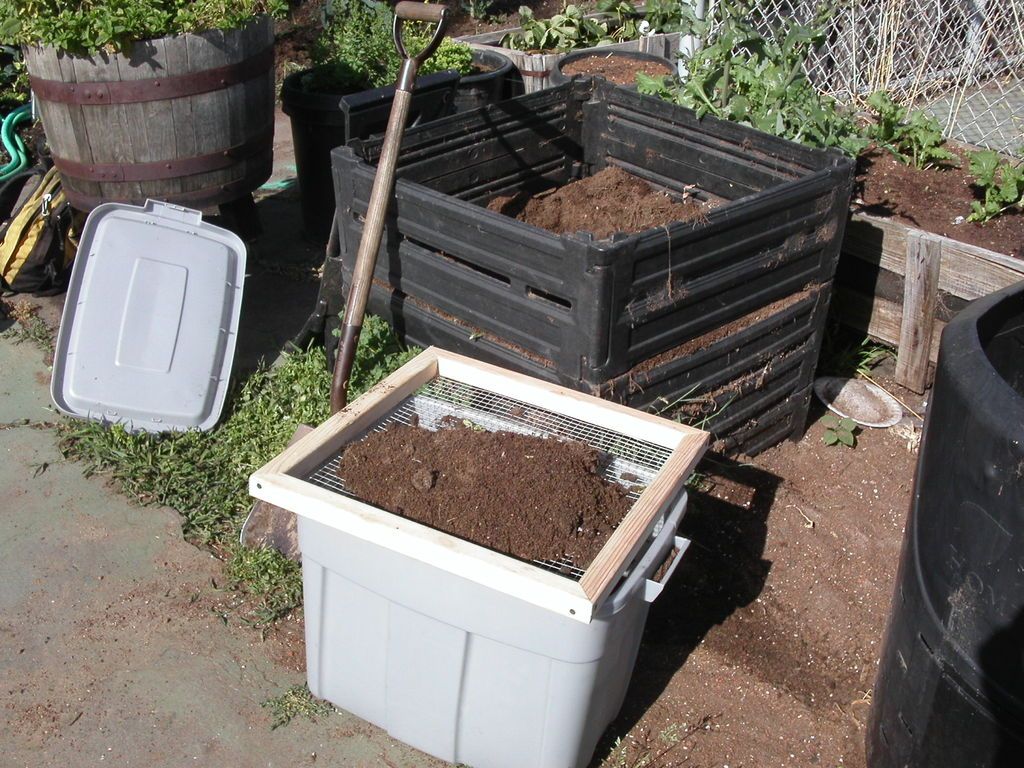
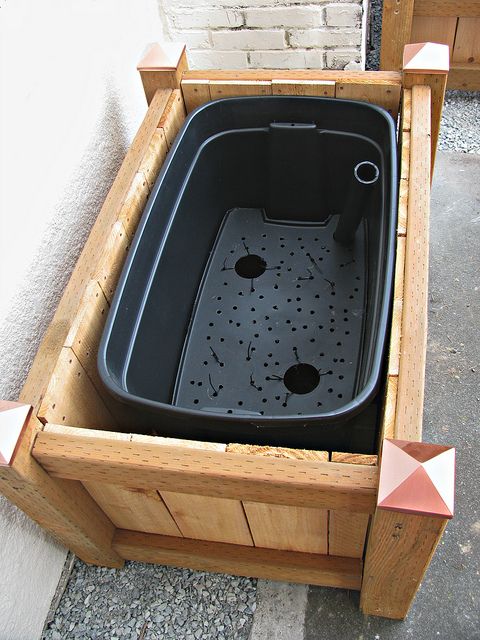
- Container (plastic bag/bucket/raised bed). Using a container is important to save all mulching leaves, so you can use them for the next planting.
Simple Steps to Mulch The Fall Leaves
Mulching your plant is important to keep the moist soil. Mulching helps your plant gets a warm temperature to grow new buds. In addition, by doing this activity, you can get a more beautiful and tidy view of your garden and backyard. You can also create a fresh atmosphere by doing this mulching activity. Here some simple steps to mulch your fall leaves. Let’s discuss them one by one!
-
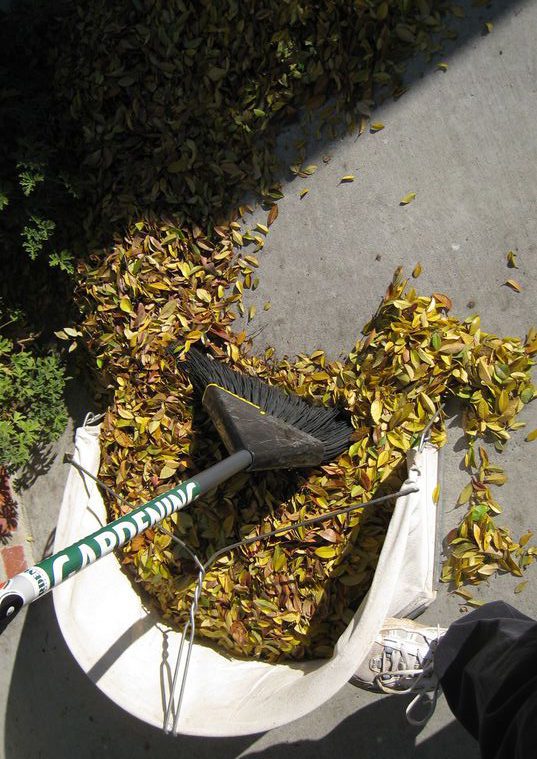
Take the Fall Leaves from Your Front Yard and Backyard
During the fall season, there are fall leaves everywhere. You can find these leaves around your house and garden. These leaves cover all the grounds and make a messy look. The front yard and backyard sometimes have many fall leaves. Take all leaves from your front yard and backyard by sweeping them, using a blower, or using a gardening rake to collect all leaves. Make a pile of dry leaves in the front yard.
-
Shred the Leaves
The next step is shredding the leaves. To shred all the fall leaves properly, you can use a shredding machine to chop them well. It will make your mulch smoother and easy to decay. If you use a lawnmower, the first step is flattening the pile of leaves into a thin layer. It makes it easy to shred all the fall leaves. Even you can mow them with the grass on the ground. This lawnmower will chop the leaves into pieces. You can reply to this step to get the tiny pieces from your fall leaves.
-
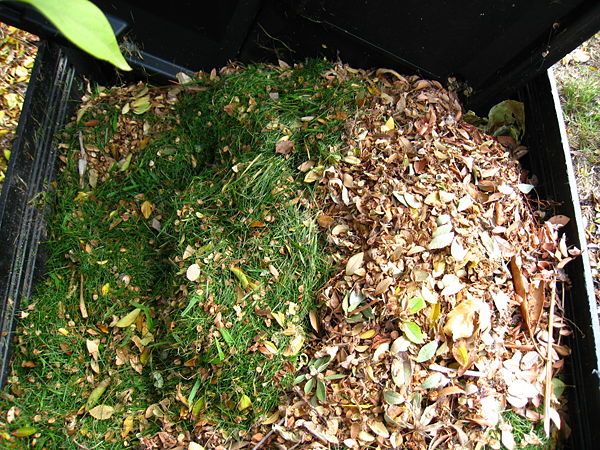
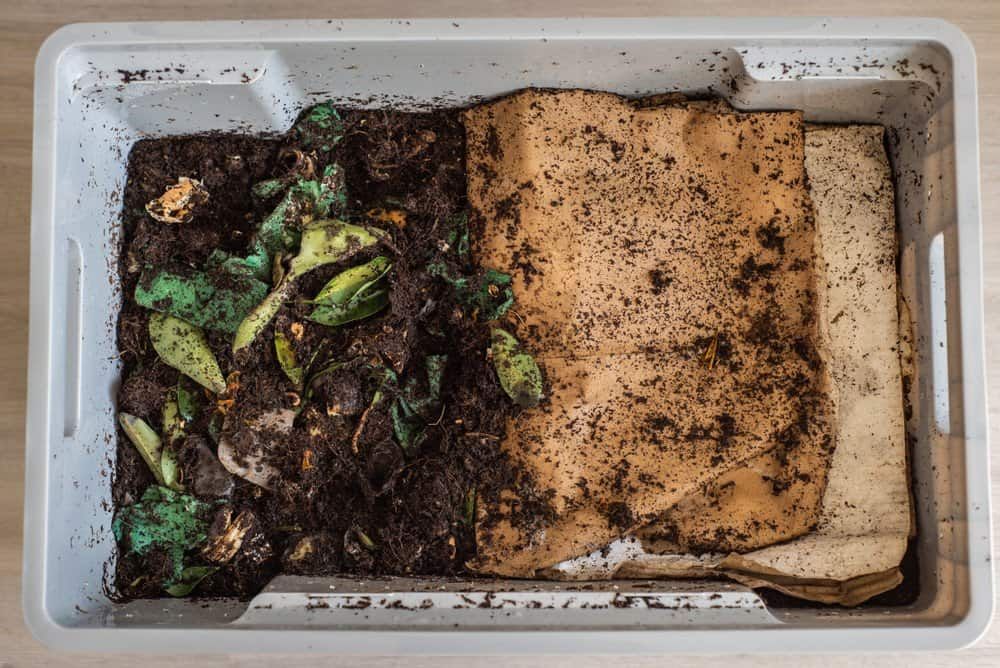
Collect All the Tiny Pieces into a Container
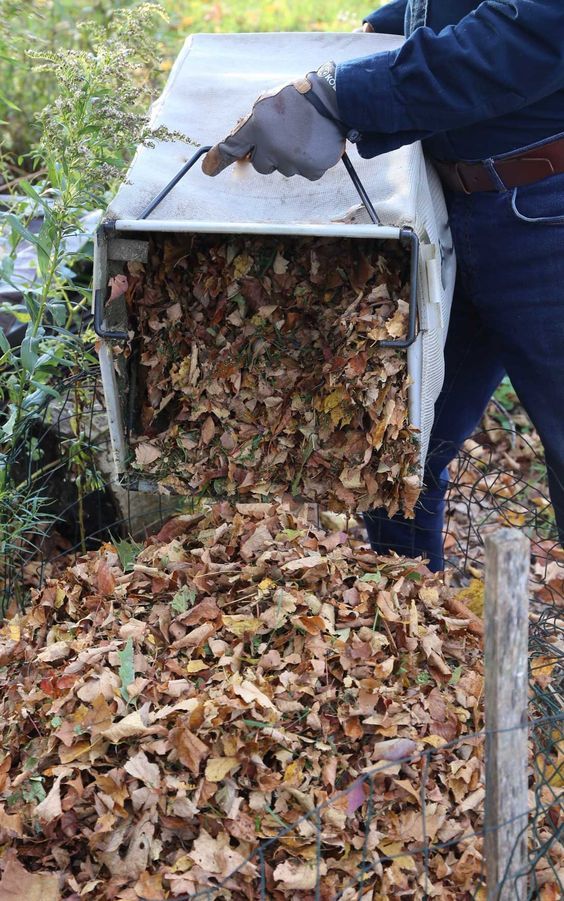
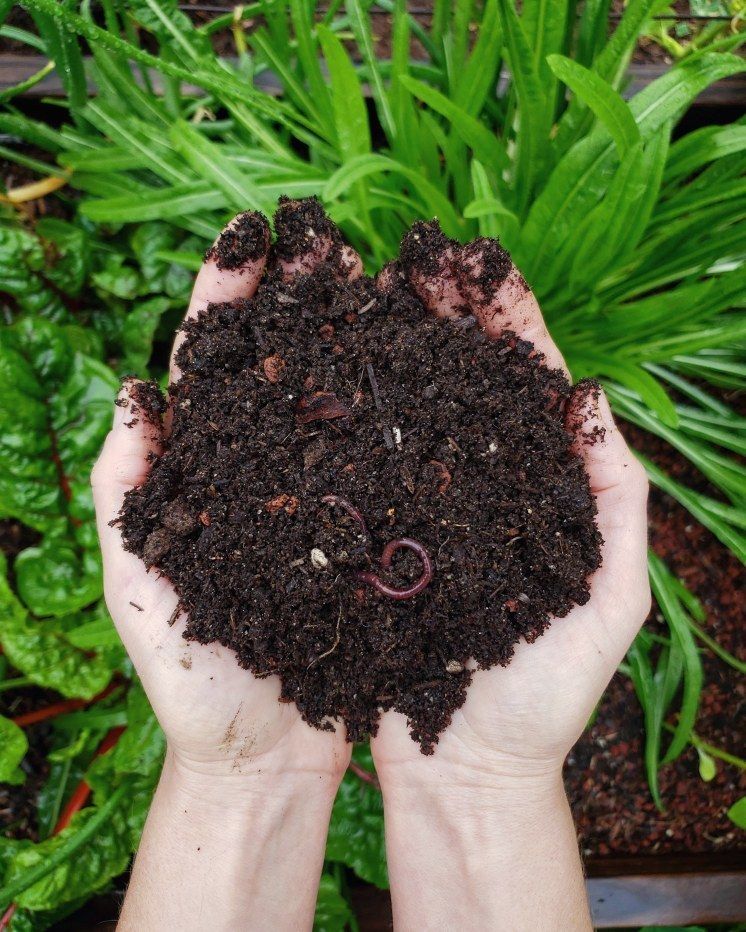
After mowing the fall leaves, you need to collect them in a container. If you use a leaf shredder, you already get the chopped leaves inside the container. Since the mulch is made of organic materials, it includes eco-friendly fertilizer to use in your garden. It helps your plant to grow well and gets more carbon dioxide in the soil. Put all shredded leaves in a container is the first step to supply the mulch for the next planting.
-
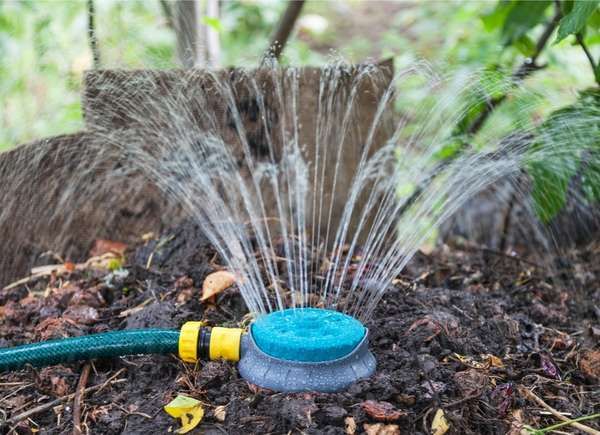
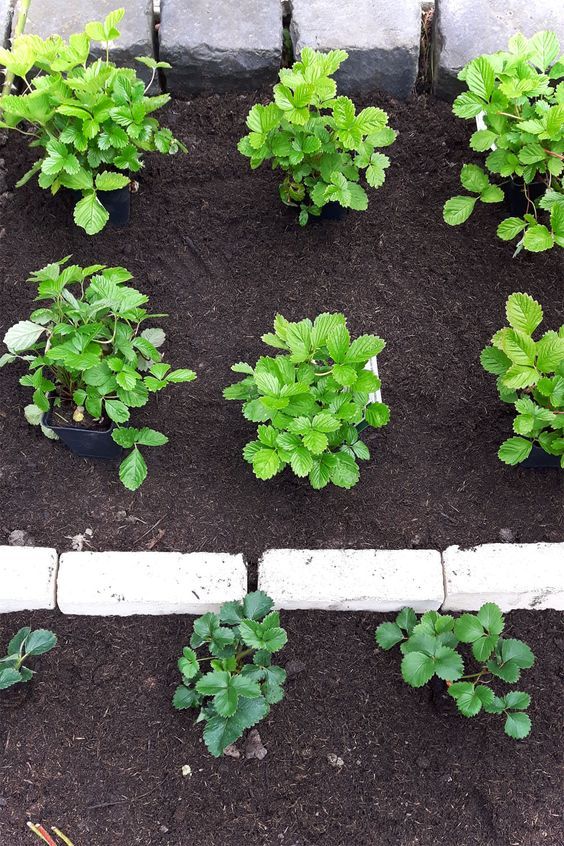
Pour the Mulch on The Soil
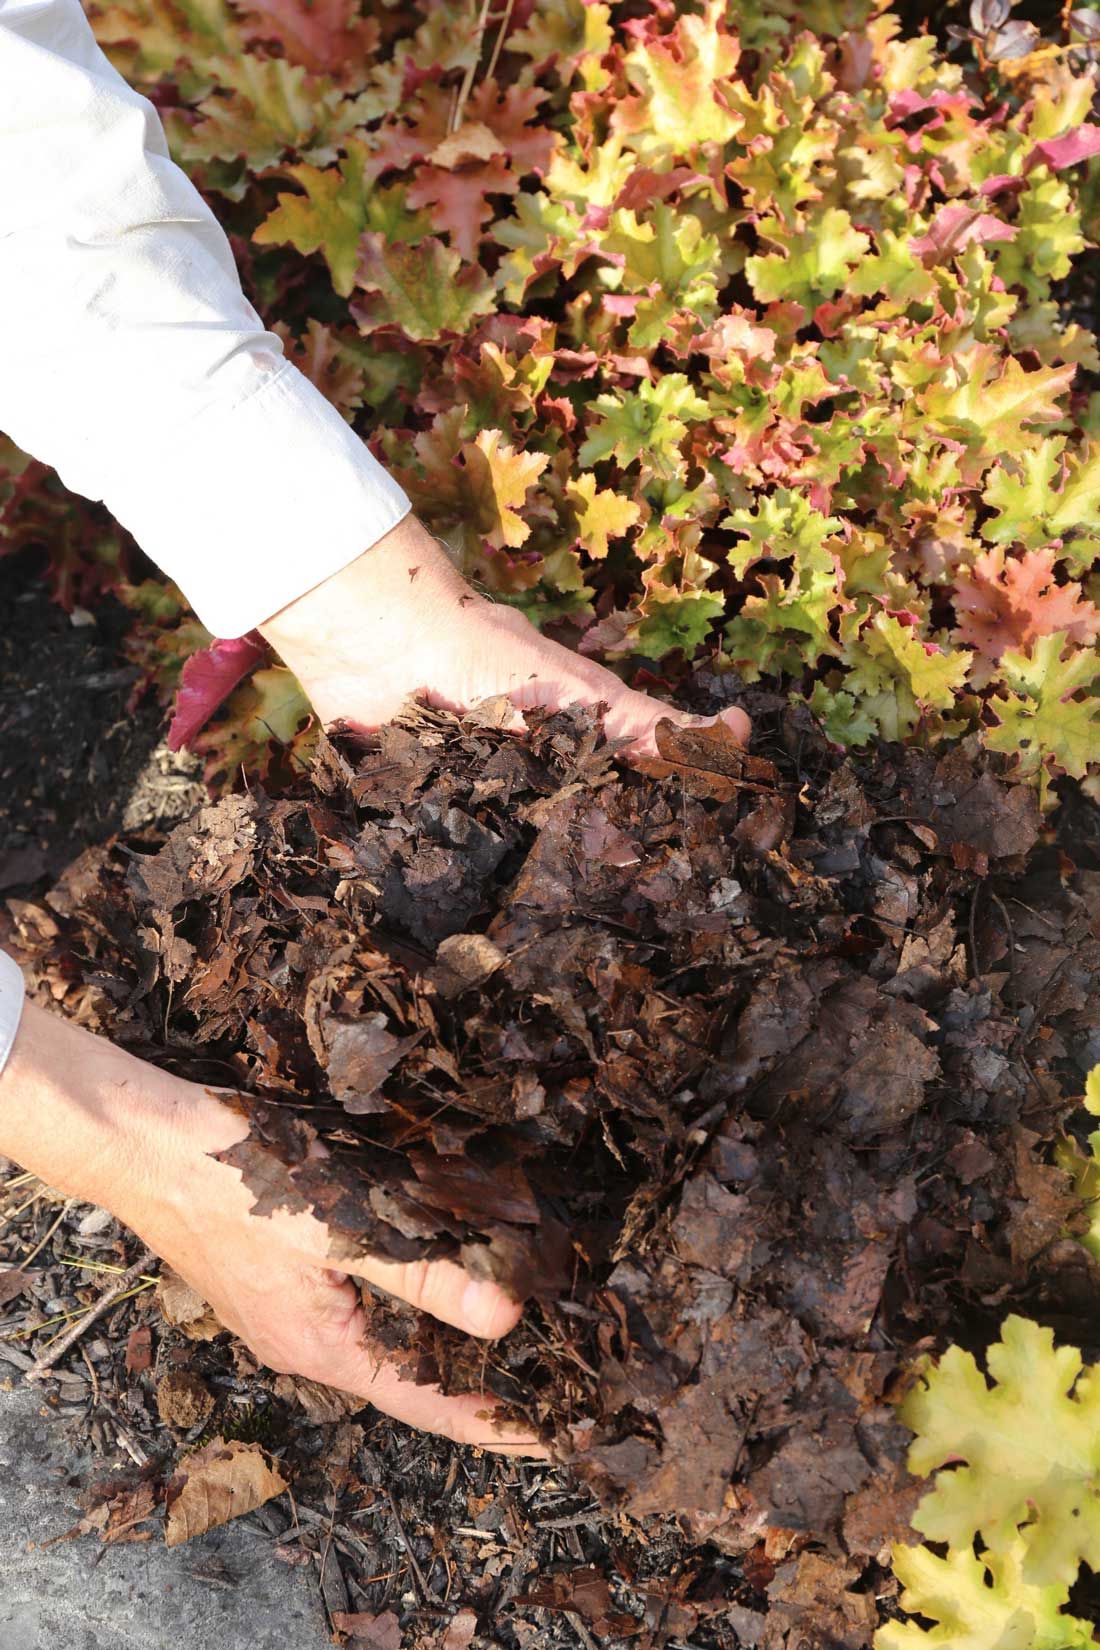
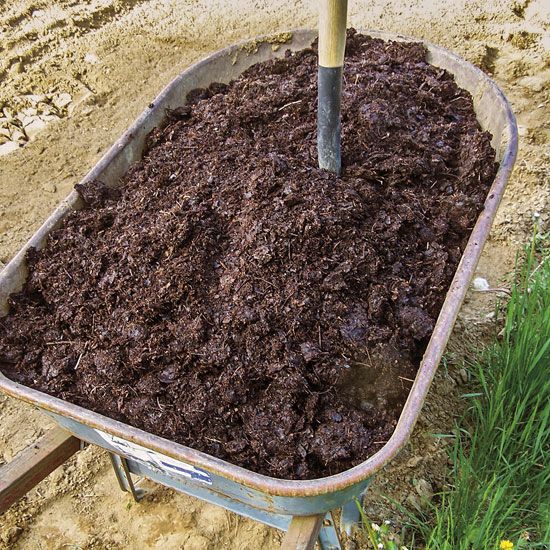
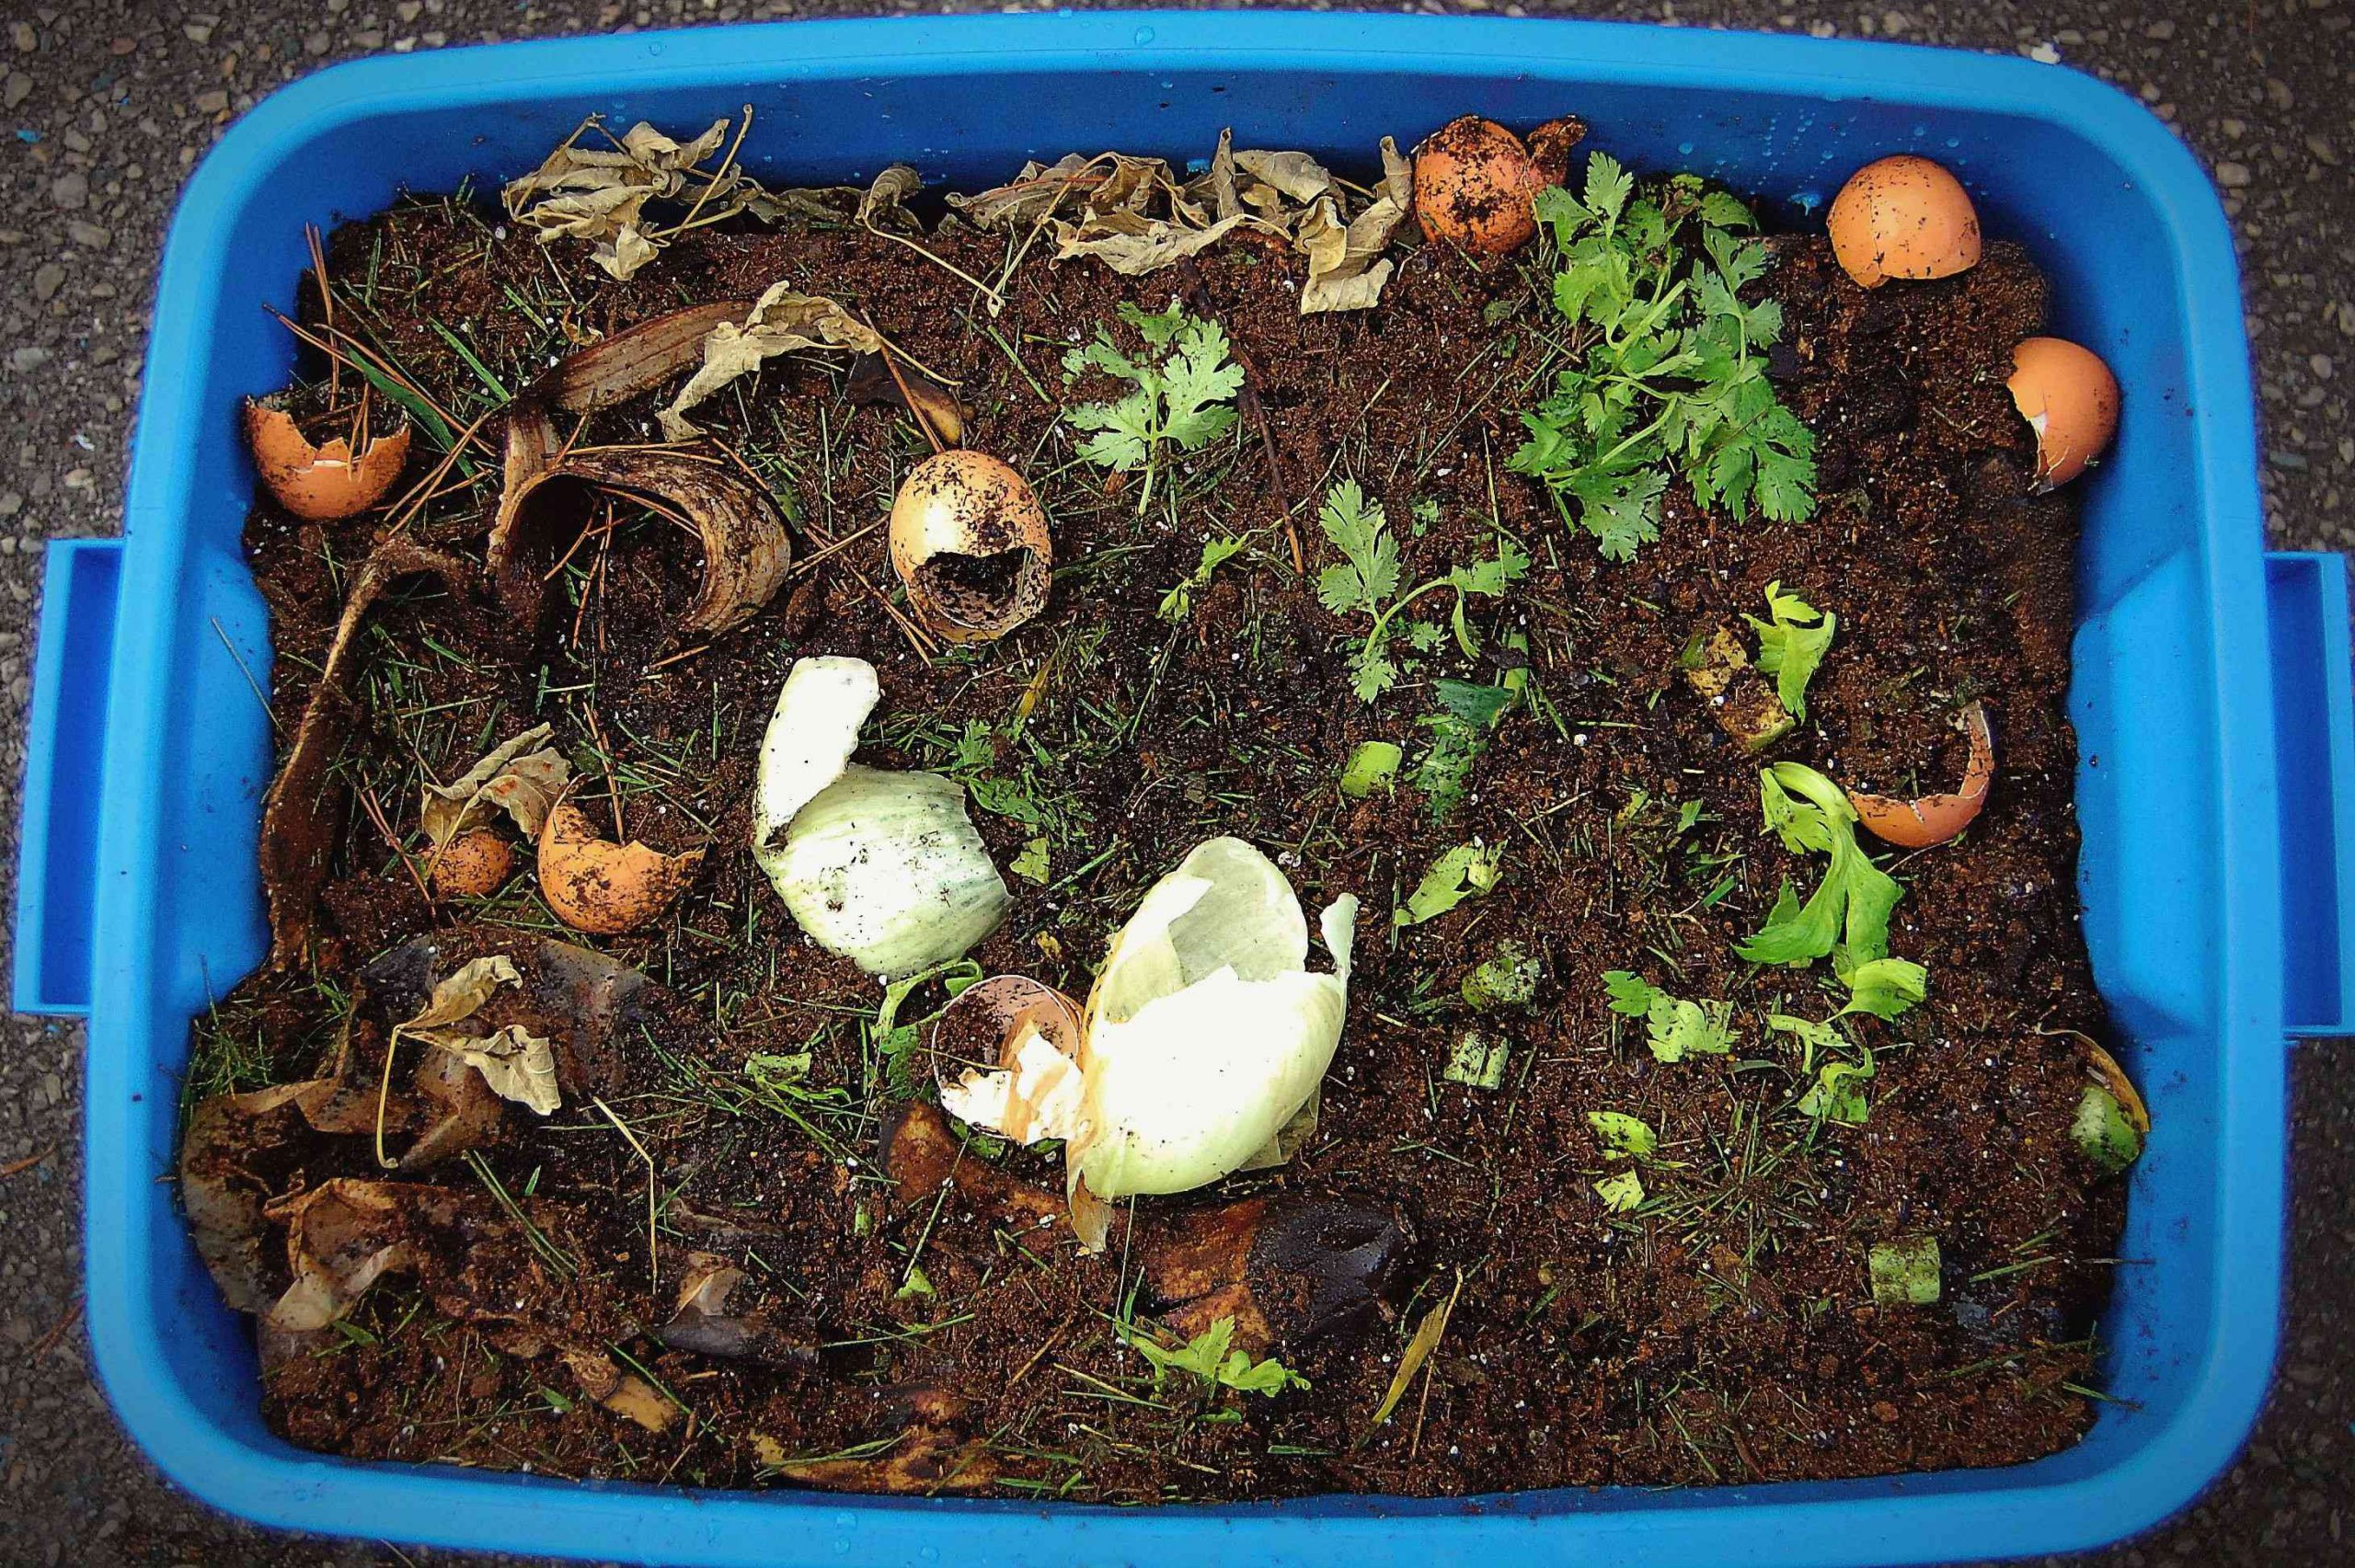
If you save the shredded leaves in its container, you can decay them by water or use them directly as dry mulch. The wet piles that turn into compost are also good to mulch your plant. It is a semi-rotted mulch. Pour the leaf mulch in the garden and around your plant. The mulch adds more nutrients to the soil, it will attract garden worms to live near the plants. Thus, pour the mulch properly to cover all surfaces.
-
Another Simple Ideas
After you mulch all leaves, you can add them into the trash bag. The myriad shredded leaves need more trash bags. Makes some holes around the bags. The holes are beneficial to aerate the leaves and let the water run through the holes. Spark the water into the trash bags. Add a blood meal, compost, and soil. Tie the trash bag and let it in the partial shade place. You can use them after two weeks in the bags.
Conclusion
Thus our discussion of Mulching Fall Leaves: Create Beautiful Gardens and Backyards. The new growing plant needs more nutrients. Even the other growing plants want to get moist soil to stimulate their growth. They will grow the flowers and fruits if the soil provides enough water for the roots. Mulching your plant to make it healthy by having enough water in the soil. The mulch from shredded leaves is effective to keep water on the surface of the soil. We hope the short guide above is helpful for you to start mulching the plant. Happy mulching and gardening!