
Homesfornh.com – Pest is a toxic, harmful, and carcinogenic organism that can attack your plant. Many species of pests are harmful to plant life. Even they can kill them slowly. Caterpillar, cutworms, mealybugs, beetles, aphids, etc., are pests in a garden. You need to get rid of them to save the plants, especially by the organic methods. Why do you need organic methods? This method is the safest way to kill the pests rather than using chemical controls. Even you can make organic controls at home. Here, we have provided five organic methods for pests control in your home garden. Many methods you can do to reduce pests in your plants. The easy way to get rid of the pests such as mealybugs, ants, and aphids on the leaves. Let’s discuss!
An Organic Pesticide with A Sprayer

The homemade organic pesticide is easy to make by using kitchen recipes. Garlic is the organic thing to make the organic pesticide. We have summed the tips and steps to make this pests control for you. Let’s see this short guide:
-
Preparation
To make an organic pesticide easily, there are several things you need to prepare. You can prepare these things from various things around you or things that are in your home. Here are some preparations you can do.
- Ten chopped garlic
- 100 ml mineral oil
- 150 ml neem oil
- Three tablespoons of dish soap
- Three tablespoons of BT (Bacillus thuriengensis)
- 1 liter gallon of water
- One sprayer
-
Steps
After you have prepared the various things above, you can easily create your organic pesticides by following the various steps below. You can do it easily as DIY pests control that you can do regularly. Here’s the discussion!
-
Prepare The Chopped Garlic
The first step is chopping your garlic into small pieces. Use a sharp knife to chop the garlic, and put them in a bowl. Add the mineral oil to soak the garlic for 24 hours. This process is beneficial to let the organic sulfur from garlic mix with mineral oil. Soaking garlic is more effective in killing mealybugs, caterpillars, cutworms, and aphids.
-
Screening The Garlic
The next step is screening the soaking garlic. Take a screener from your kitchen. Put it on the glass, then pour the soaking garlic into it. You can push the garlic on the screener to get more flavor. Add BT (Bacillus thuriengensis) solution for the best organic water solution for pests control.
-
Mix All Ingredients
Take a gallon of water and open it. Make sure you have measured all ingredients before you pour them into the gallon. Add the garlic solution, then shake the gallon. Wait for the mineral oil to appear on the top of the water. Pour the neem oil and dish soap to blend the mixture well. You have to shake the gallon till you see no oil on the top solution.
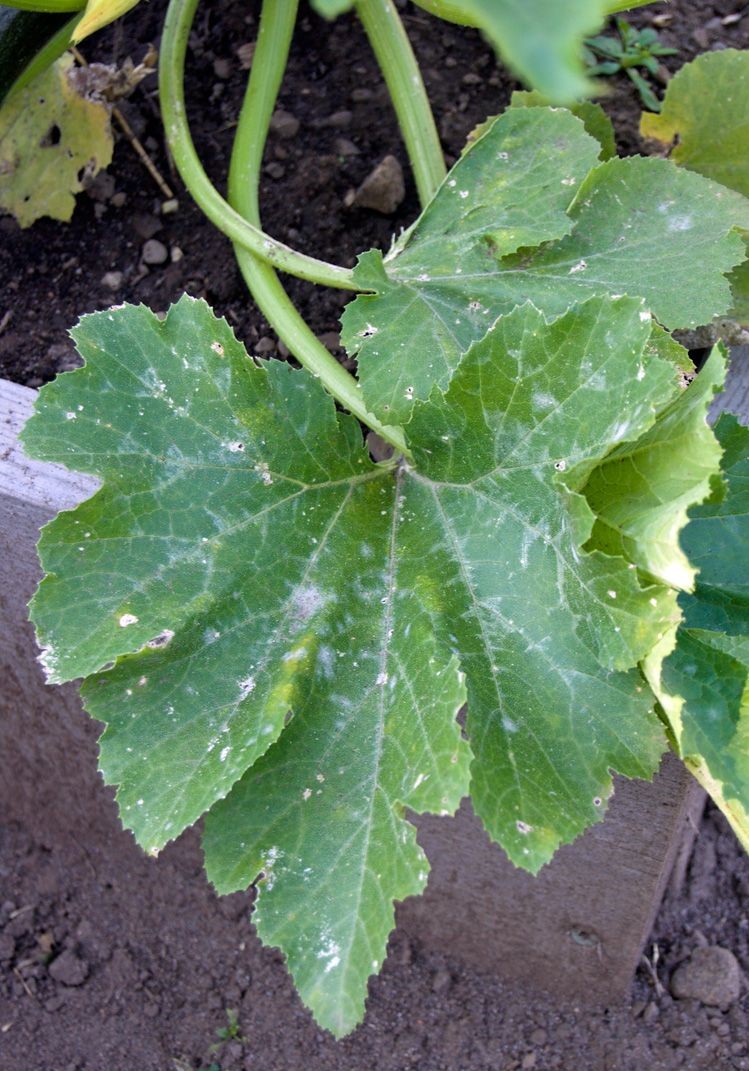
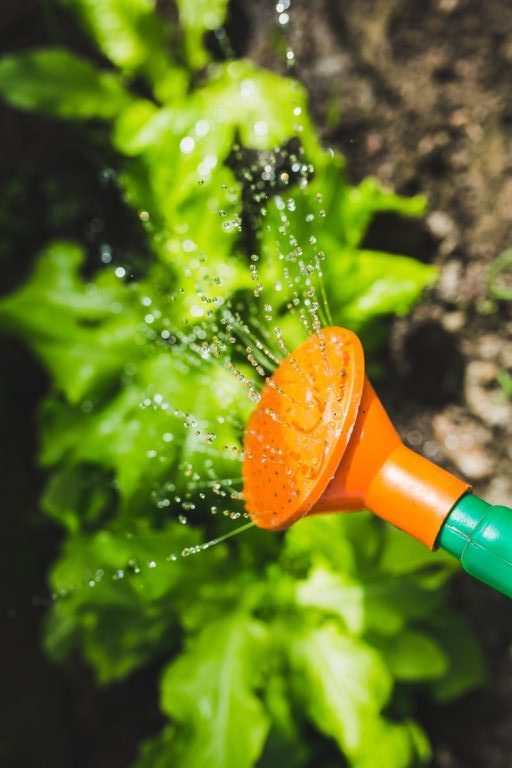
Wash The Plant by Wiping It with Organic Controls
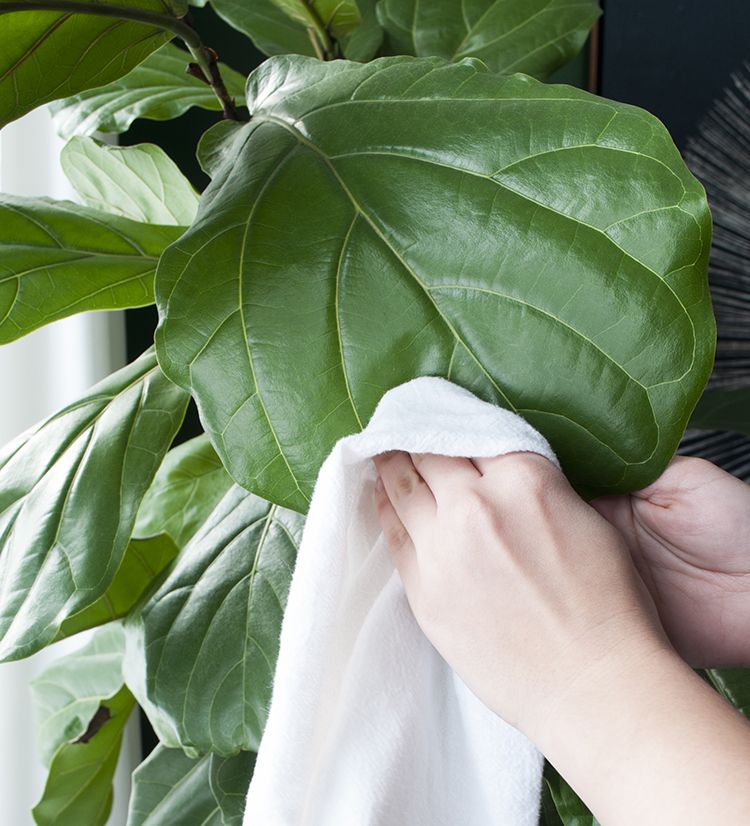
Try to get rid of pests in a garden forces you to do some experiments. One of the safest ways is using the organic method. You can wipe your plant gently by using organic controls. Pour the organic controls into a bucket. Wiping the leaves and stems is effective in making sure that all pests will not stay longer in your garden. This method is doing well for soft-bodied pests like mealybugs, aphids, and whiteflies.
Physical Control
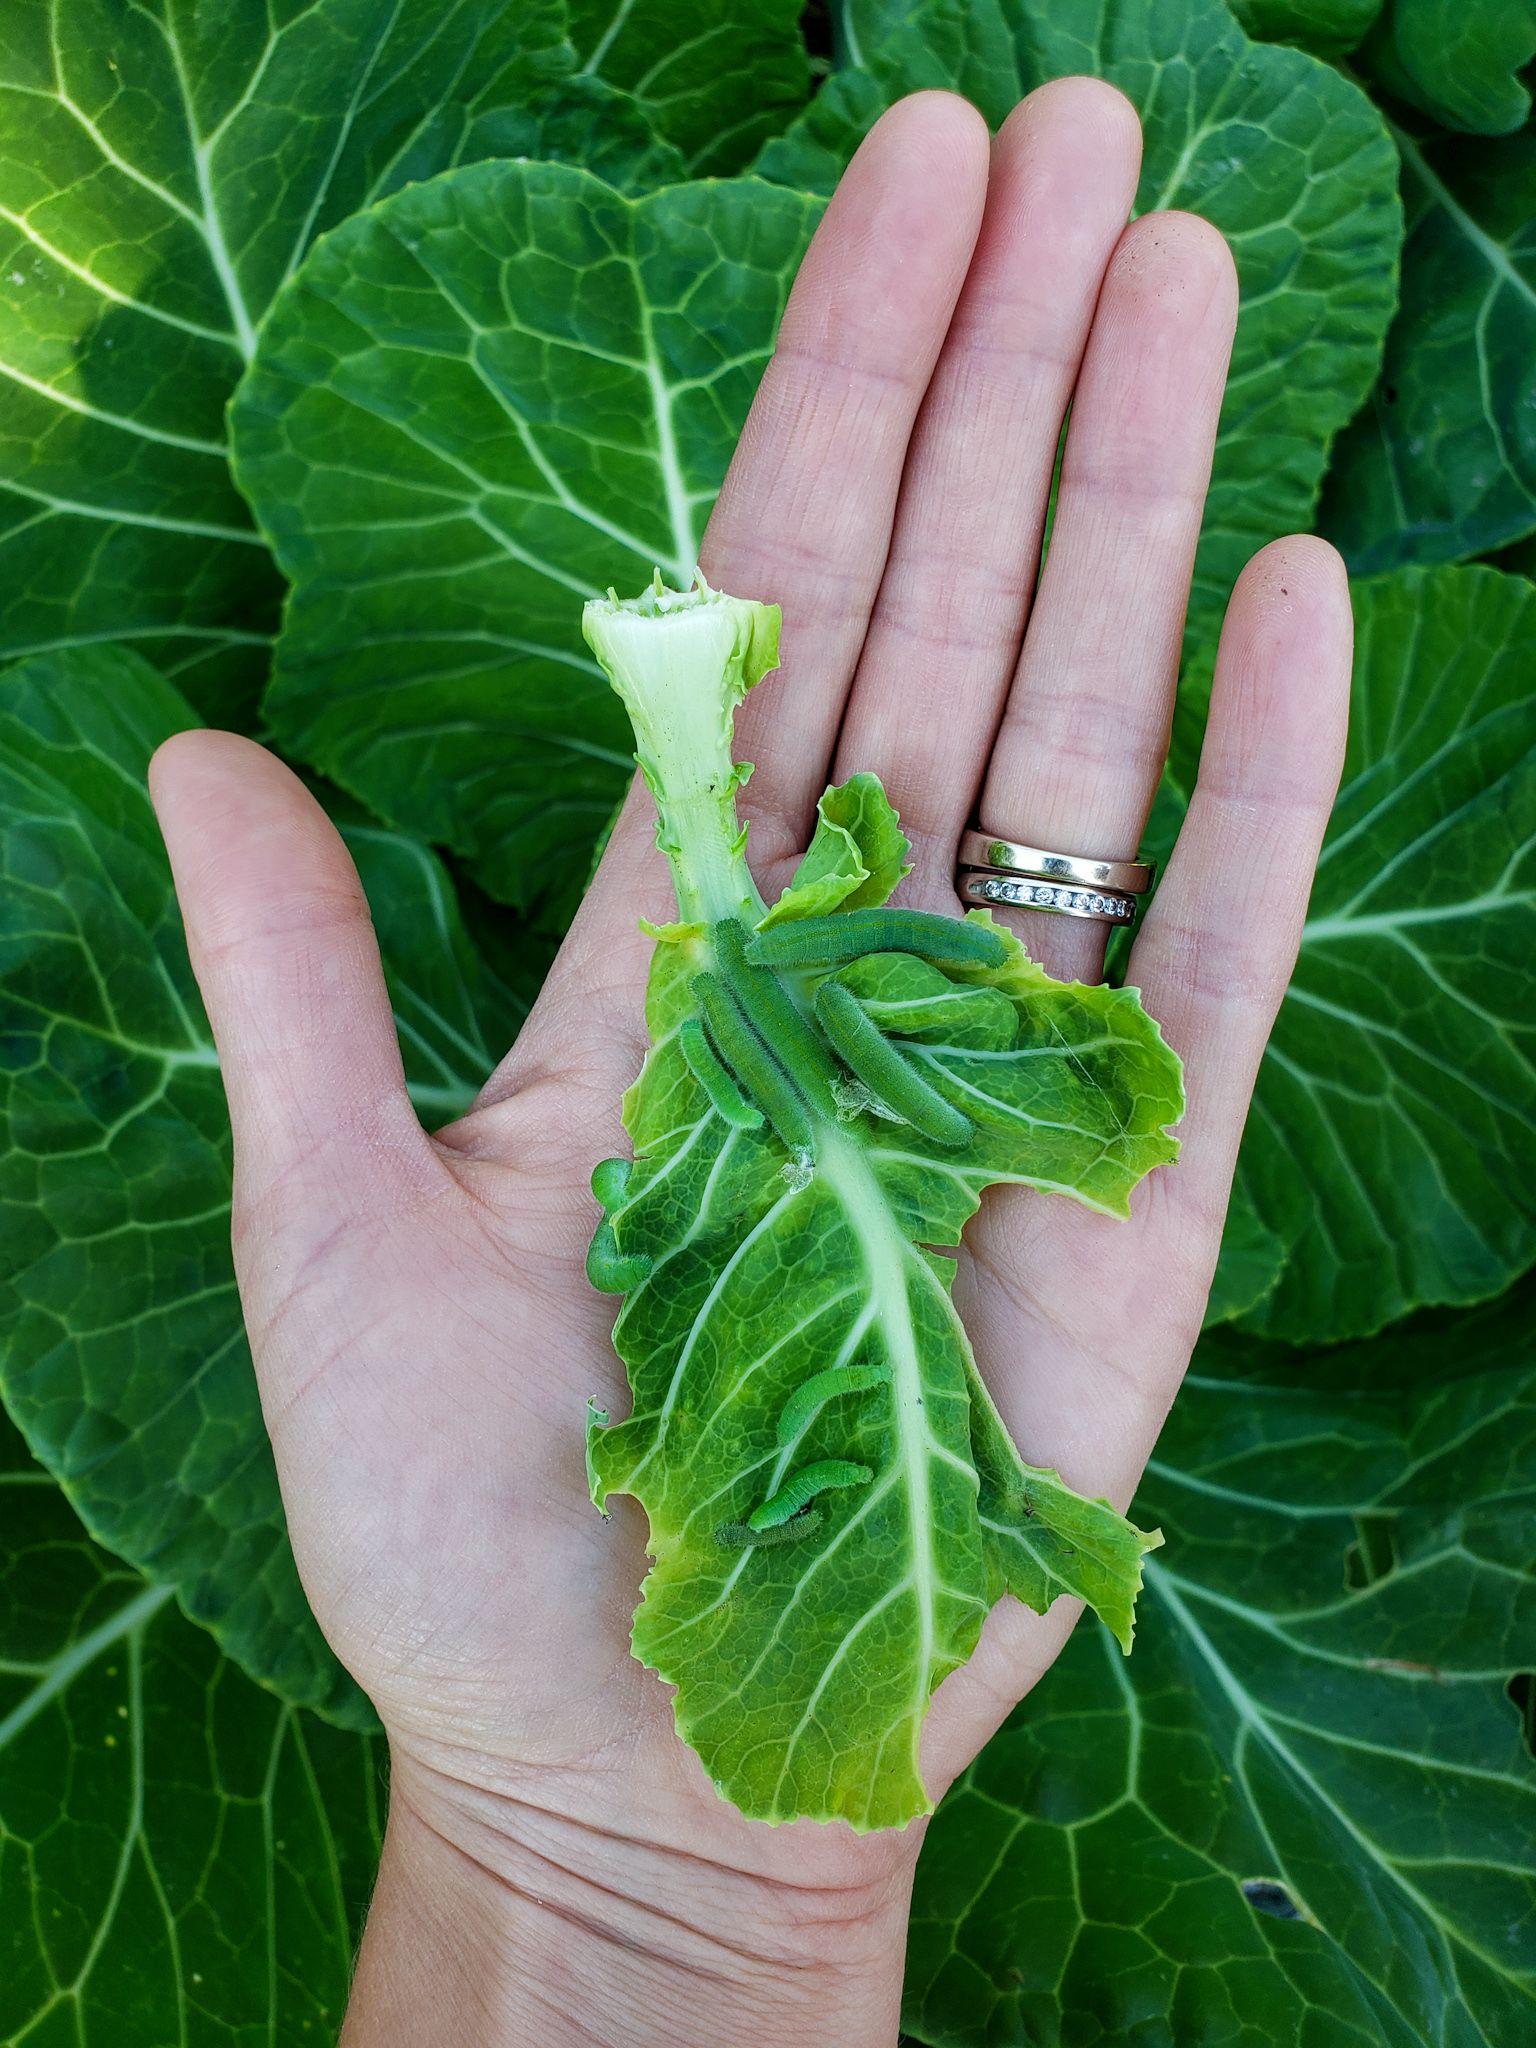
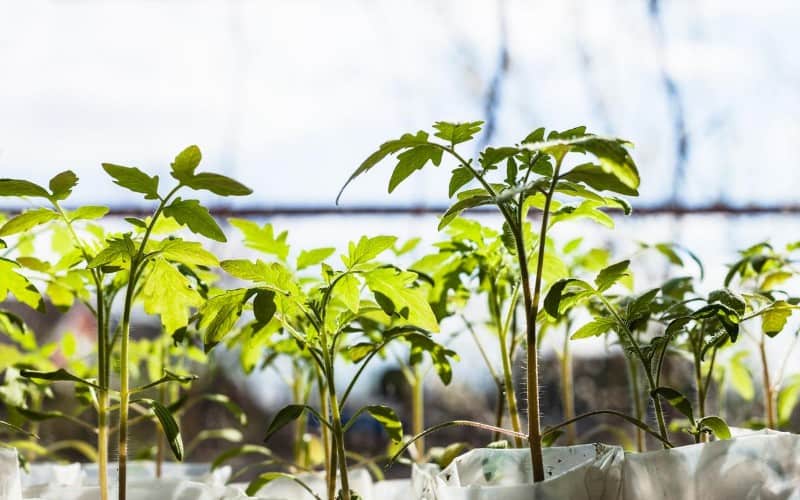
The second method is removing pests by hand. Even though physical control is not an organic pests control, but this tip is effective too for the pests control that you can see by the eyes. Some pests are easy to catch by eyes, and even you can touch them by hand. Caterpillars, mealybugs, and aphids in few numbers are possible to kill by hand. You can remove the pests from your plants and kill them. This way is effective for the early growing plant because you can control the pest parents before they grow rapidly.
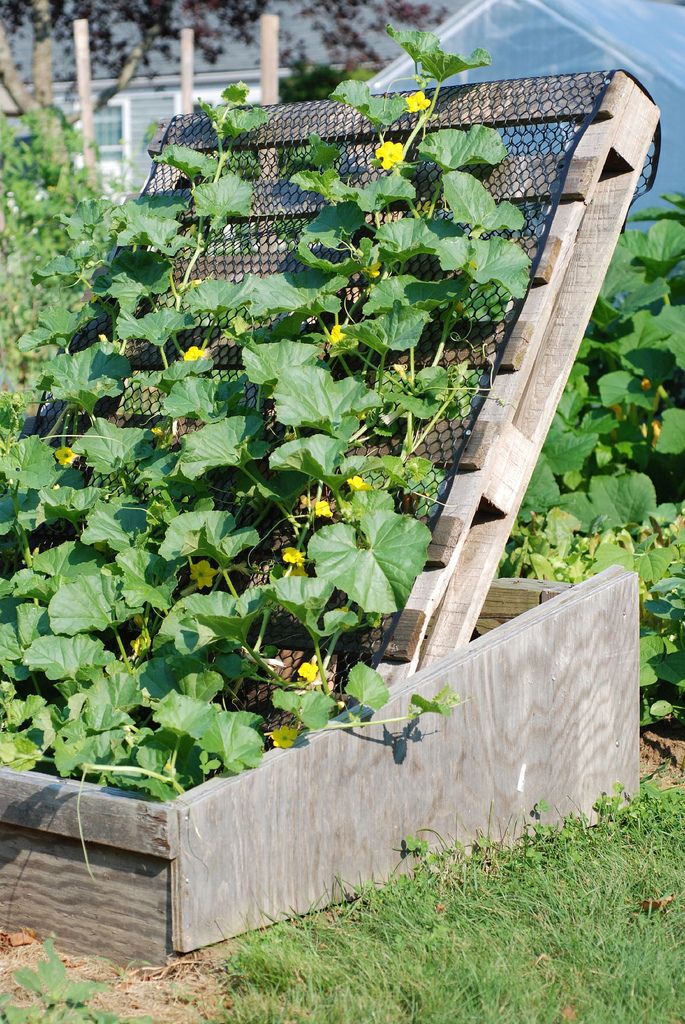
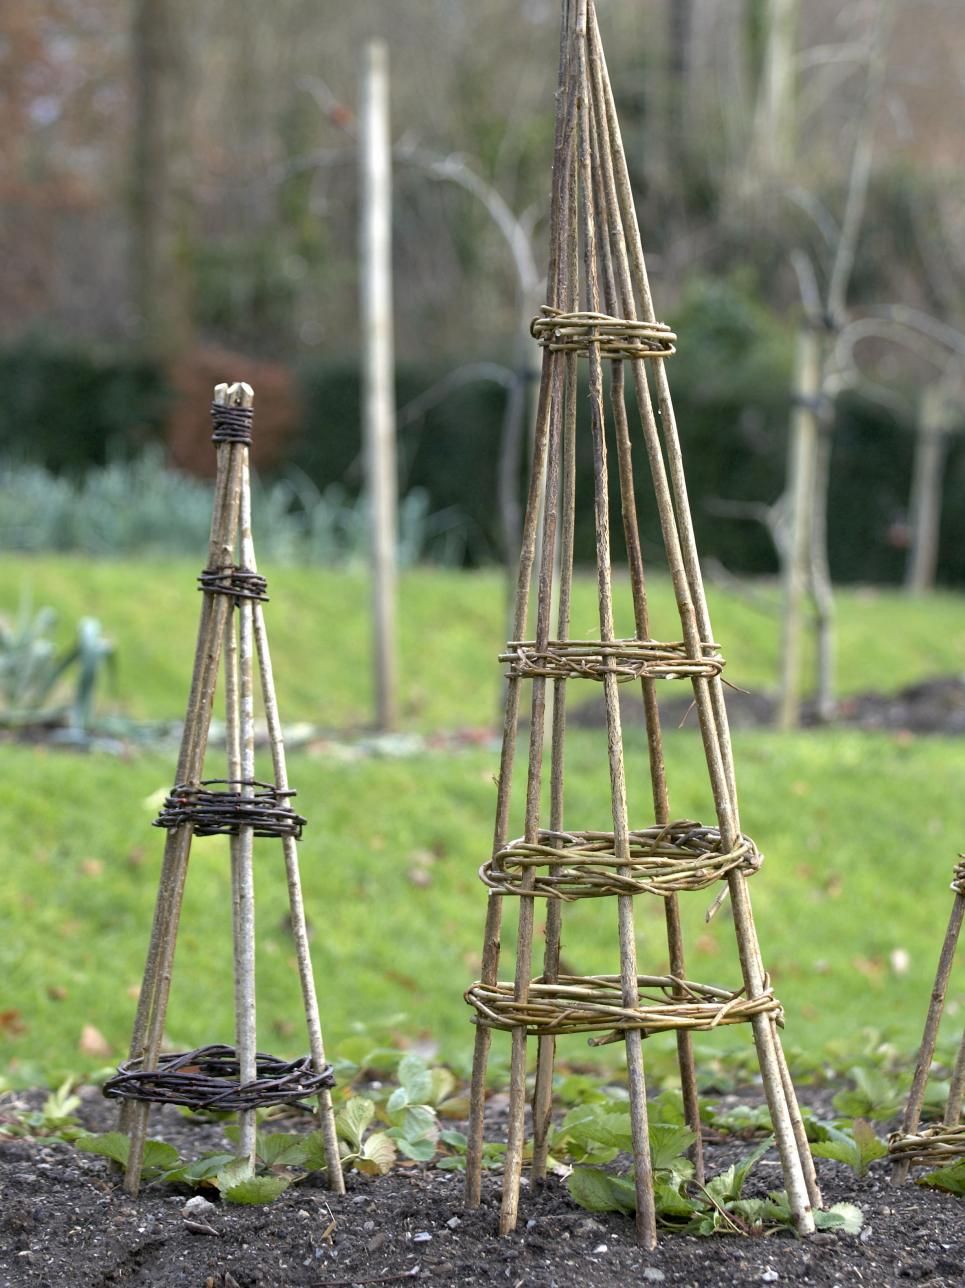
Cover the Plants by Bracket
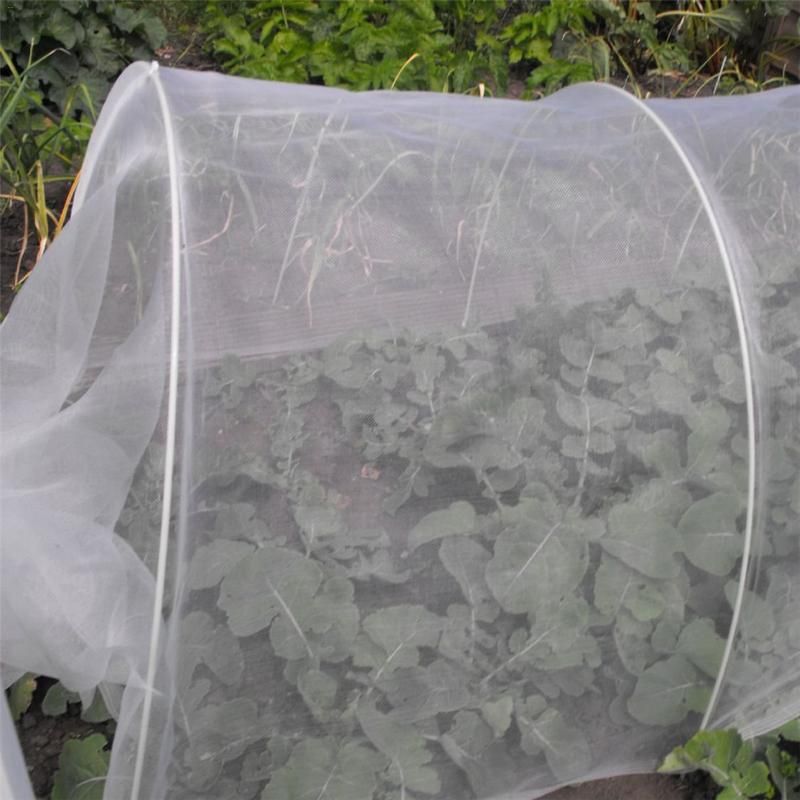
The third method to get rid of pests is covering the garden area with a long bracket. You can pick a certain kind of bracket to protect your plants. The bracket should allow the sunlight to reach the plants. Measure the bracket with plants’ size, and if it is necessary, you can build a big bracket by using some sticks as the frame. A bracket protects your plants from flying insects like fungus gnats, sparrows, moths, flies, and many more.
Set The Insects’ Traps
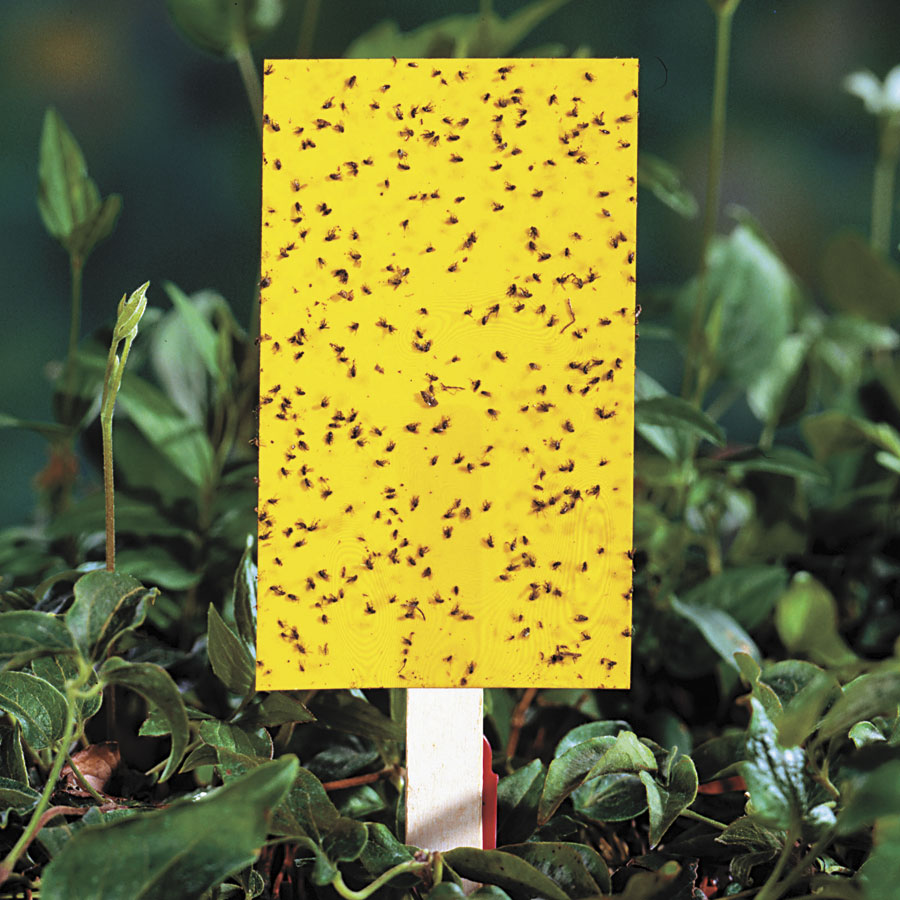
Set an insect trap to make it simple to reduce the pests. You can install the insects’ pests instead of a bracket. This trap is not harming the ecology in your garden area. Many insects trap you can install in your garden, such as fly trap catcher, spider insect trap, whitefly yellow sticky traps, Biocare codling moth traps, and hanging insect-a-peel trap, are numerous insects’ traps for a garden. Read the instructions that available on the package before using it.
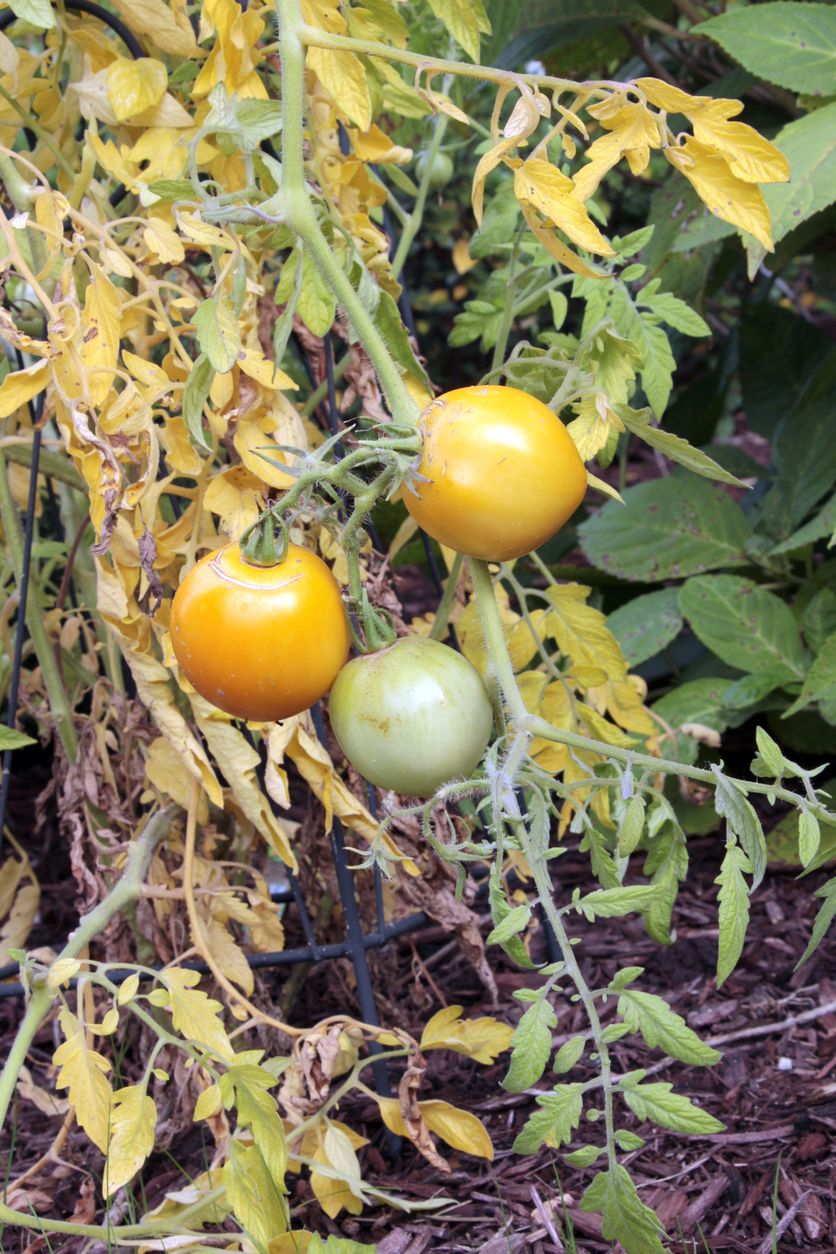
Conclusion
Thus our discussion of 5 Simple Methods for Pests Control to Protect Plants in Your Home Garden. Pests are harmful to plants. Some pests destroy their leaves or make them stop growing. The pests can kill the plant slowly if you let them stay on your plants. Don’t wait till you see your plants dying because you can make a homemade pest control to get rid of the pests such as aphids, cutworms, mealybugs, and ants. Hopefully, the ideas we have provided for you will help you to protect your plants from pests. Happy gardening!