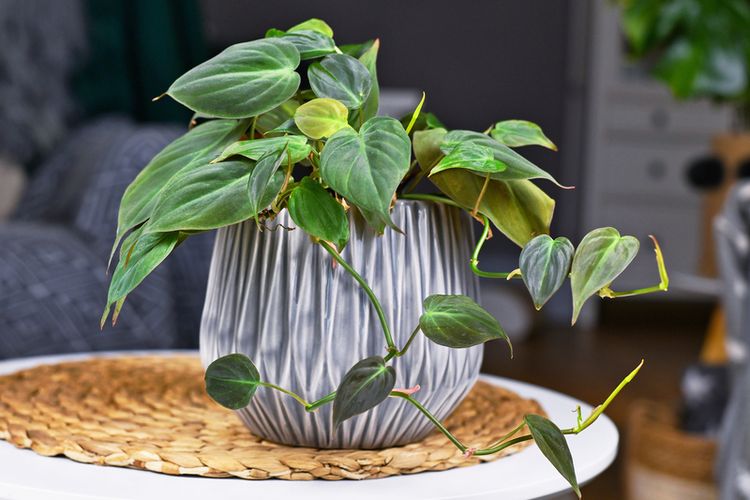
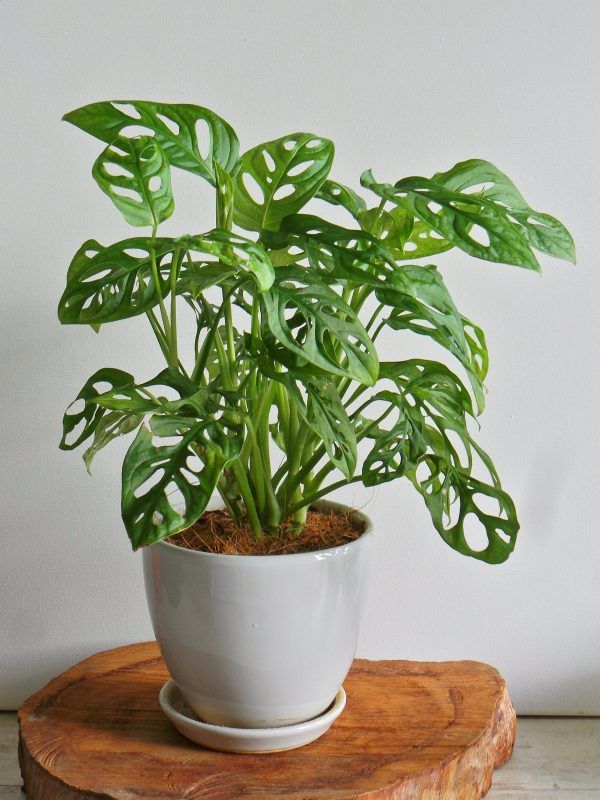
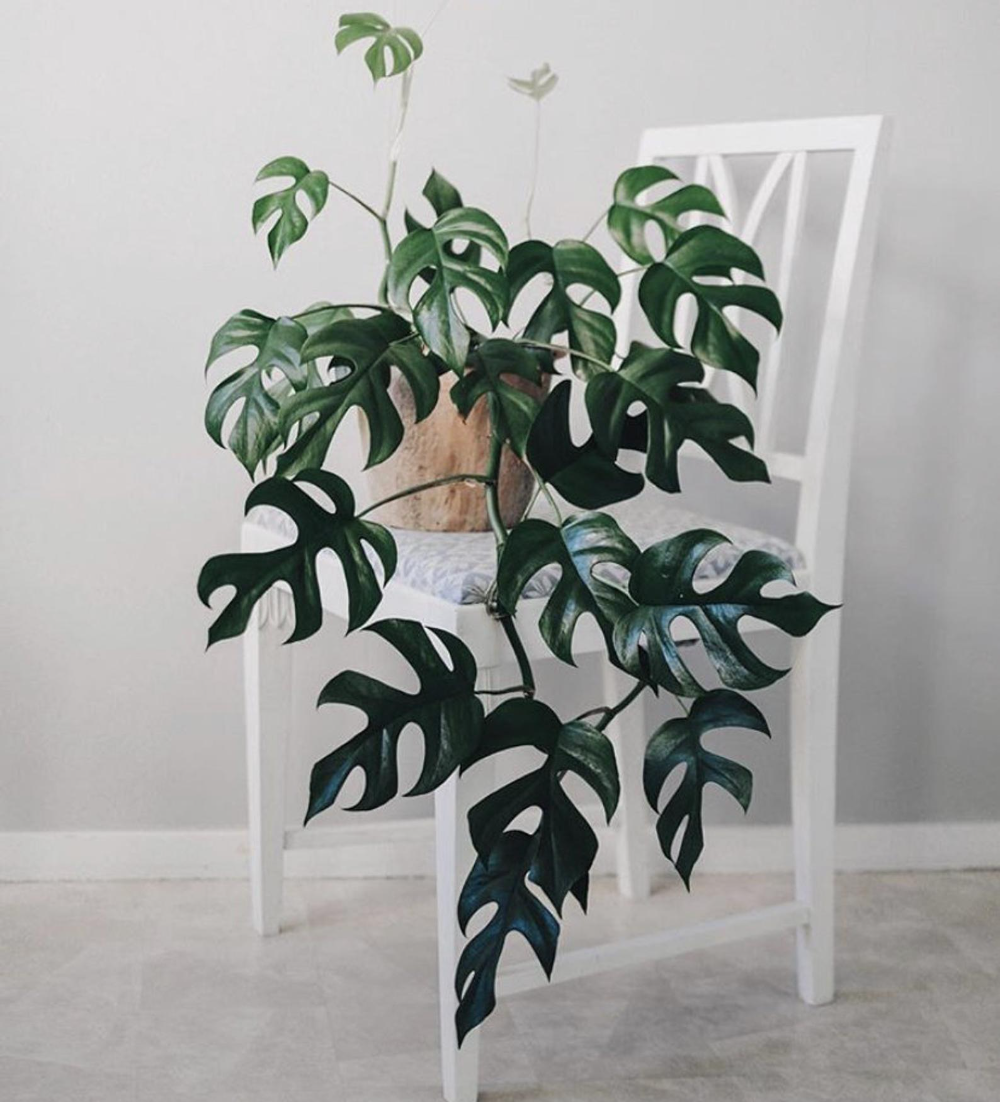
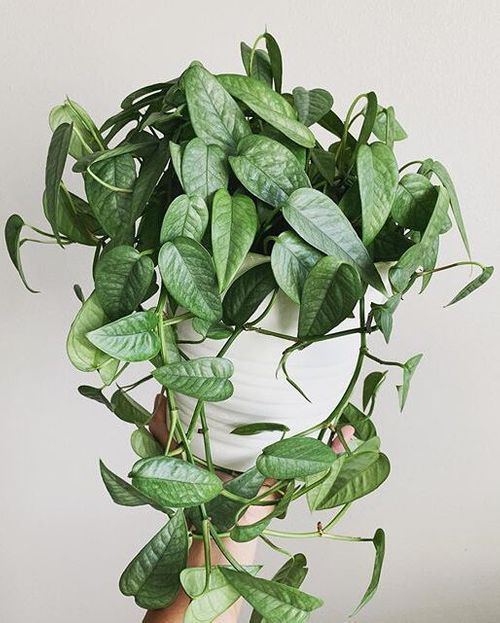
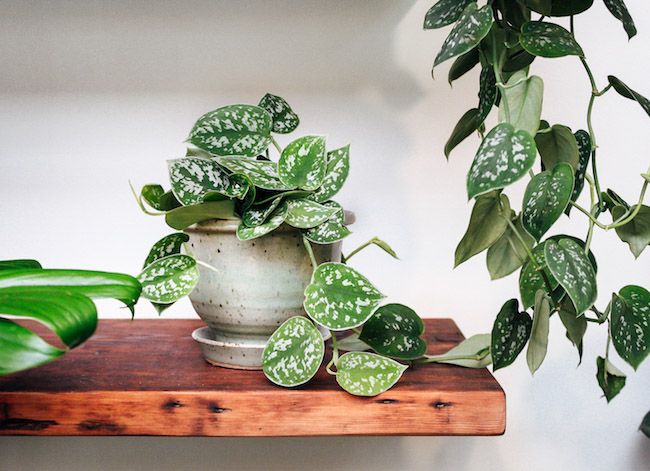
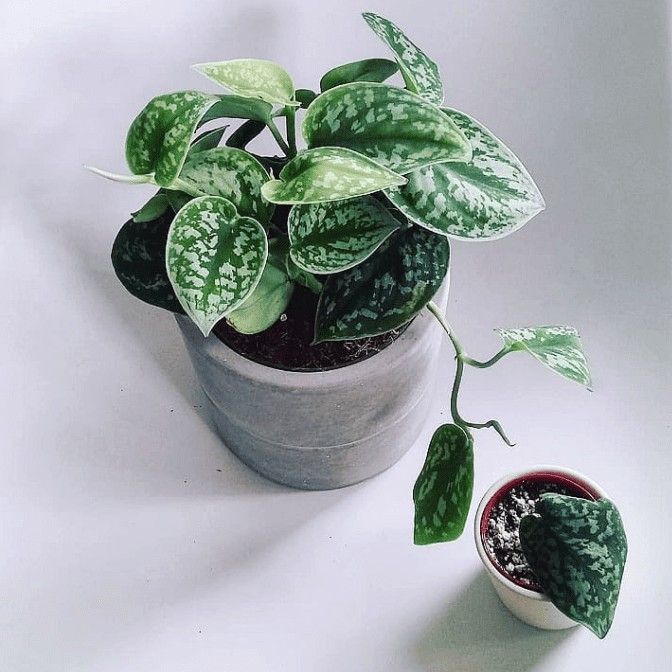
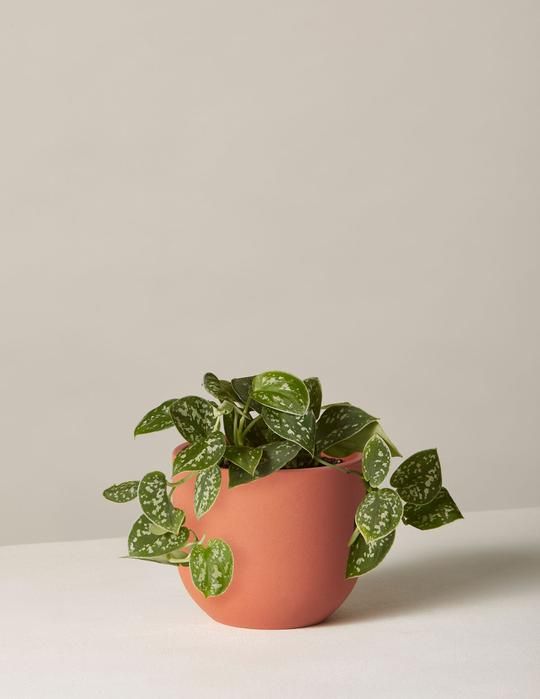
Homesfornh.com – Scindapsus is an ornamental plant with trailing stems. This plant is native to New Guinea. Scindapsus is attractive to grow an indoor plant. Some people put them in the bathroom, bedroom, and living room. The hanging basket makes them stunning and interesting. Scindapsus is an easy-growing plant, thus it can be your first plant to grow as a beginner. It loves moist soil and humid atmosphere, then you can water them regularly to manage their growth. Therefore, in this article, we will discuss Easy Ways to Grow Scindapsus and How to Care It Indoor. Let’s learn more about Scindapsus by discussing it below!
Varieties of Scindapsus
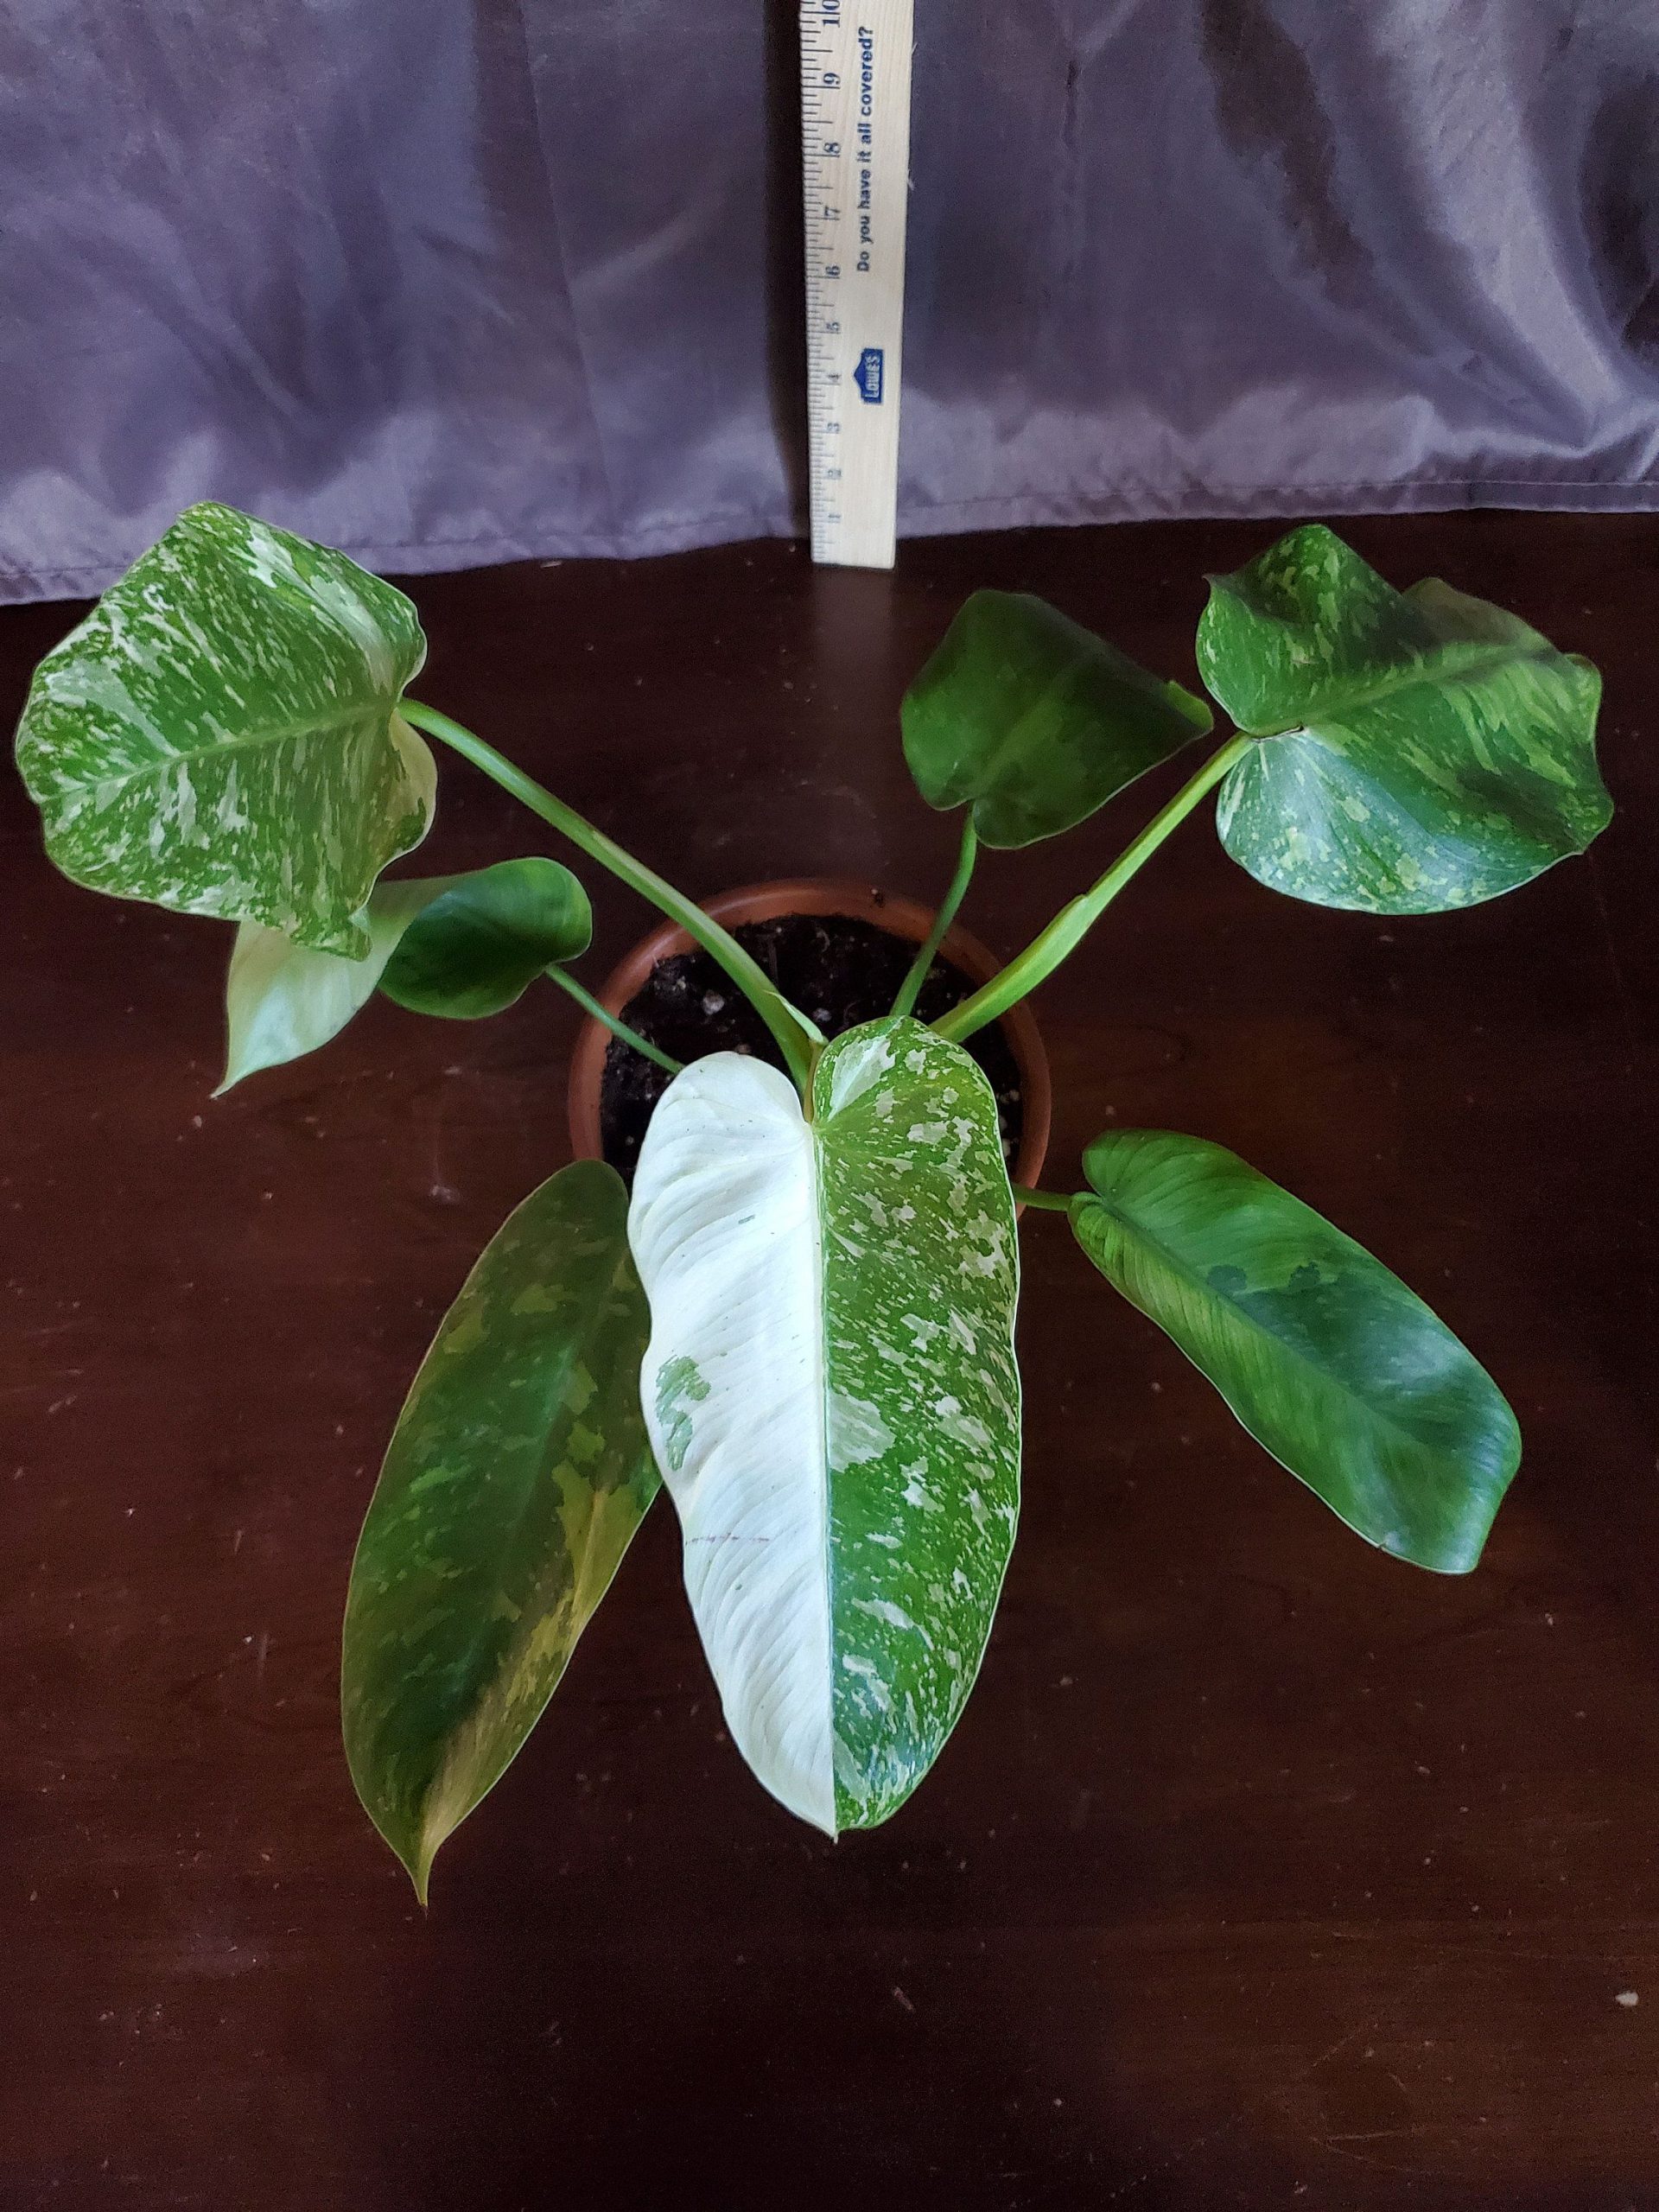
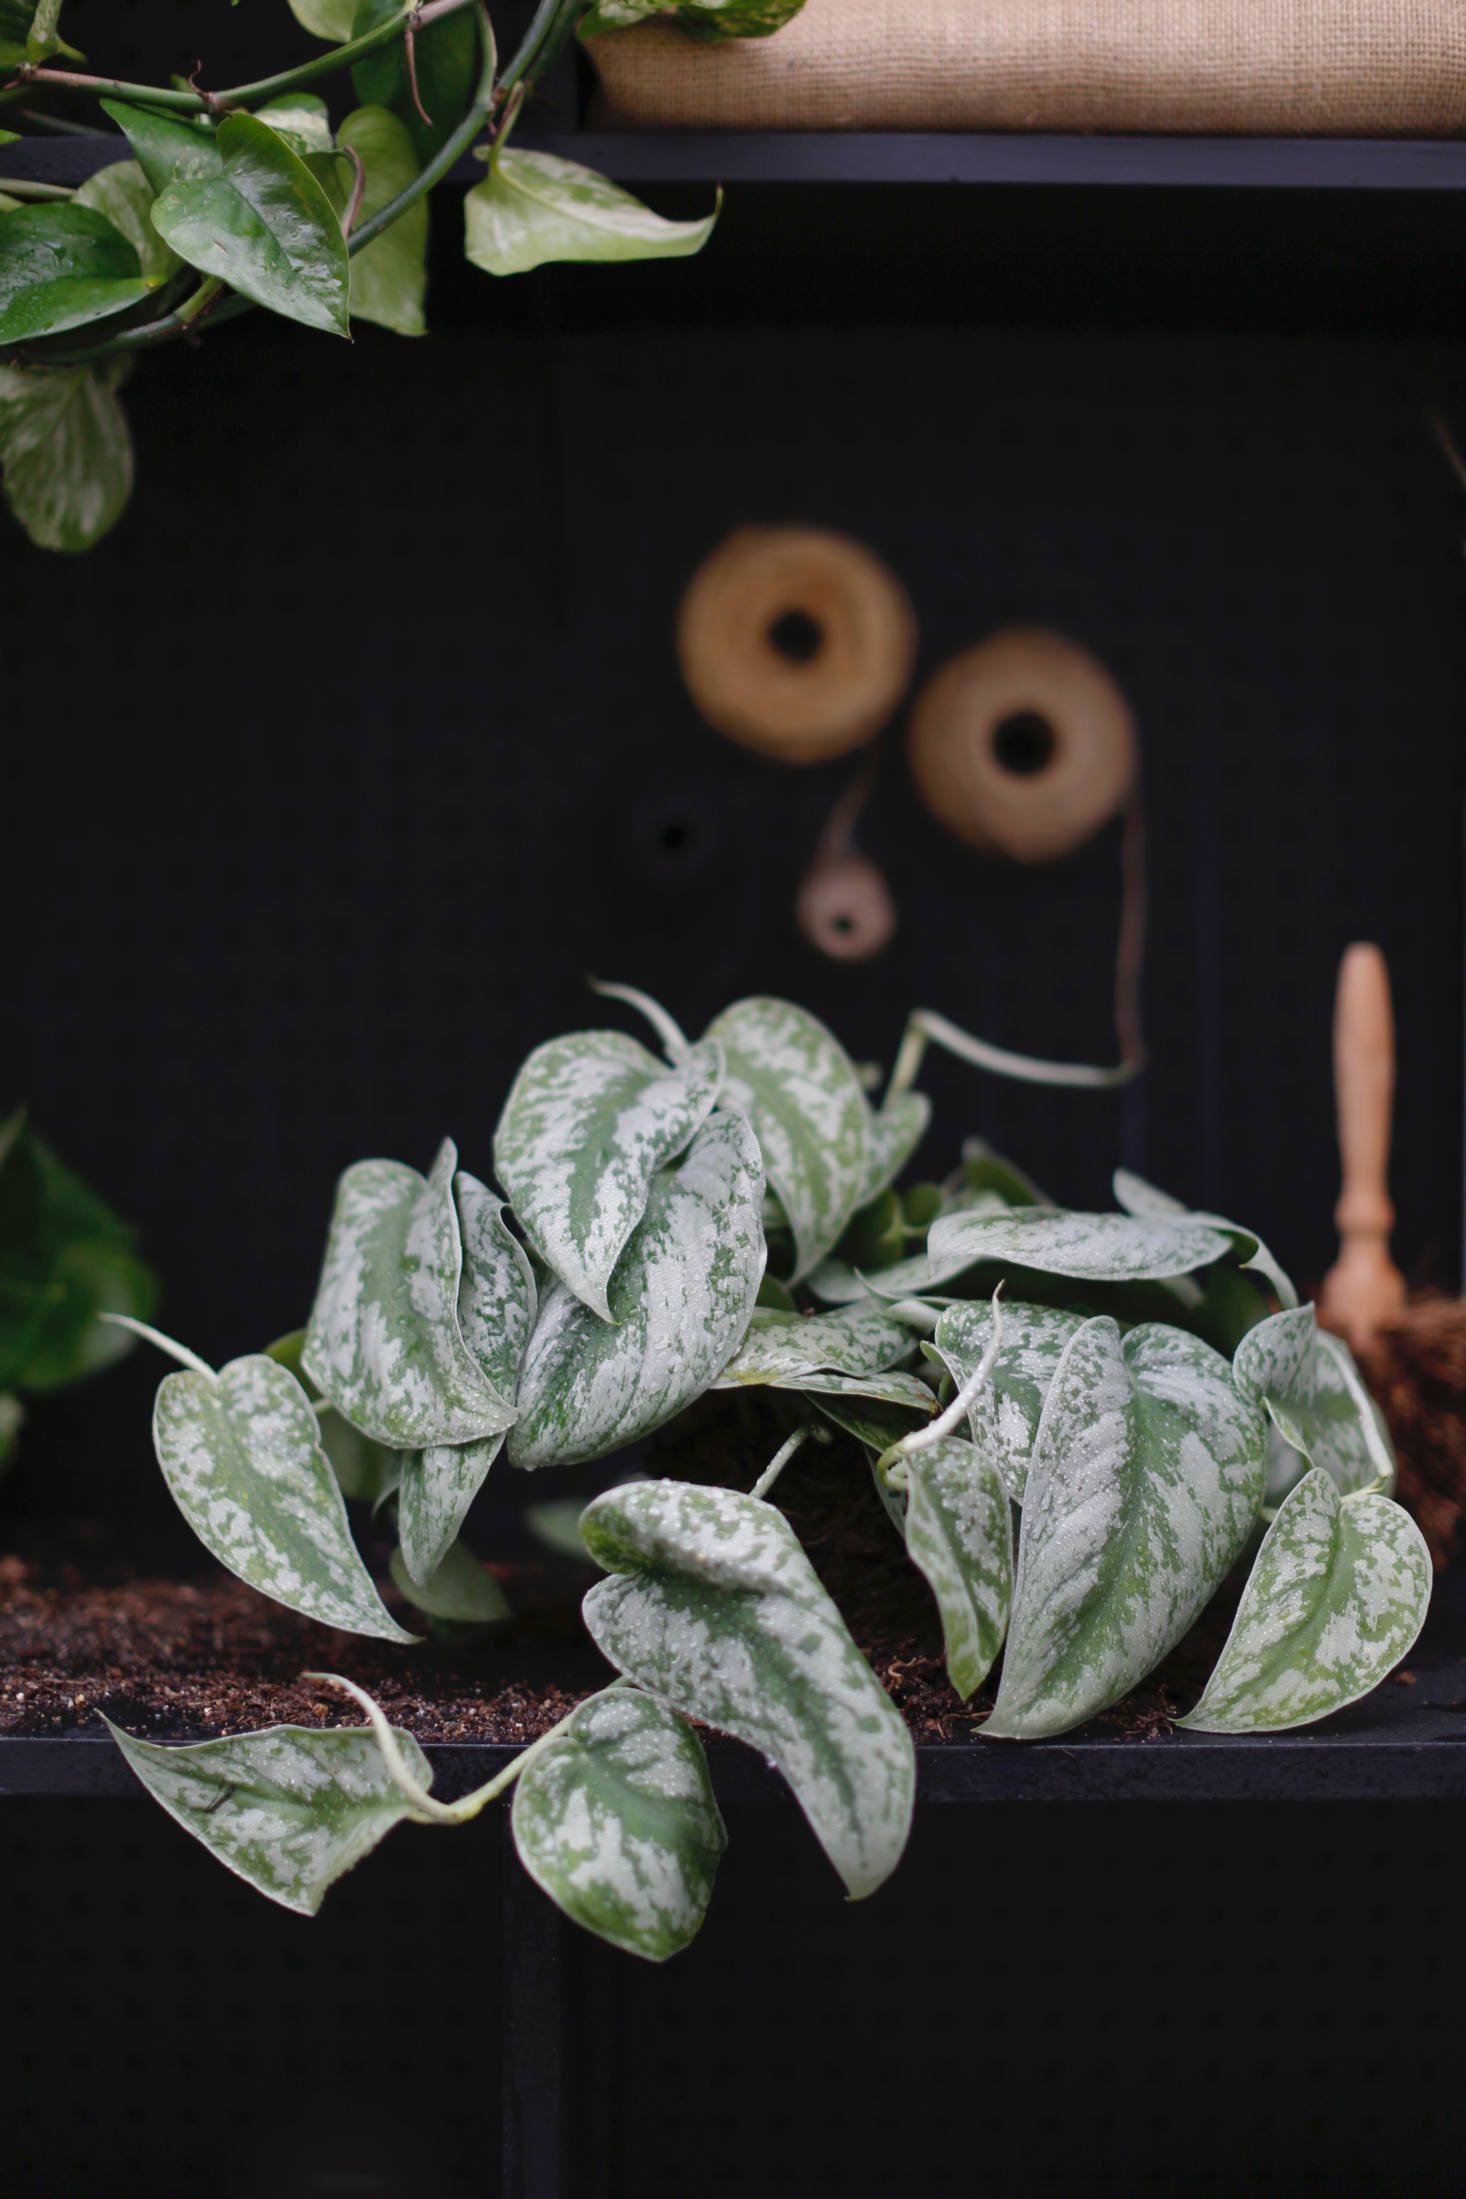
Scindapsus is a vine plant that has several varieties to grow indoors. Even though you grow different varieties of Scindapsus but it has the same maintenance. Here, some varieties of Scindapsus plants to grow indoors: Scindapsus Argyraeus, Scindapsus Exotica, Scindapsus Silvery Anne, Scindapsus Silver Splash, Scindapsus Silver Hero, Scindapsus Silver Lady, Scindapsus Jade Satin, Scindapsus White variegated form, Scindapsus Moonlight, and Scindapsus Nearly black.
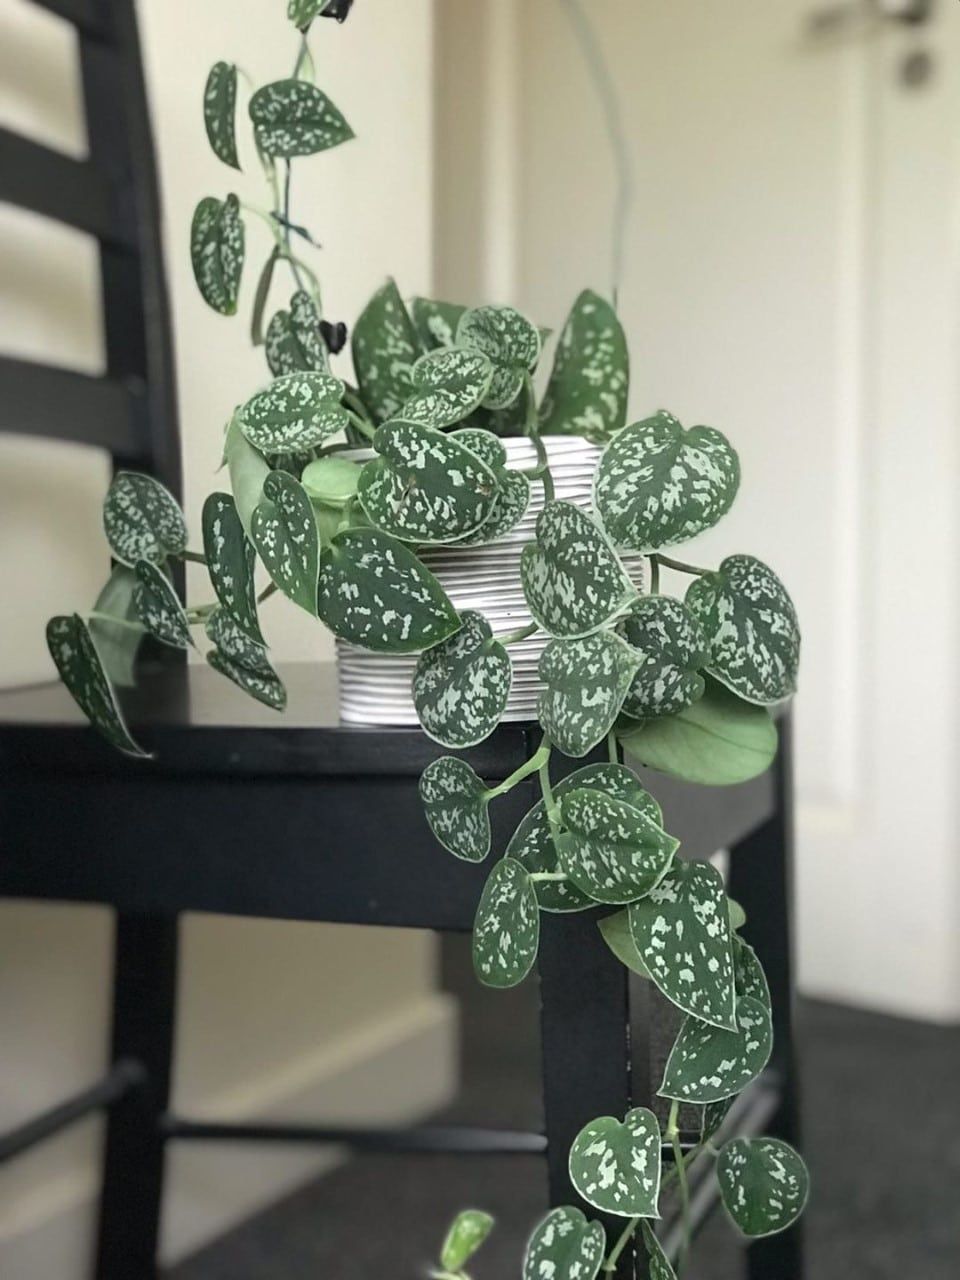
How to Plant Scindapsus in A Hanging Basket
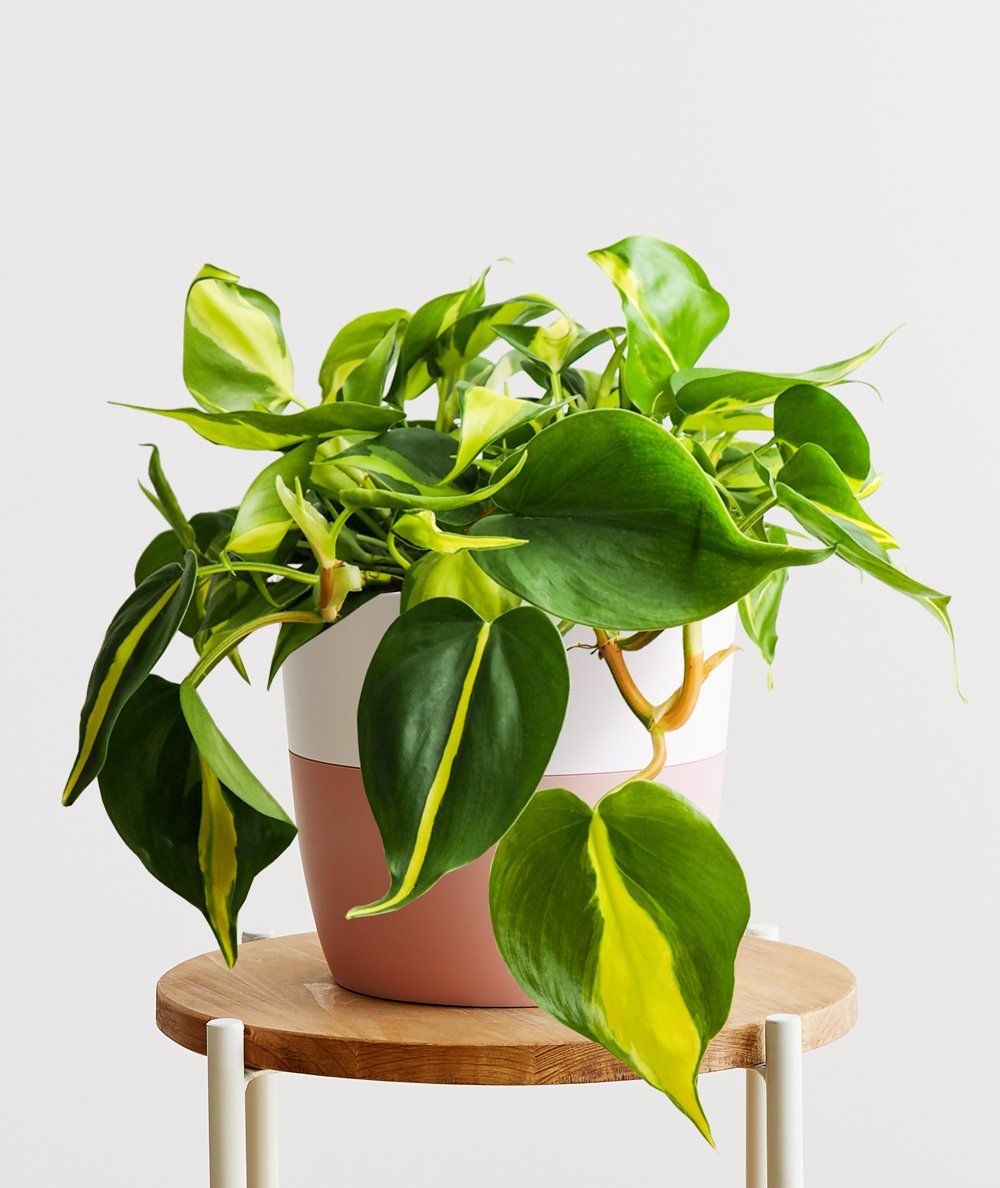
After knowing the various types of Scindapsus for you to choose as natural decorations in your home, the next topic we discuss in this article is a variety of easy ways that you can do to plant Scindapsus in a hanging basket. Here’s the discussion!
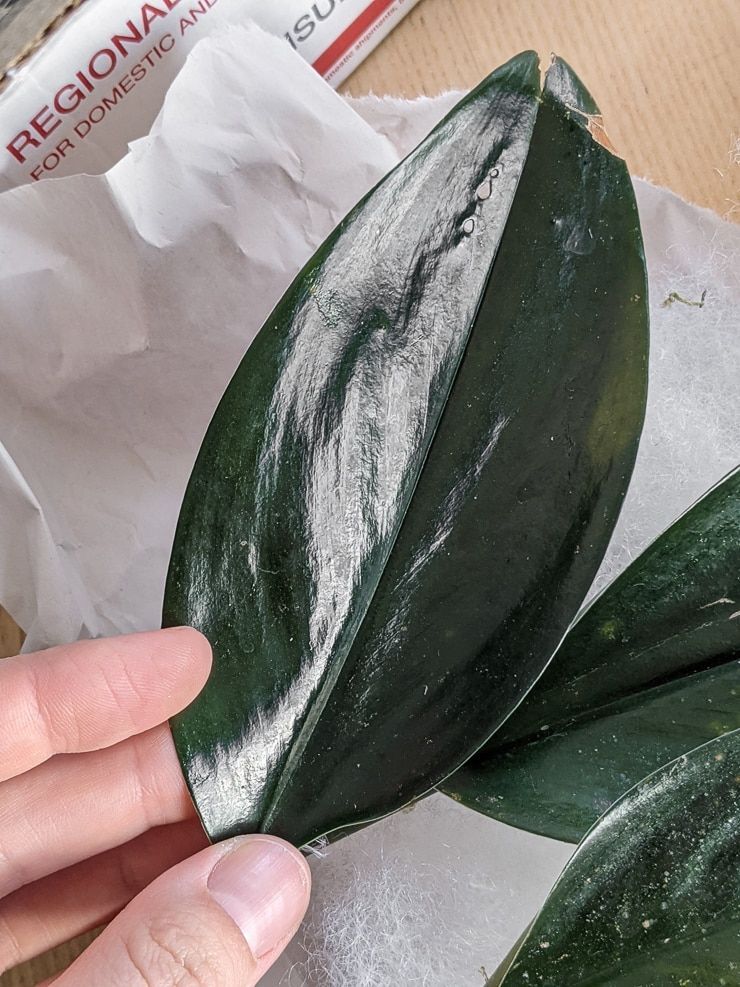
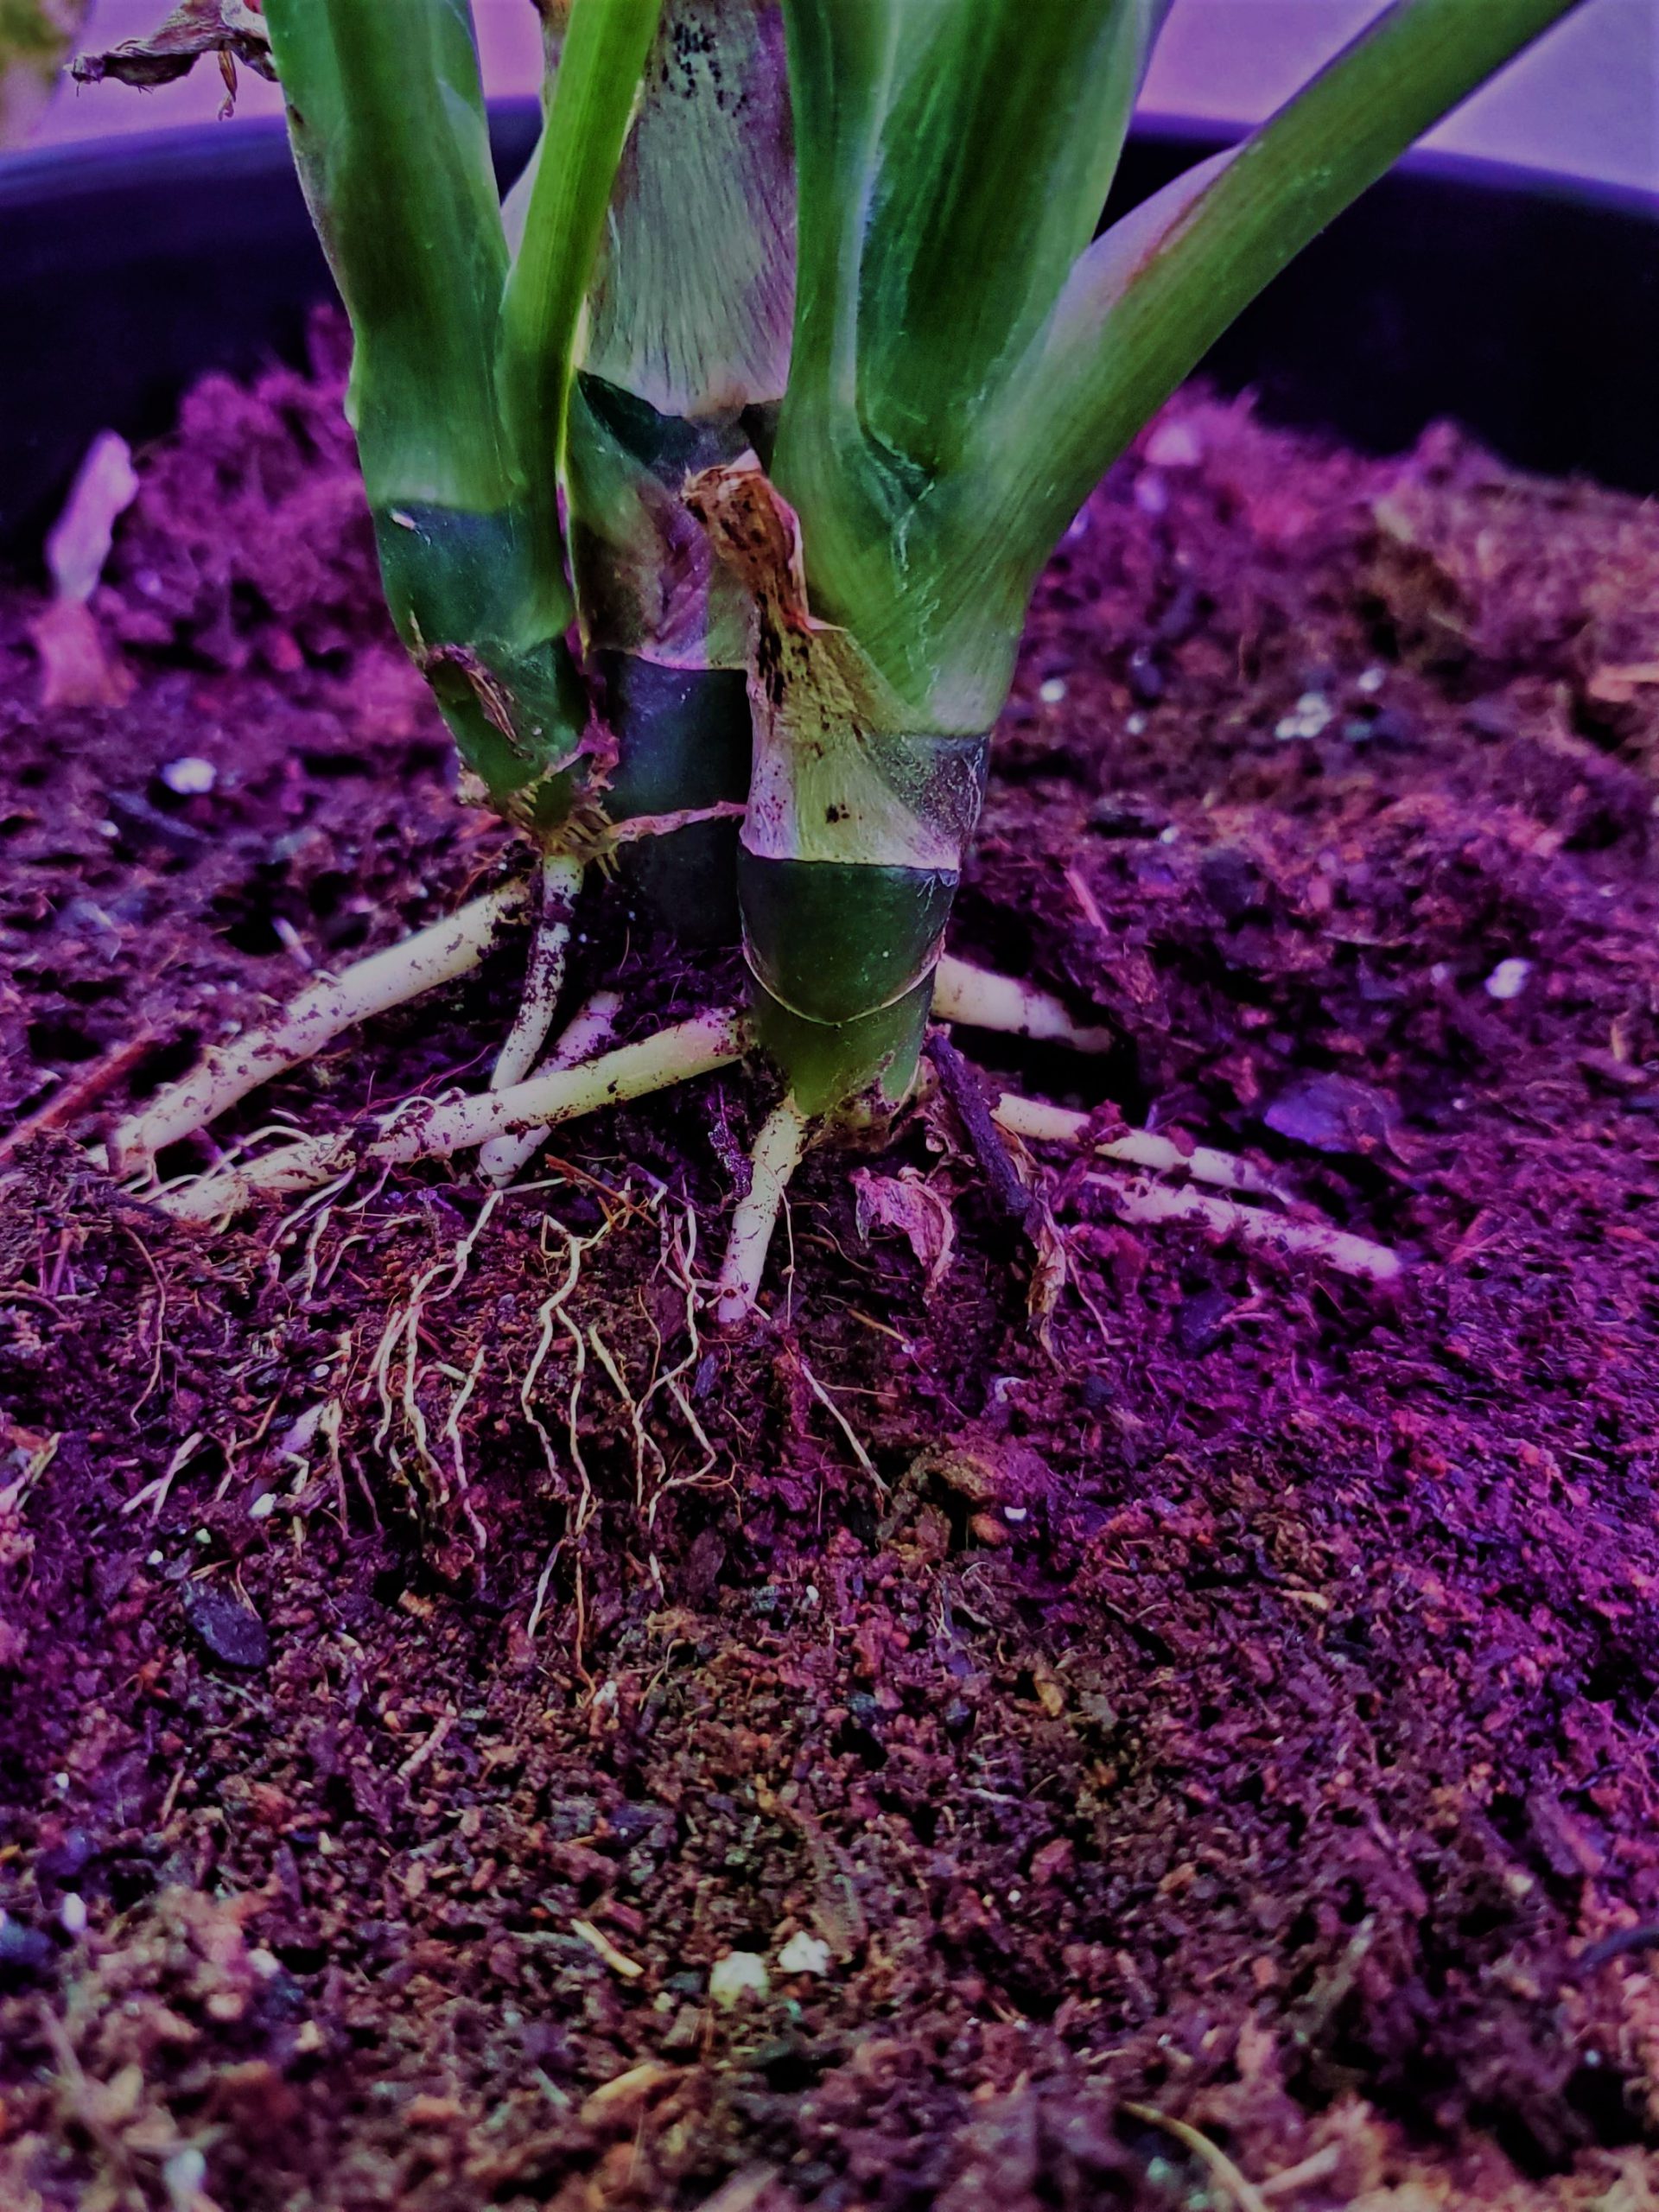
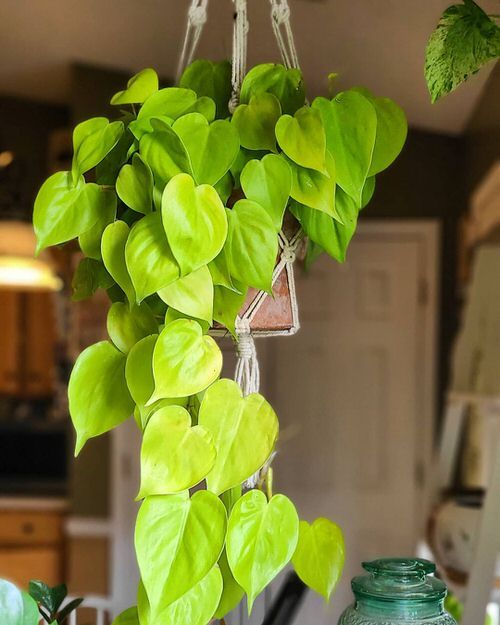
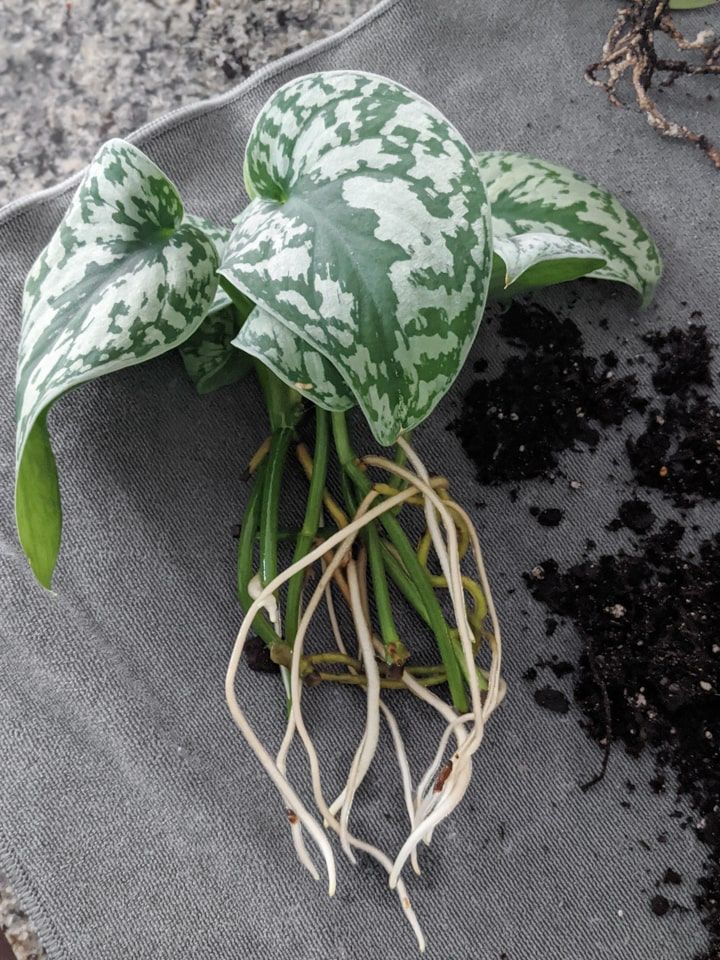
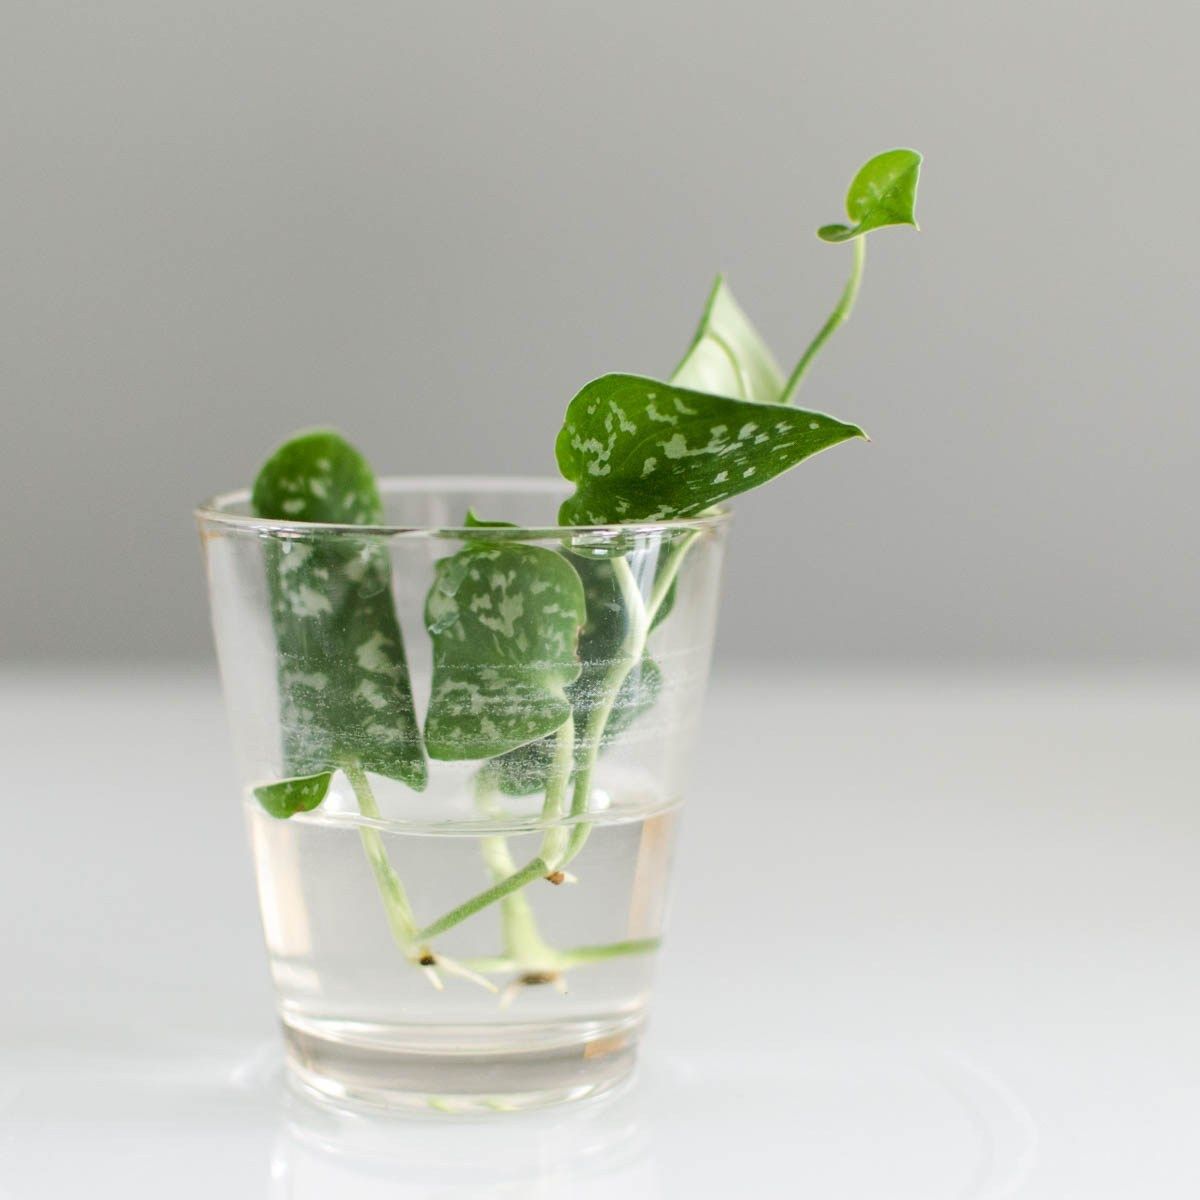
Growing new baby plants from the parent plant is easy to do. You can get a new baby by watering propagation. Ensure they have a node to grow roots, then it is easier for you to grow them. Use a sharp pruning shear to cut the stem, sink it into a water container for while to adjust the temperature. You can cut more than one stems if you want to grow massive Scindapsus.
-
Give It Enough Potting Mix
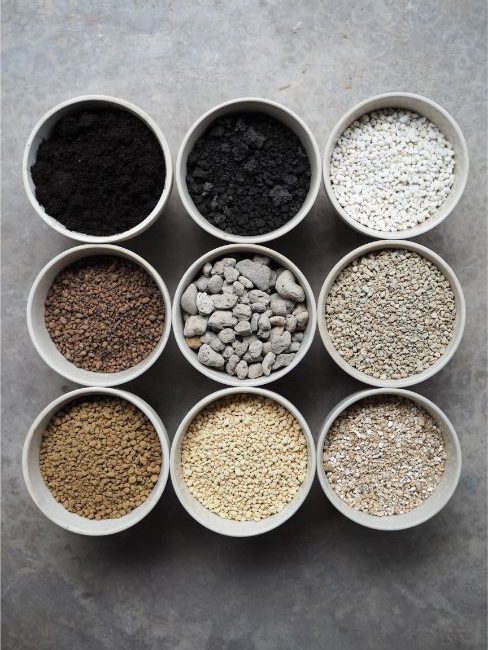
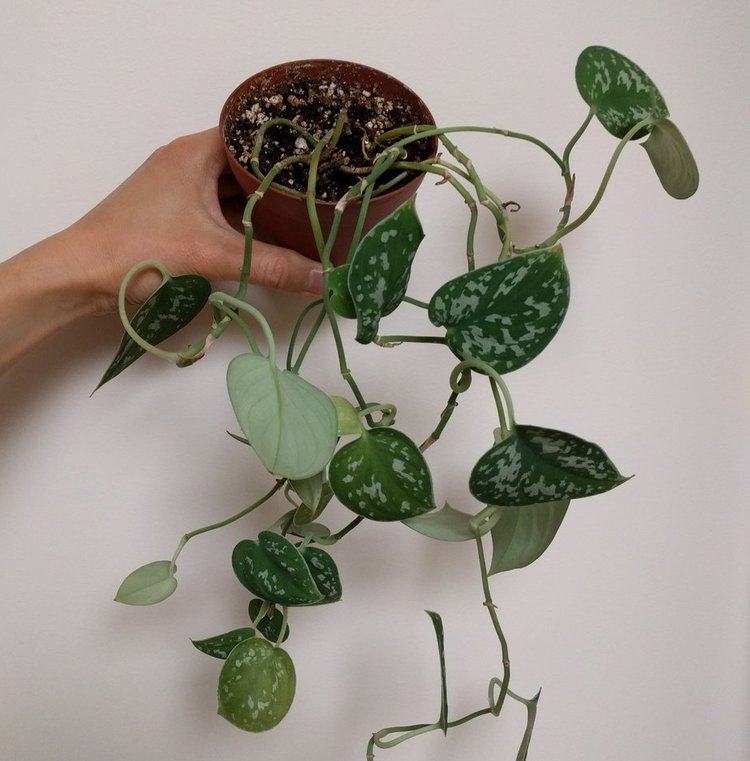
Potting mix is a beneficial material to grow ornamental plants. It is fine to get massive plants without adding more fertilizer. Give an organic potting mix from the first planting. You can add more potting mix when repotting this plant or add a little potting mix to add nutrients to the soil.
Pick a medium pot to grow more baby plants. It is easier for this plant to have lots of space and spread the roots. The more cutting stems you have in this pot, the more spaces and nutrients in the soil that it needs. Create some drainage holes on the bottom, five holes are enough to get adequate water. Thus, the water will reach its roots and make the soil moist.
-
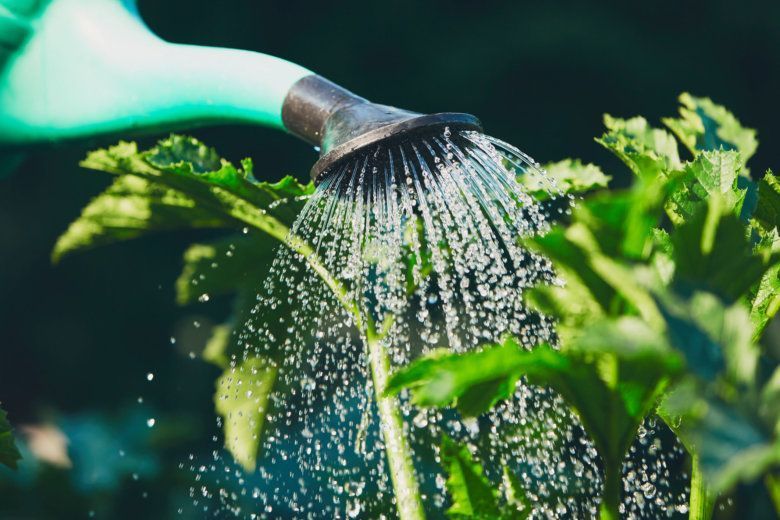
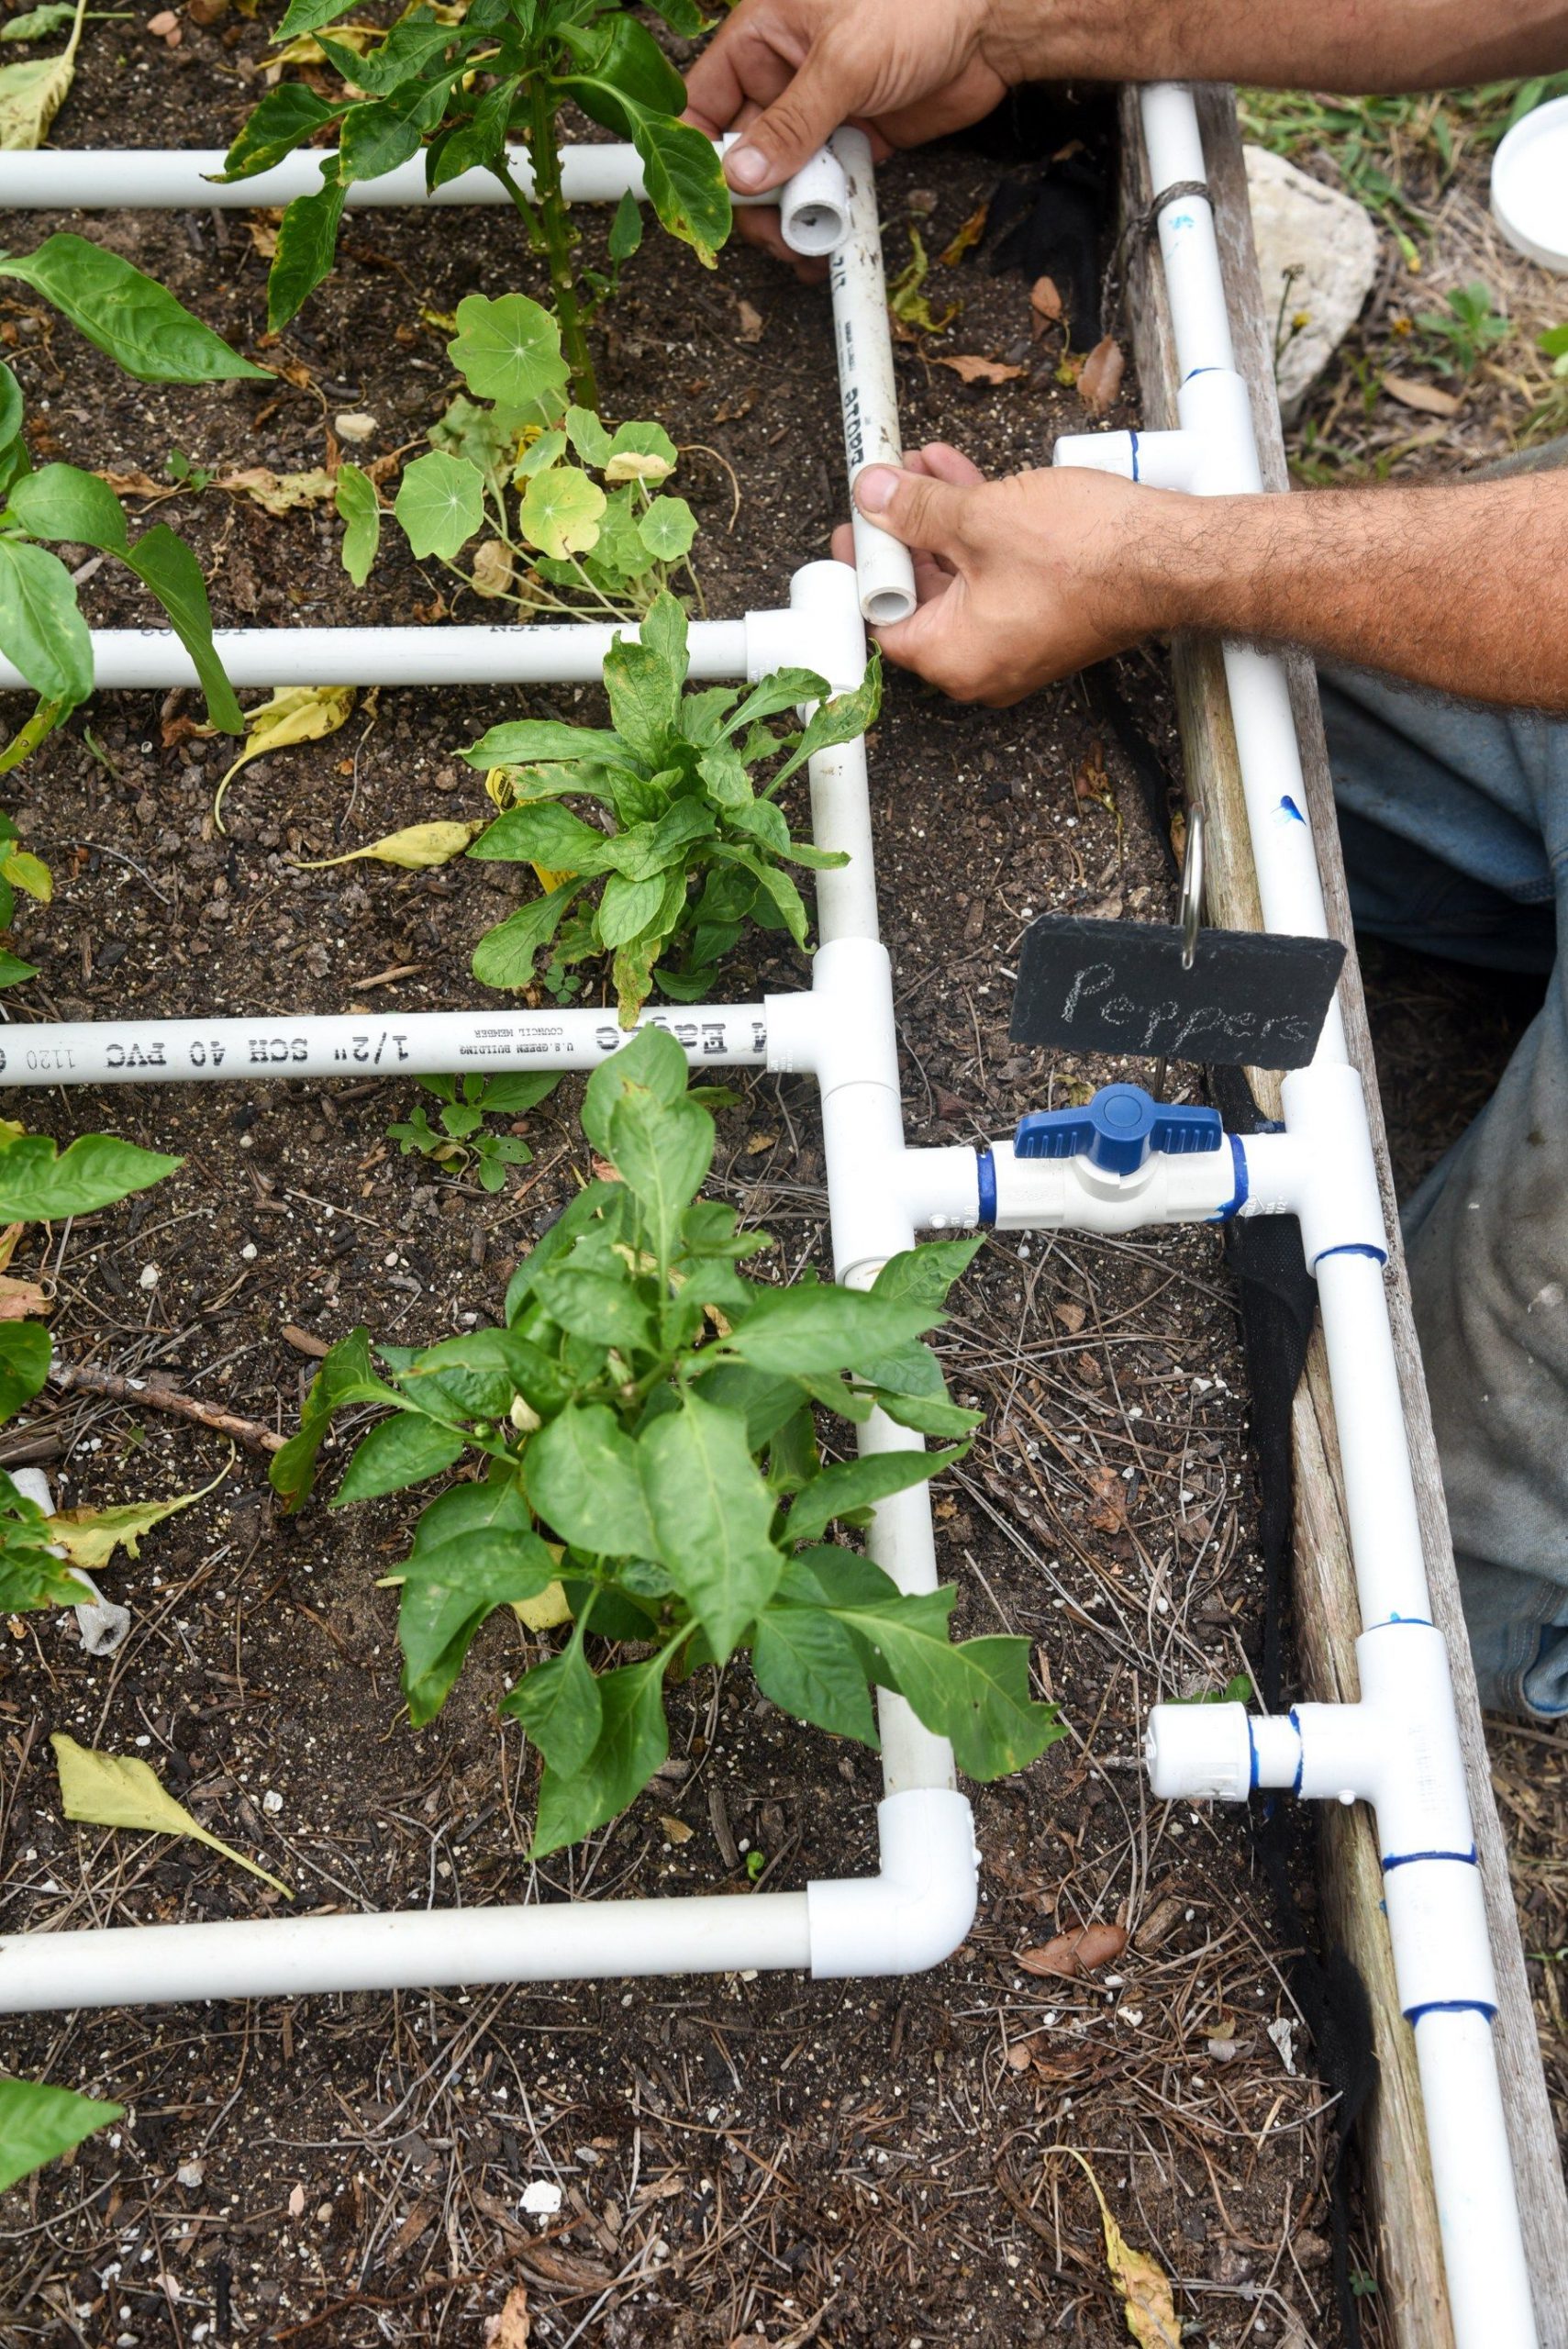
Water It to Avoid The Shocking Roots
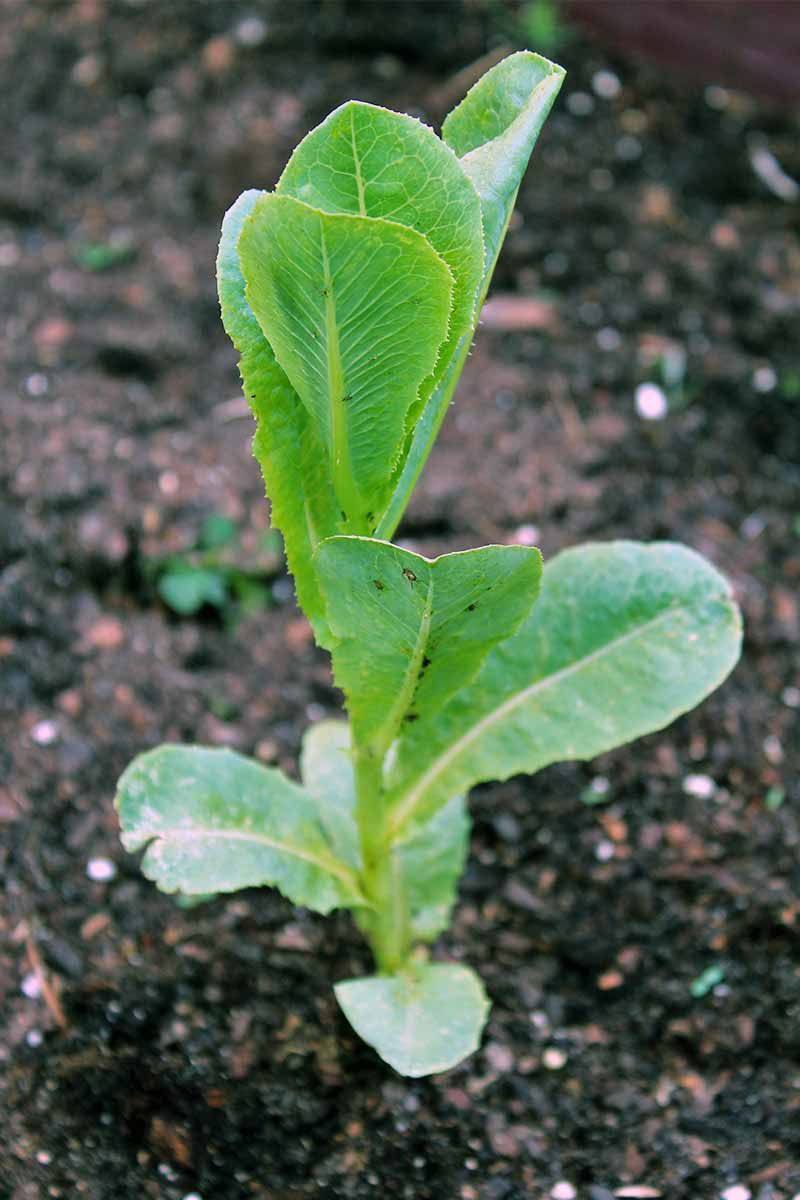
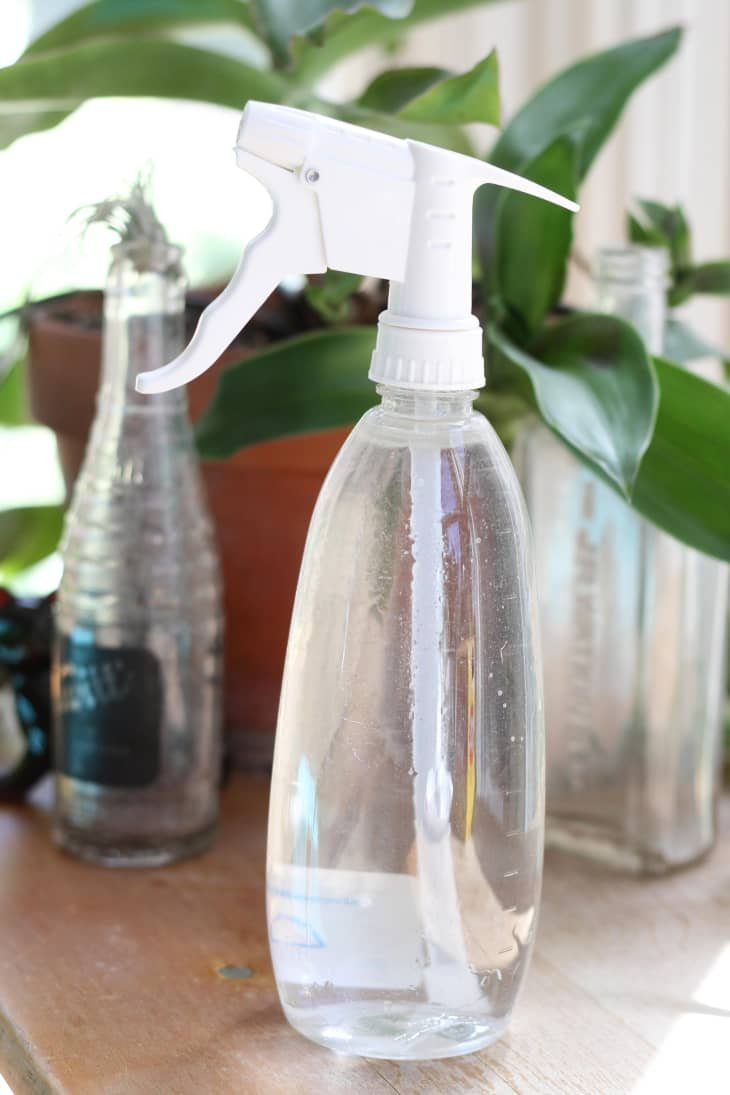
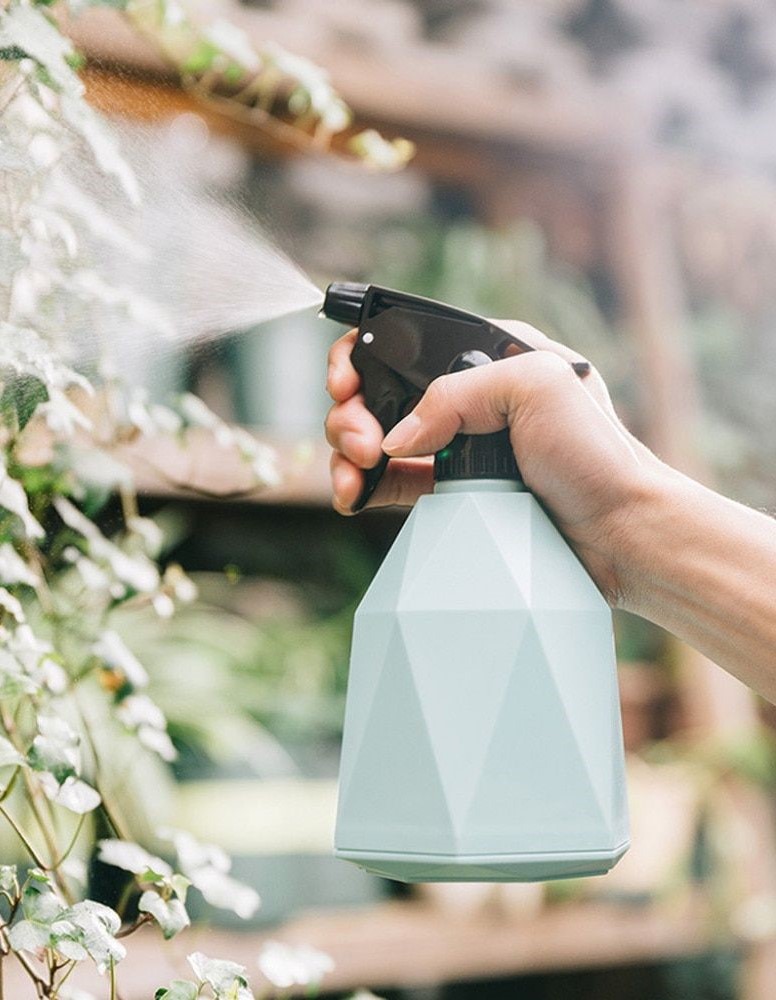
A watering routine is important for this plant because it loves moist soil. In the first planting, this plant needs regular watering to stimulate the growth of its roots. Since the baby plant is a new plant to grow, then it needs to adjust the atmosphere in your room. Help it to adopt a new environment by watering the soil regularly.
Scindapsus plant likes to get bright indirect light. It provides enough nutrients for the photosynthetic process. Moreover, adequate light will make them grow well and germinate more leaves. Scindapsus is easy to grow in the window sill or just hang it near the window.
How to Care for Scindapsus
The next topic that we will discuss in this article is a variety of easy ways for you to treat Scindapsus at home. You can plant this ornamental plant as an interior decoration or in a mini garden that you have in your home. Therefore, to keep your Scindapsus beautiful and fresh, you must understand how to properly care for this plant. For that, let’s discuss it one by one!
The massive growing plant needs regular watering. This plant needs at least twice repotting in a year when it grows massively. Some people repot their plants when they see roots come out from drainage holes. Repotting the plant is also important to change the soil nutrients in a pot if you see they stop growing. When your Scindapsus shows these symptoms, you need to repot it into a bigger pot.
-
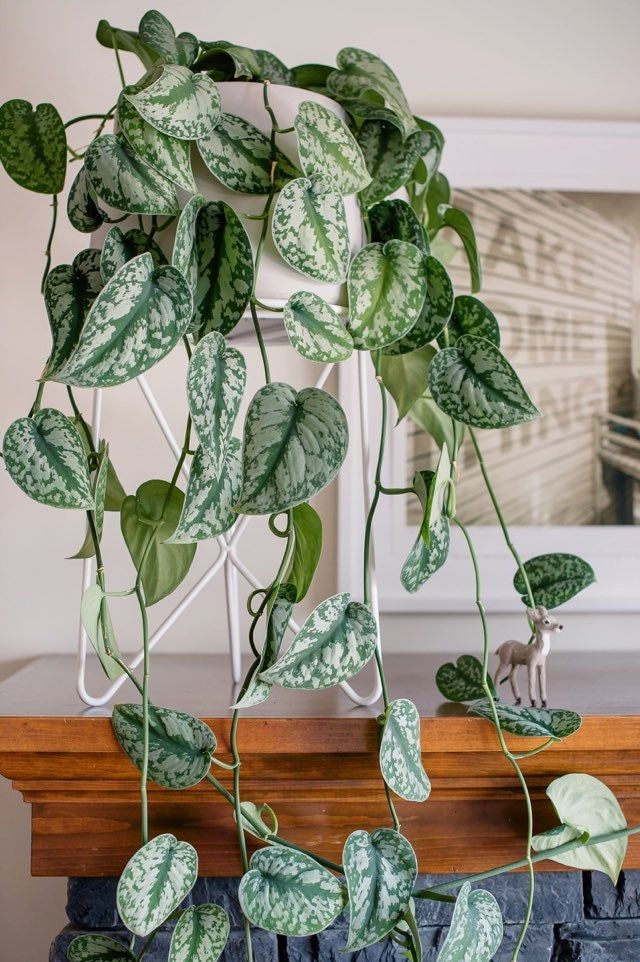
Propagate It for A Bushy Plant
Propagation is not only about growing new baby plants. It is also important to get massive plants if you want to have lots of plants indoors. Propagation in a water container is an easy way to germinate the roots before planting them. Another propagation is by planting the cutting stem into the soil directly. If you want to grow a bushy Scindapsus, put more than one cutting stem in one pot.
-
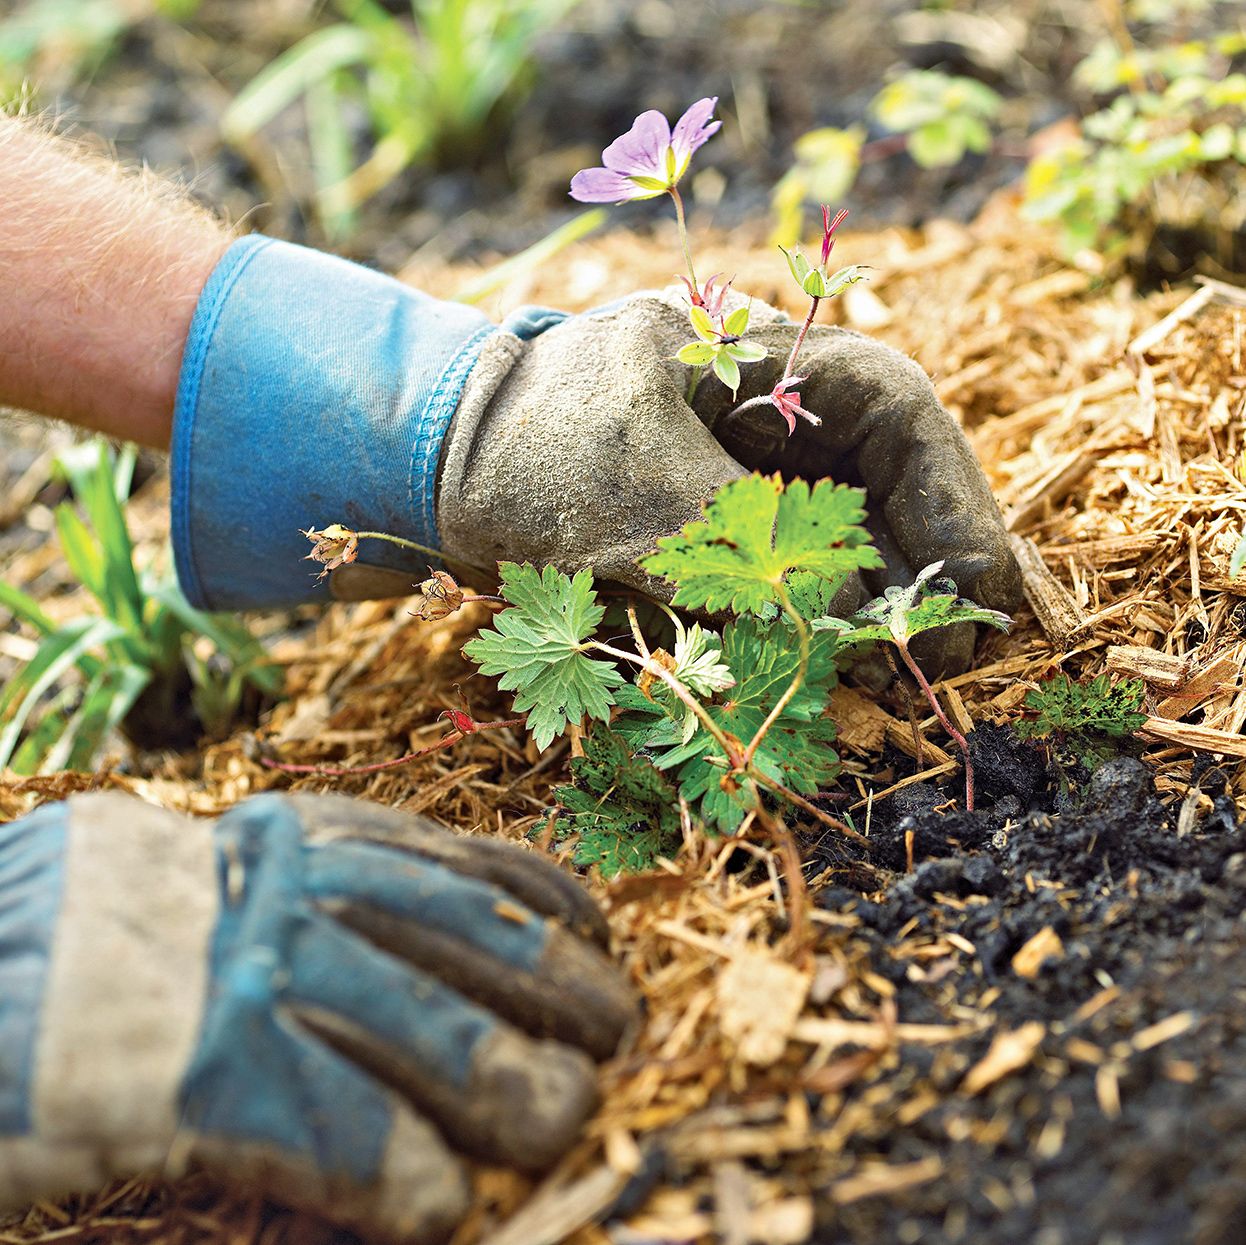
Pruning Regularly to Stimulate Their Growth
Pruning is different from propagation. Pruning means you cut a certain part of your plant for a purpose. Some reasons to prune Scindapsus are the rotten stem, dried leaves, and to increase their growth. Pruning makes it looks bushier because it forces the plant to grow in new areas. Moreover, it will grow new shoots like a crazy plant!
-
Give More Sunlight for Scindapsus
Scindapsus likes to get enough sunlight. They prefer to get bright indirect light. You can hang it near the window or only put it on your window sill. Natural sunlight contains energy that they need to produce nutrients. Sunlight helps the Scindapsus plant to create sugar and oxygen. Thus, manage the sunlight exposure then your plant will survive as an indoor plant.
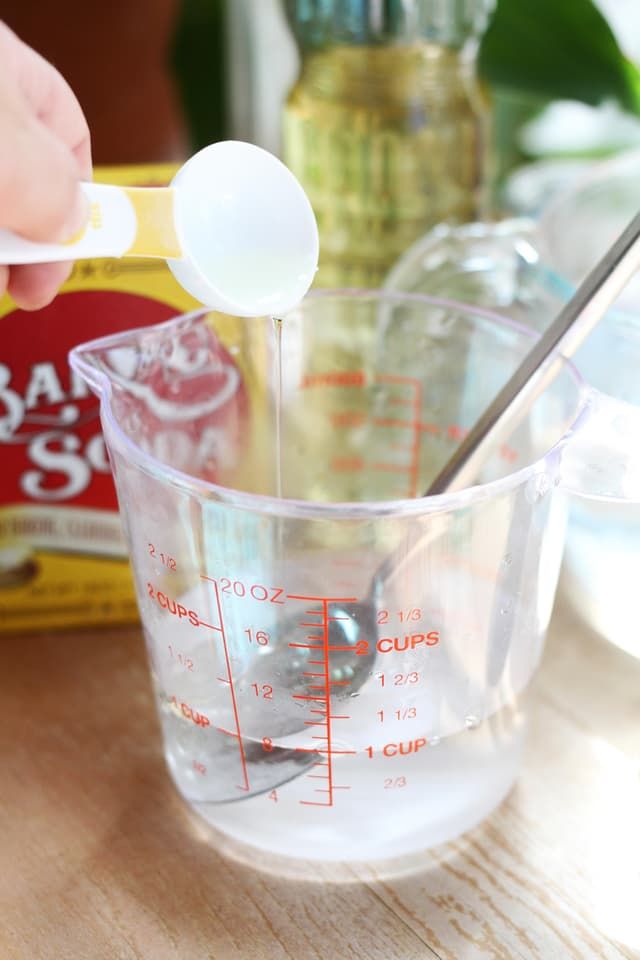
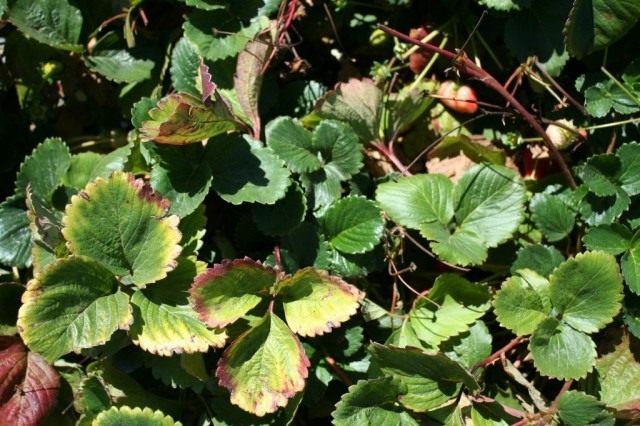
The Scindapsus plant needs proper care. If you want to grow them massively, you should pay attention to the fertilizer. You can give them an organic indoor fertilizer. NPK fertilizer or Nitrogen (N), Phosphorus (P), and Potassium (K) are important for plants as their primary macronutrients. It needs a balanced fertilizer of NPK with 10-10-10 or 20-20-20 once per month. This fertilizer is beneficial for the plants’ growth. You can fertilize your Scindapsus once a month when the soil is moist.
Conclusion
Thus our discussion of Easy Ways to Grow Scindapsus and How to Care It Indoor. Scindapsus includes in the Araceae family plant. This plant is native to New Guinea, Southeast Asia, and Queensland. It has several varieties and is easy to grow indoors. Many people like to grow this plant to create a trailing indoor plant in a hanging basket. If you are a beginner in gardening, this plant is your best friend because it is low maintenance. We have shared some tips for you and hopefully, it helps you to grow Scindapsus indoors. Happy gardening!