
Homesfornh.com – Apium Graveolens or celery is a condiment to make food and dishes more delicious. It has natural green leaves with a savory flavor. Celery is useful to make your food more delicious. Soups, salads, stews, and stirfries are some food that use celery to add flavor. You can find celery plants in warm or cool garden areas such as the garden hills and greenhouse. If you are curious about how to grow celery by seedlings, we will discuss it in this article. Growing celery will help you to store fresh ingredients for dishes. Here are some benefits that you get when growing celery:
- You can make a natural shampoo for hair’s nutritions
- It is easy to pick the fresh celery whenever you need it
- It doesn’t consume lots of space
- It is an easy-growing plant during spring and summer
You can plant the celery from seedlings. The celery seeds are available in a gardening market. If you have the celery seeds, then let’s start planting them. Therefore, in this article, we will discuss DIY to Grow Celery with Organic Planting from Your Home. With the right way, you can grow celery well and fresh. Let’s discuss!
The Best Season to Grow Celery

The Spring season is the best time to grow most plants. Celery will grow better in the early spring when the weather is warm. The summer season also gives you another option to grow celery. Plant the celery in the late summer will result in a perfect harvest in the late autumn. Celery is recommended to plant in warm and cool weather but spring will be the first option to start planting
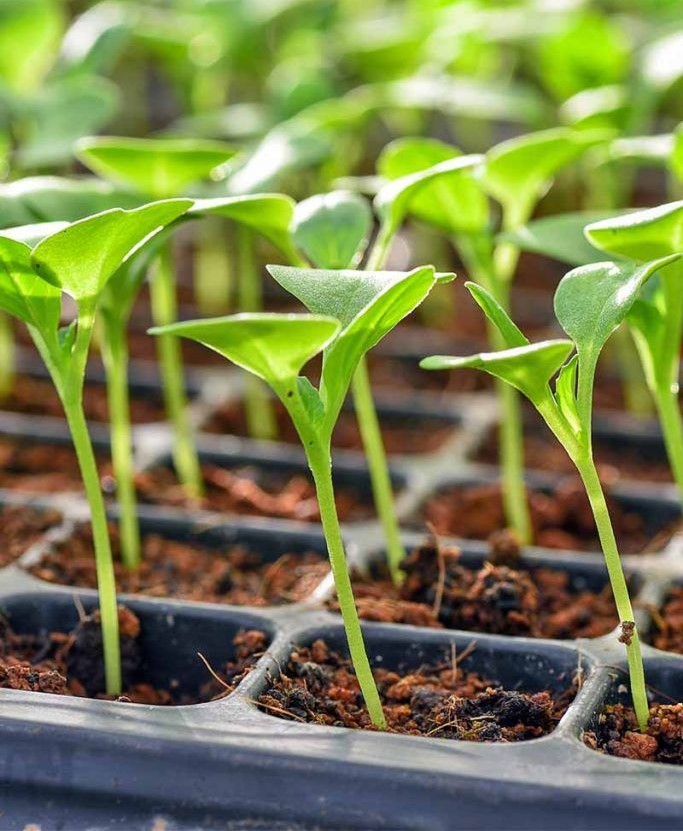
Start Seedlings Indoors
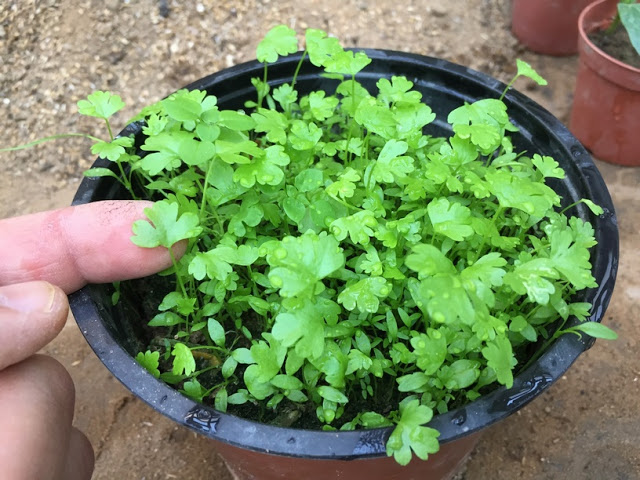
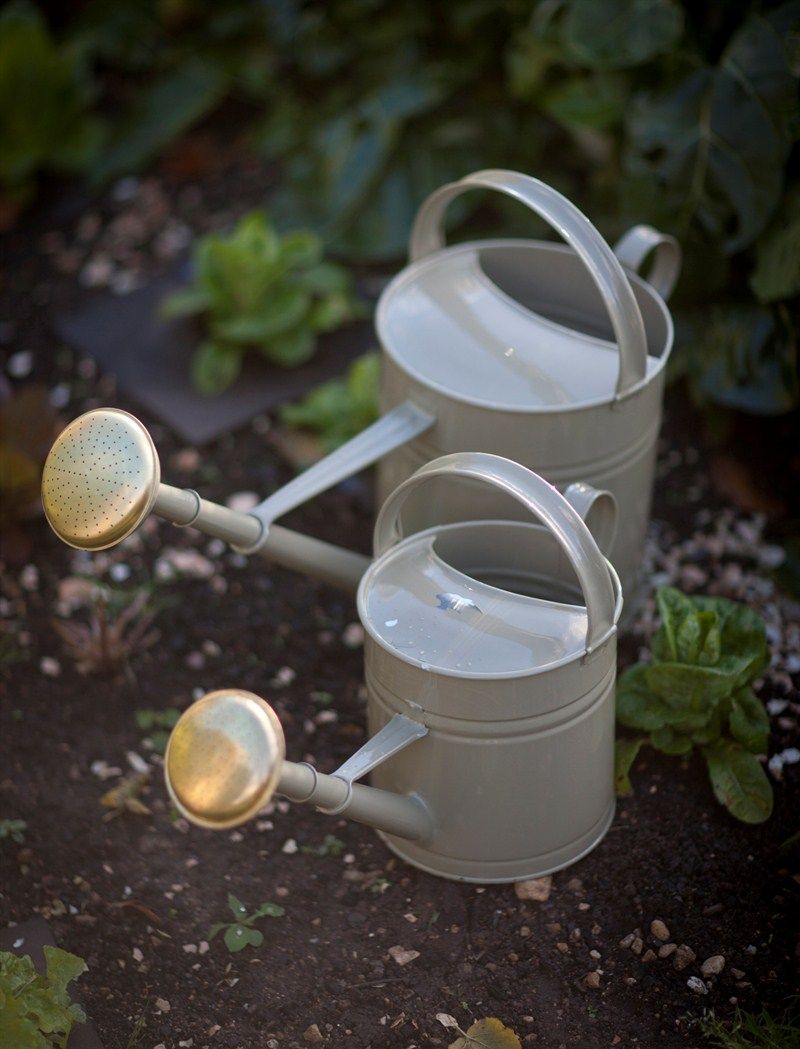
The best place to start seedlings is in your home. Sowing the celery seeds in a tray to get the best seeds on their bottom. Soak the seeds in warm water overnight. Spread the seeds on a tray full of regular potting soil, then do not cover the seeds with spreading soil. Most seeds will grow easily when they get water more often. Use a bottle sprayer to mist the seedlings regularly. Cover the tray with transparent plastic to speed the germination. They germinate well in 10-14 days but you just be patient because sometimes it takes more time. Growing celery seeds needs moist temperature and avoid direct sunlight but it is fine to put them outdoors for 1-2 hours per day, to reduce water in a tray.
Pick the Sunny Place
It is essential to growing celery under full direct sunlight. Your celery needs exposure to sunlight and moist soil, thus pick the best place before transplanting your seedlings. Sunlight is important to stimulate their growth, even your seedlings need to get sunlight at least 2 weeks before transplanting into your garden. The sunny place brings life to a green crop like celery.
Prepare the Soil
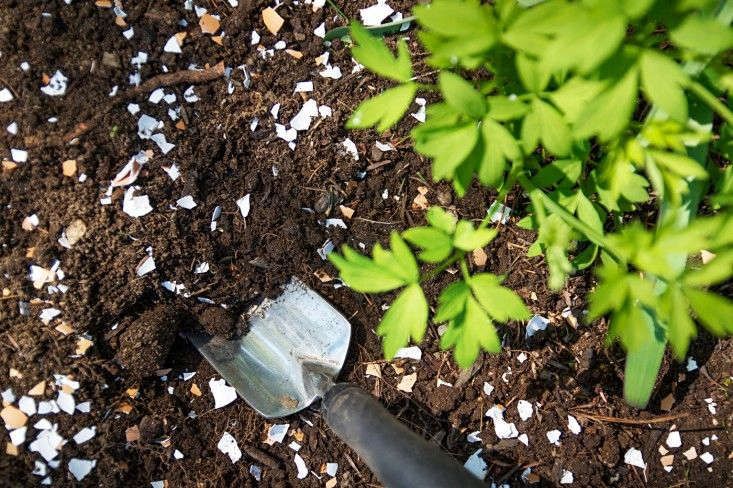
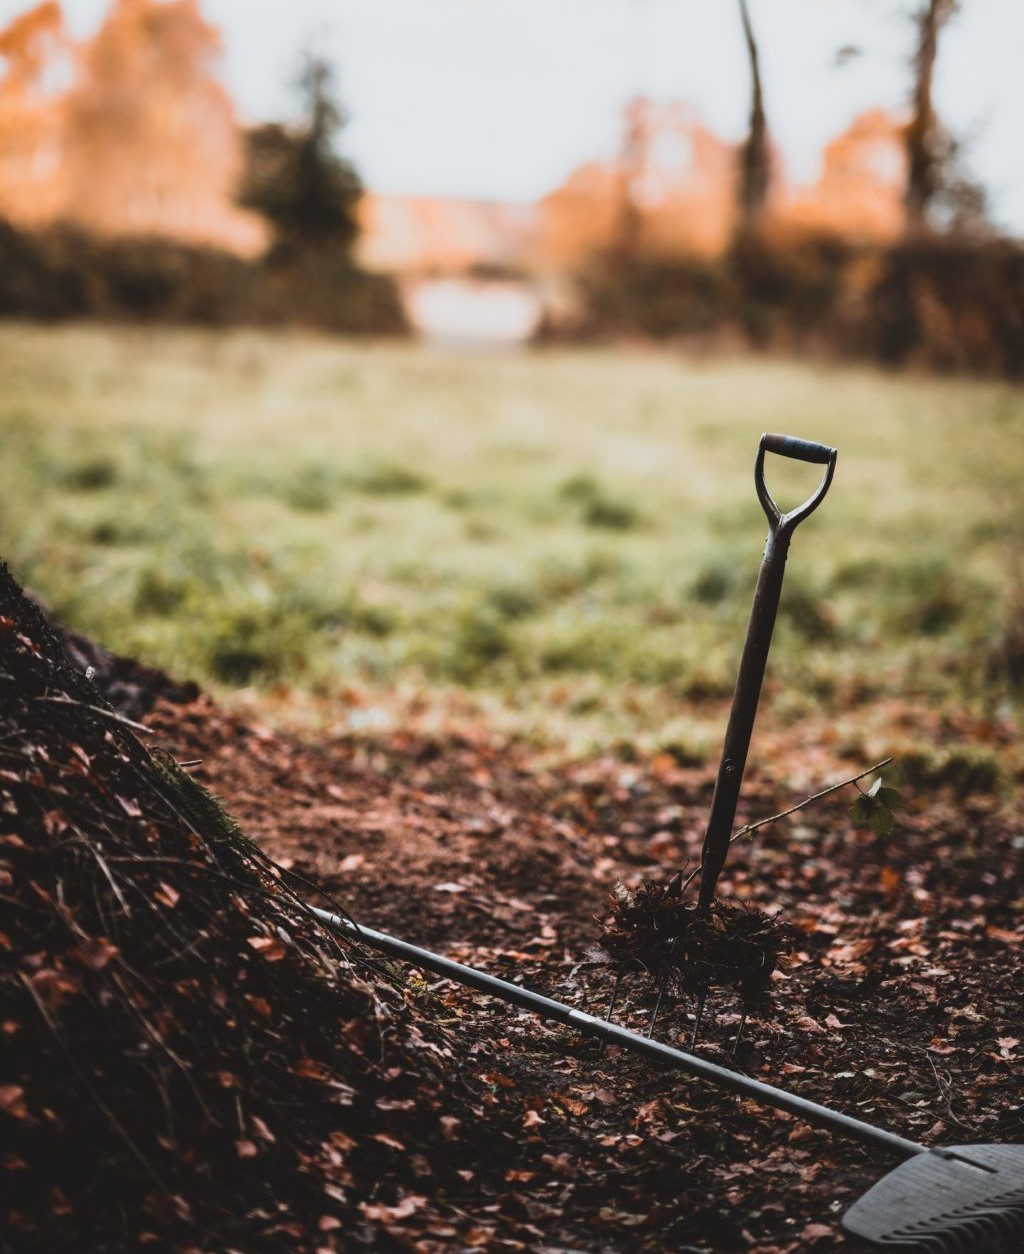
Manage the soil before planting the celery. They love the compost-rich soil with loose textures. You can use a garden fork to loosen the soil for the plant you grow. Add compost and manure to increase nutrients in the soil. Mix them well, then spread water to make the soil moist. It is better to let the soil receives sunlight for 1-2 days before turning the soil by using a gardening fork. Always spray water when the soil is dry. The wet soil is good for fermentation and helpful to feed worms in the soil.
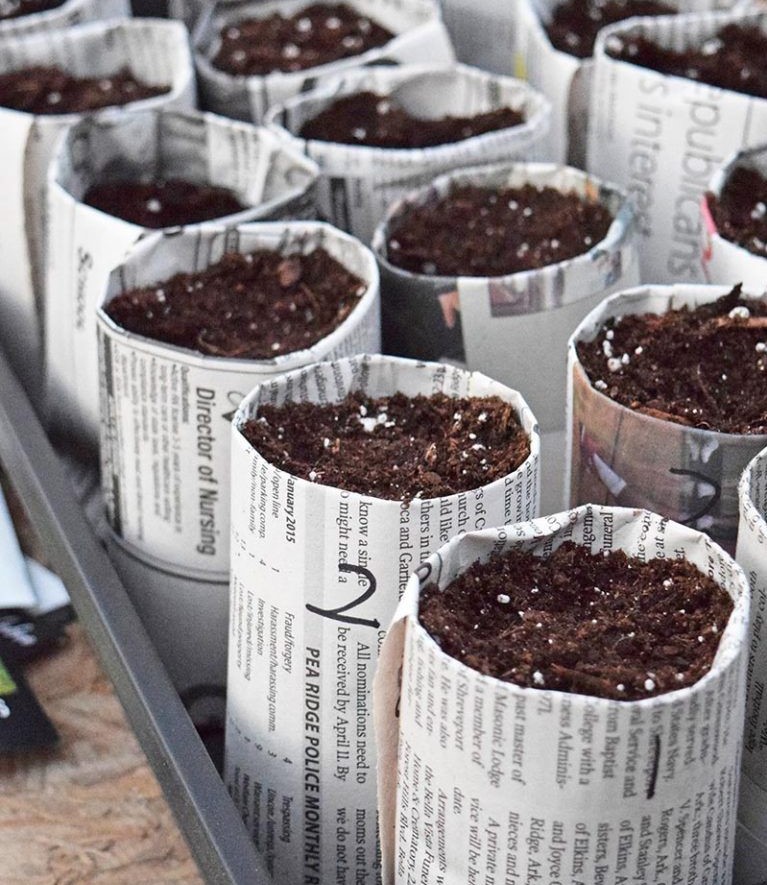
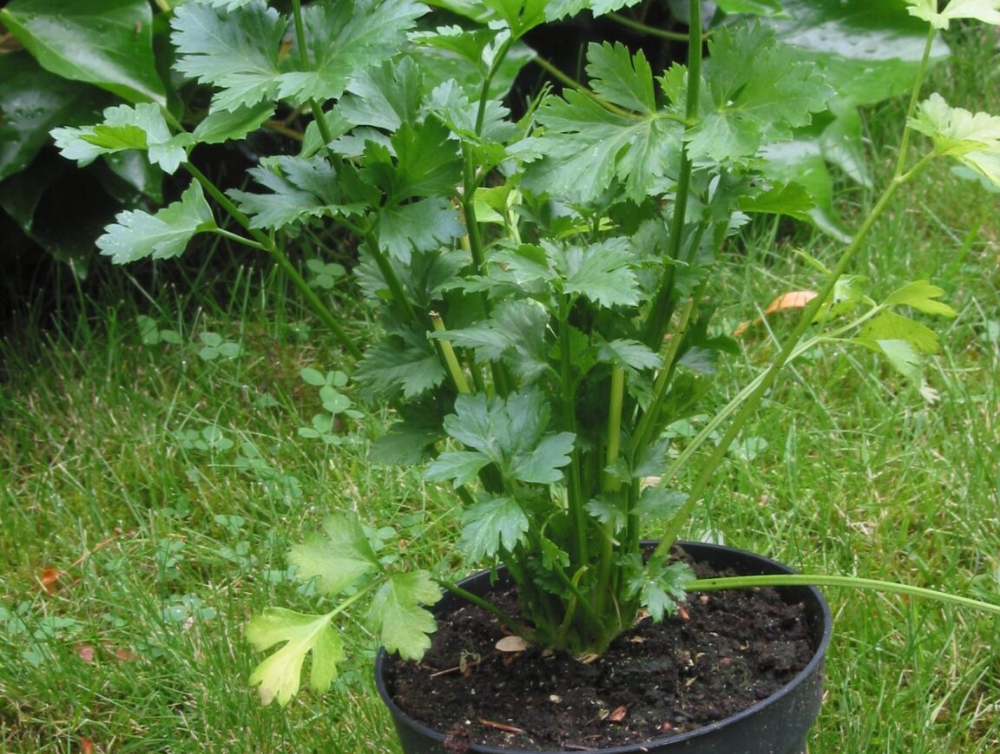
Transplant the Germinated Seeds
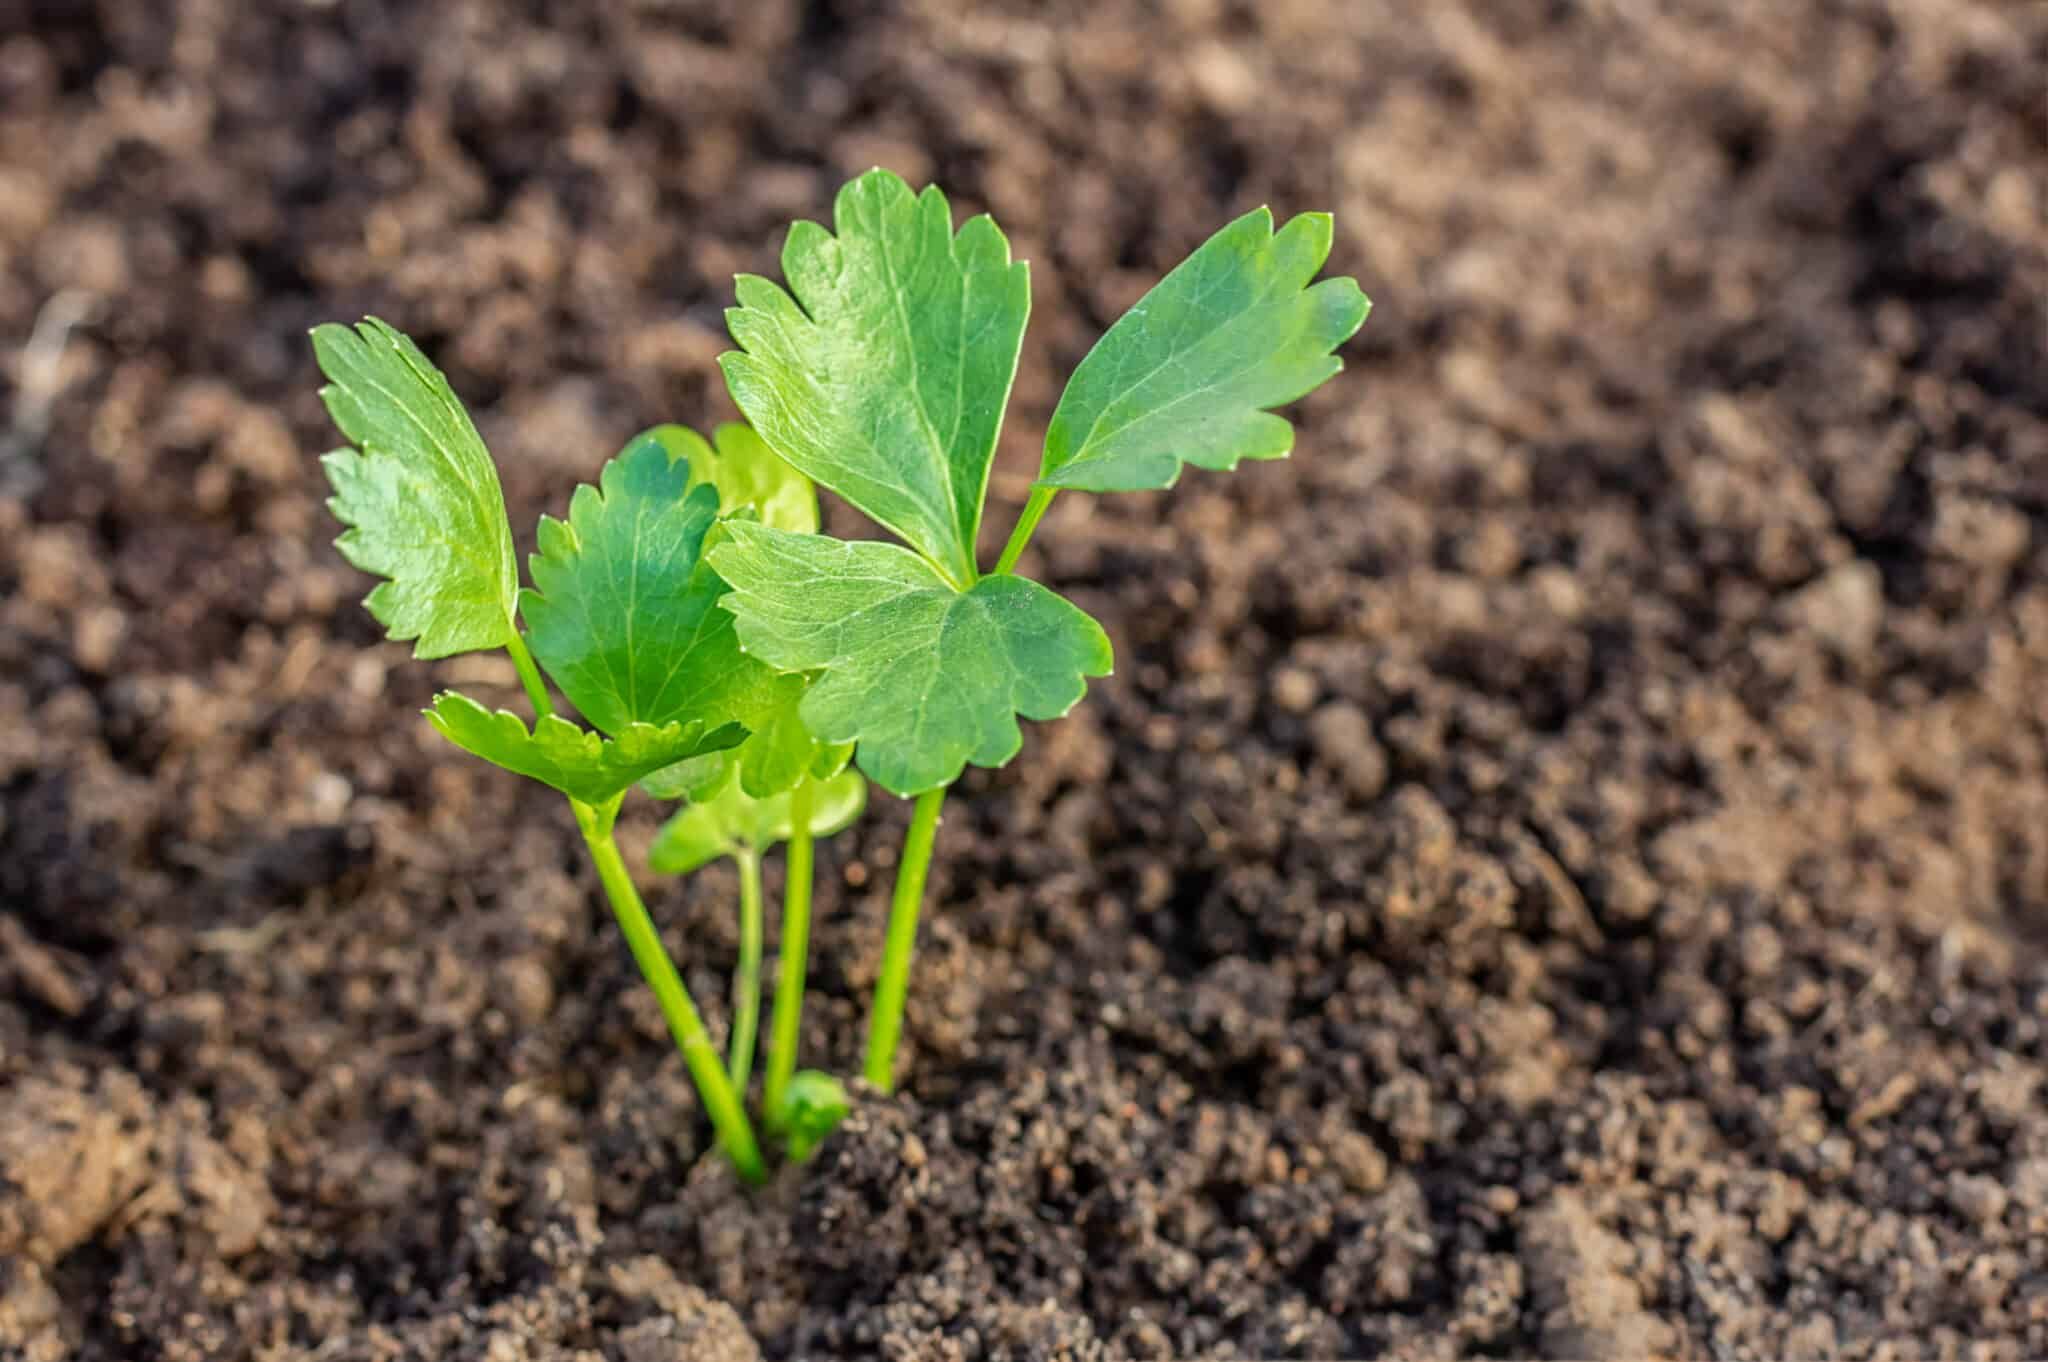
Take the celery seedlings from their germinated tray. Dig some holes in soil based on how many seeds to plant. Take the space about 2-5 inches apart between the holes. Ensure that the soil for the planting media is moist but not soggy. Celery needs water more often to grow leaves. It is important to keep it moist, thus water it when your celery looks thirsty. Ensure that you provide enough water for celery during the growing season. Their tender stalks are easy to dry and wrinkle, thus giving plenty of water is important for their life.
Mulching Soil for Celery Plants
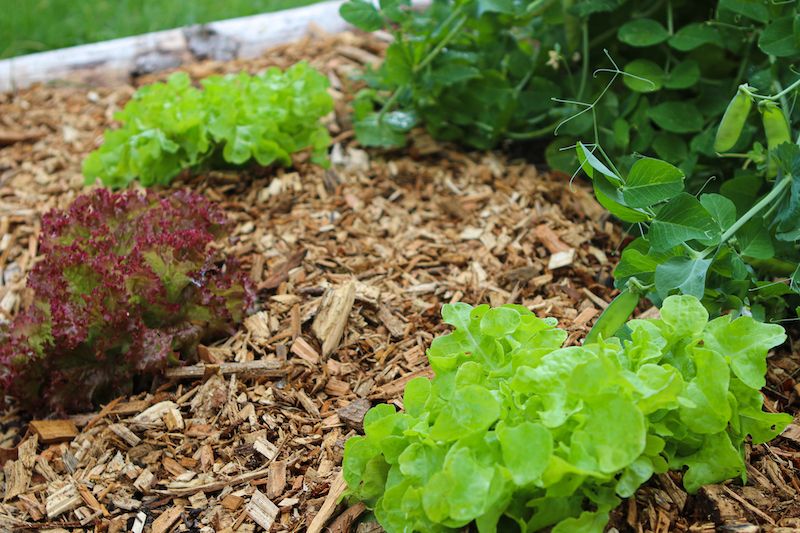
The mulch helps you keep nutrients in the soil, keep moist conditions, and feed your celery. Many organic materials are useful to mulch the plants. Pine straws, wood chips, coffee grounds, hay, coconut coir, and others. Compost is also beneficial to substitute the mulch. It adds more nutrients to the soil. You can change or add the new mulch if they decay in the soil.
Pests and Diseases
Celery has some symptoms that show they get pests and diseases. The common symptoms are brown leaves, yellow leaves, mealybugs, aphids, wrinkle stalks, and dry parts in celery plants. You can put a slug trap near the celery crop. The early growing celery is sensitive to bad insects, covering the celery crops with a gardening bracket will protect them. When the celery is mature, after 1-2 months, you can take off the bracket.
Fertilizing Your Celery
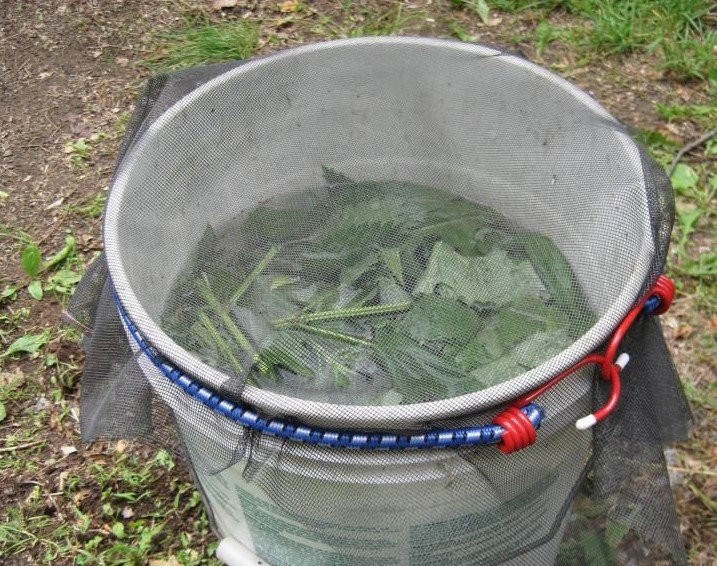
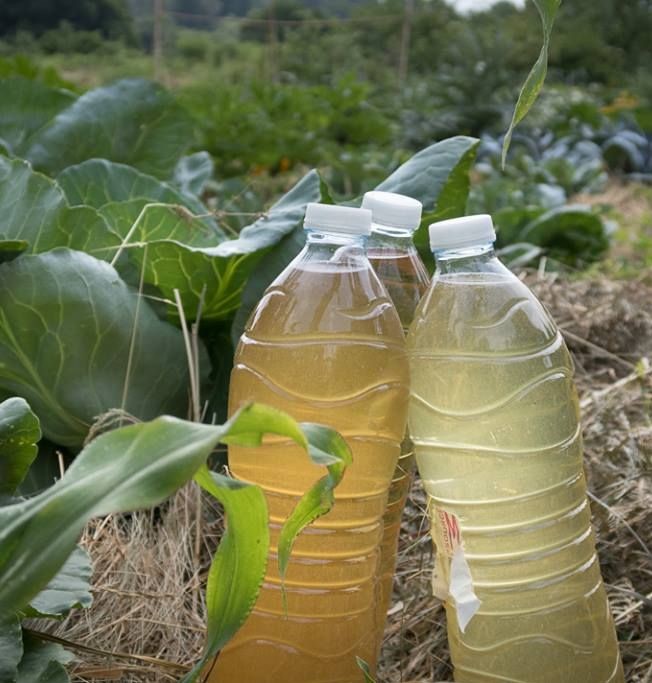
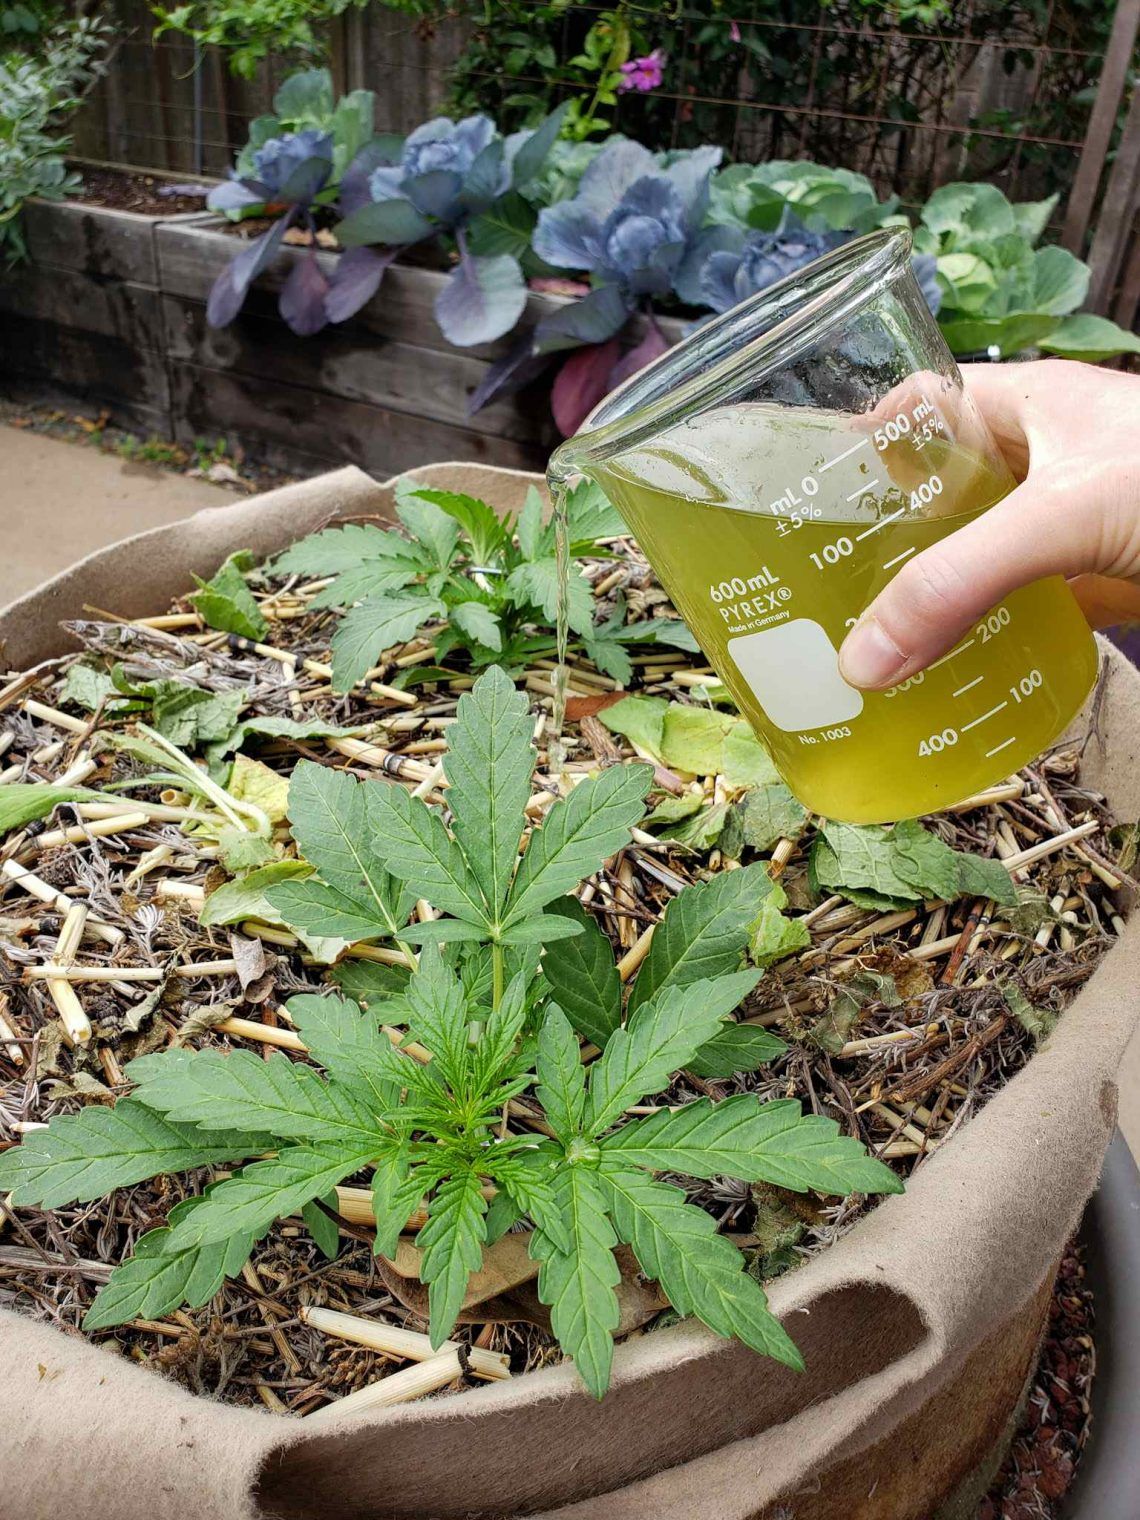
The celery plants love the rich soil. They are not a heavy feeder but compost and manure will treat them well to boost energy. The soil should remain moist when fertilizing the celery. You can use compost tea fertilizer, chicken manure, and organic potting mix to feed your celery crops. Spread or pour the fertilizer around its stalks.
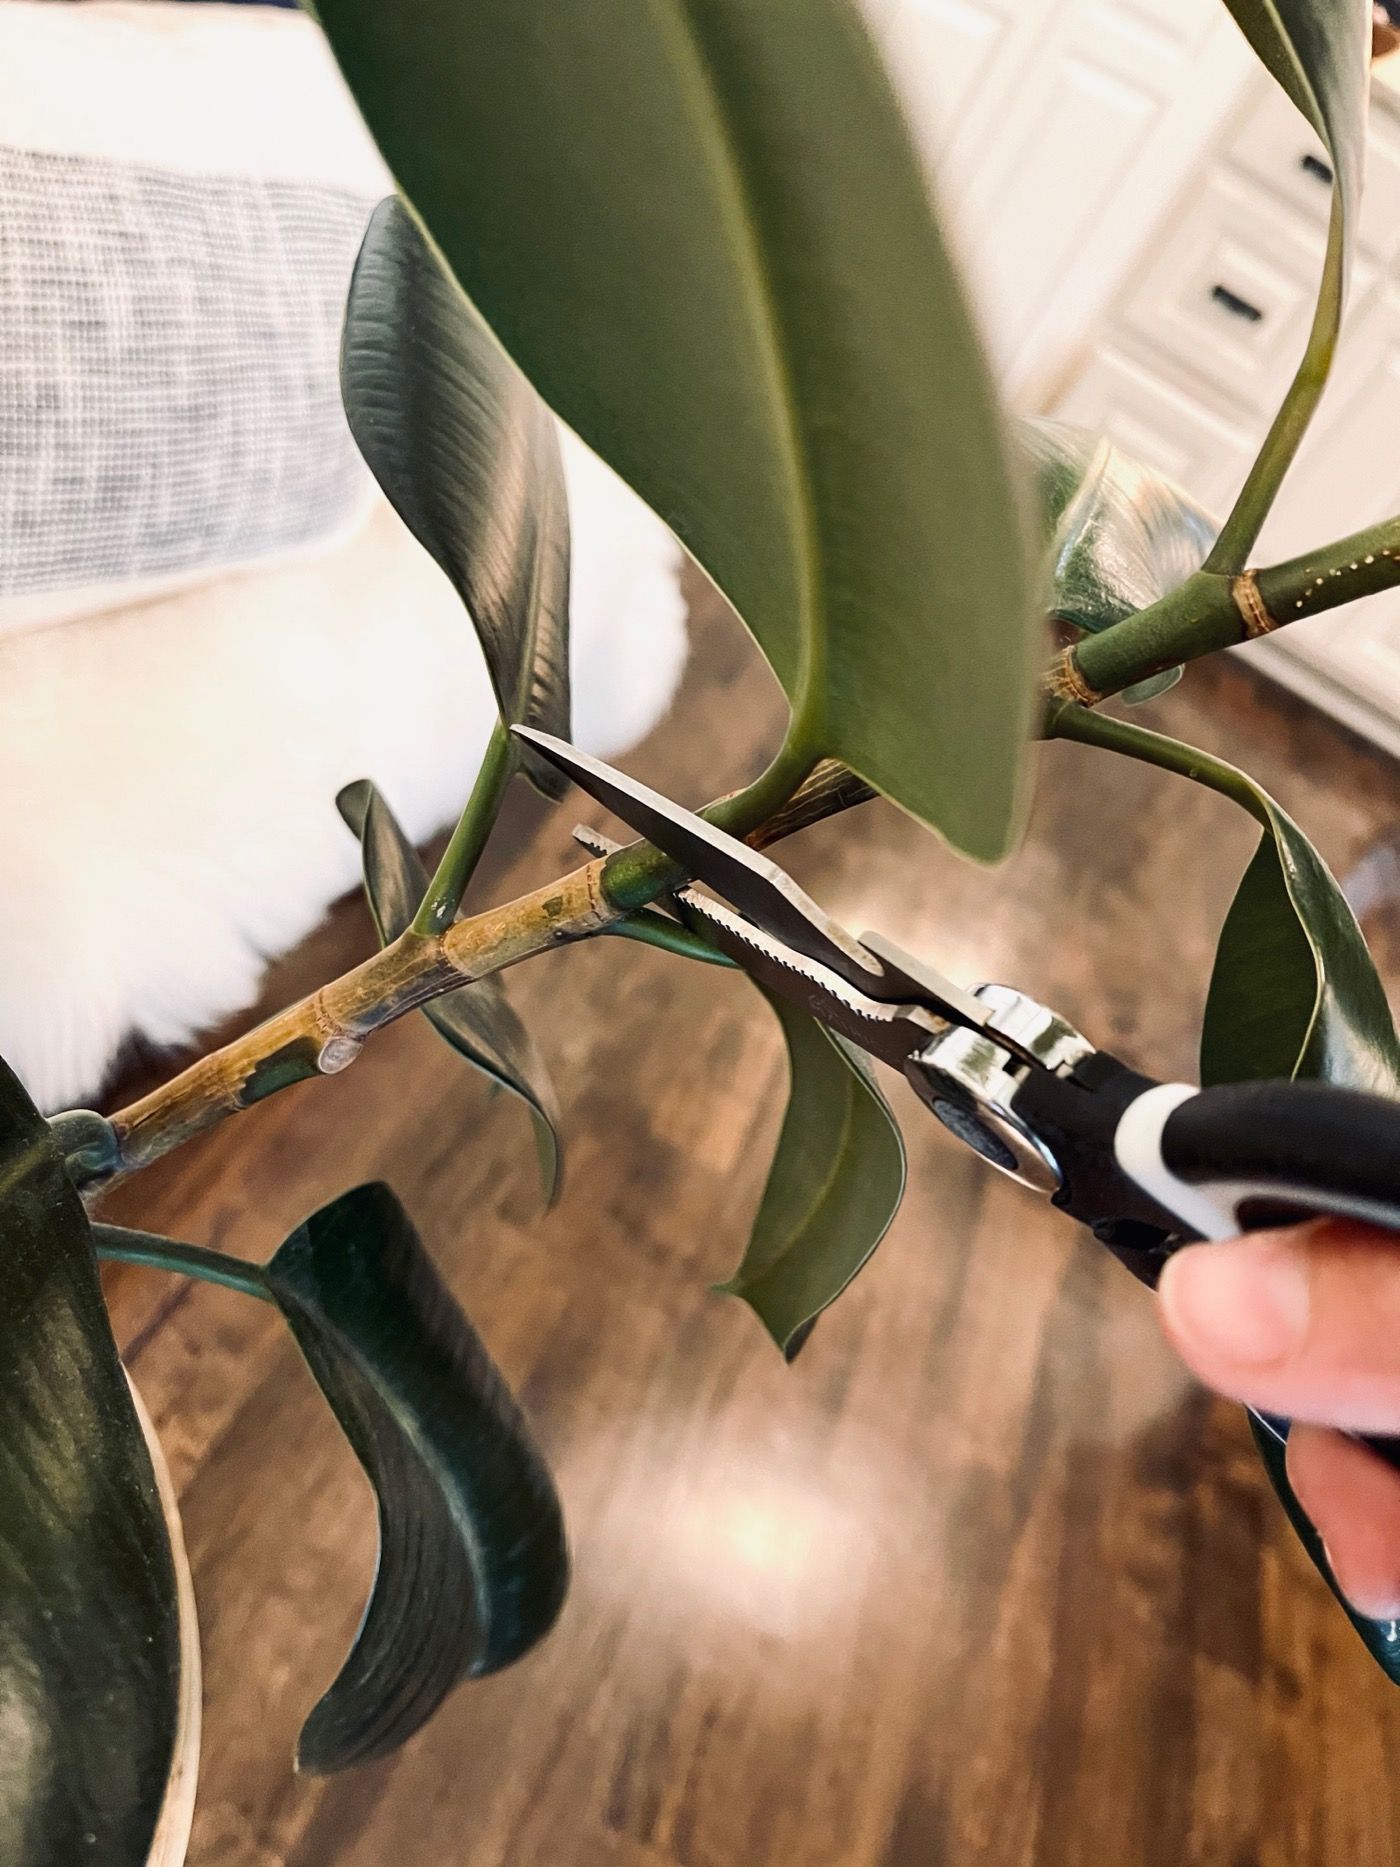
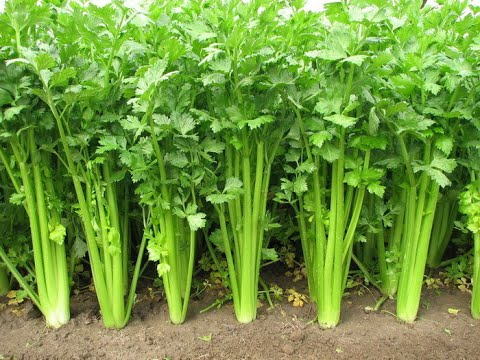
Harvest
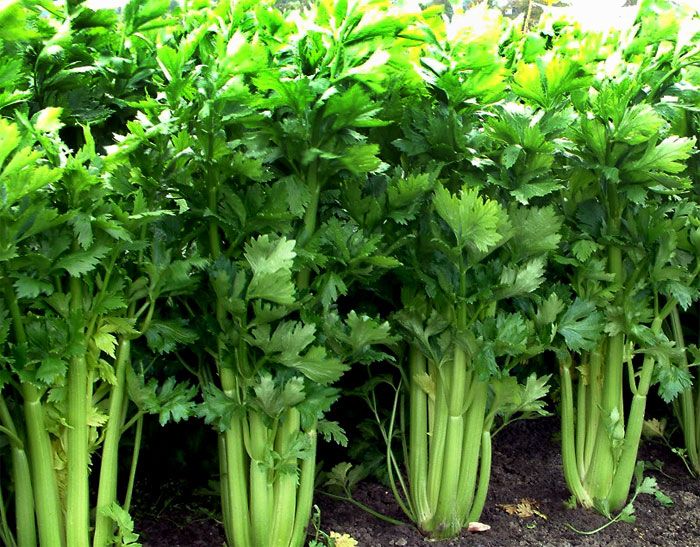
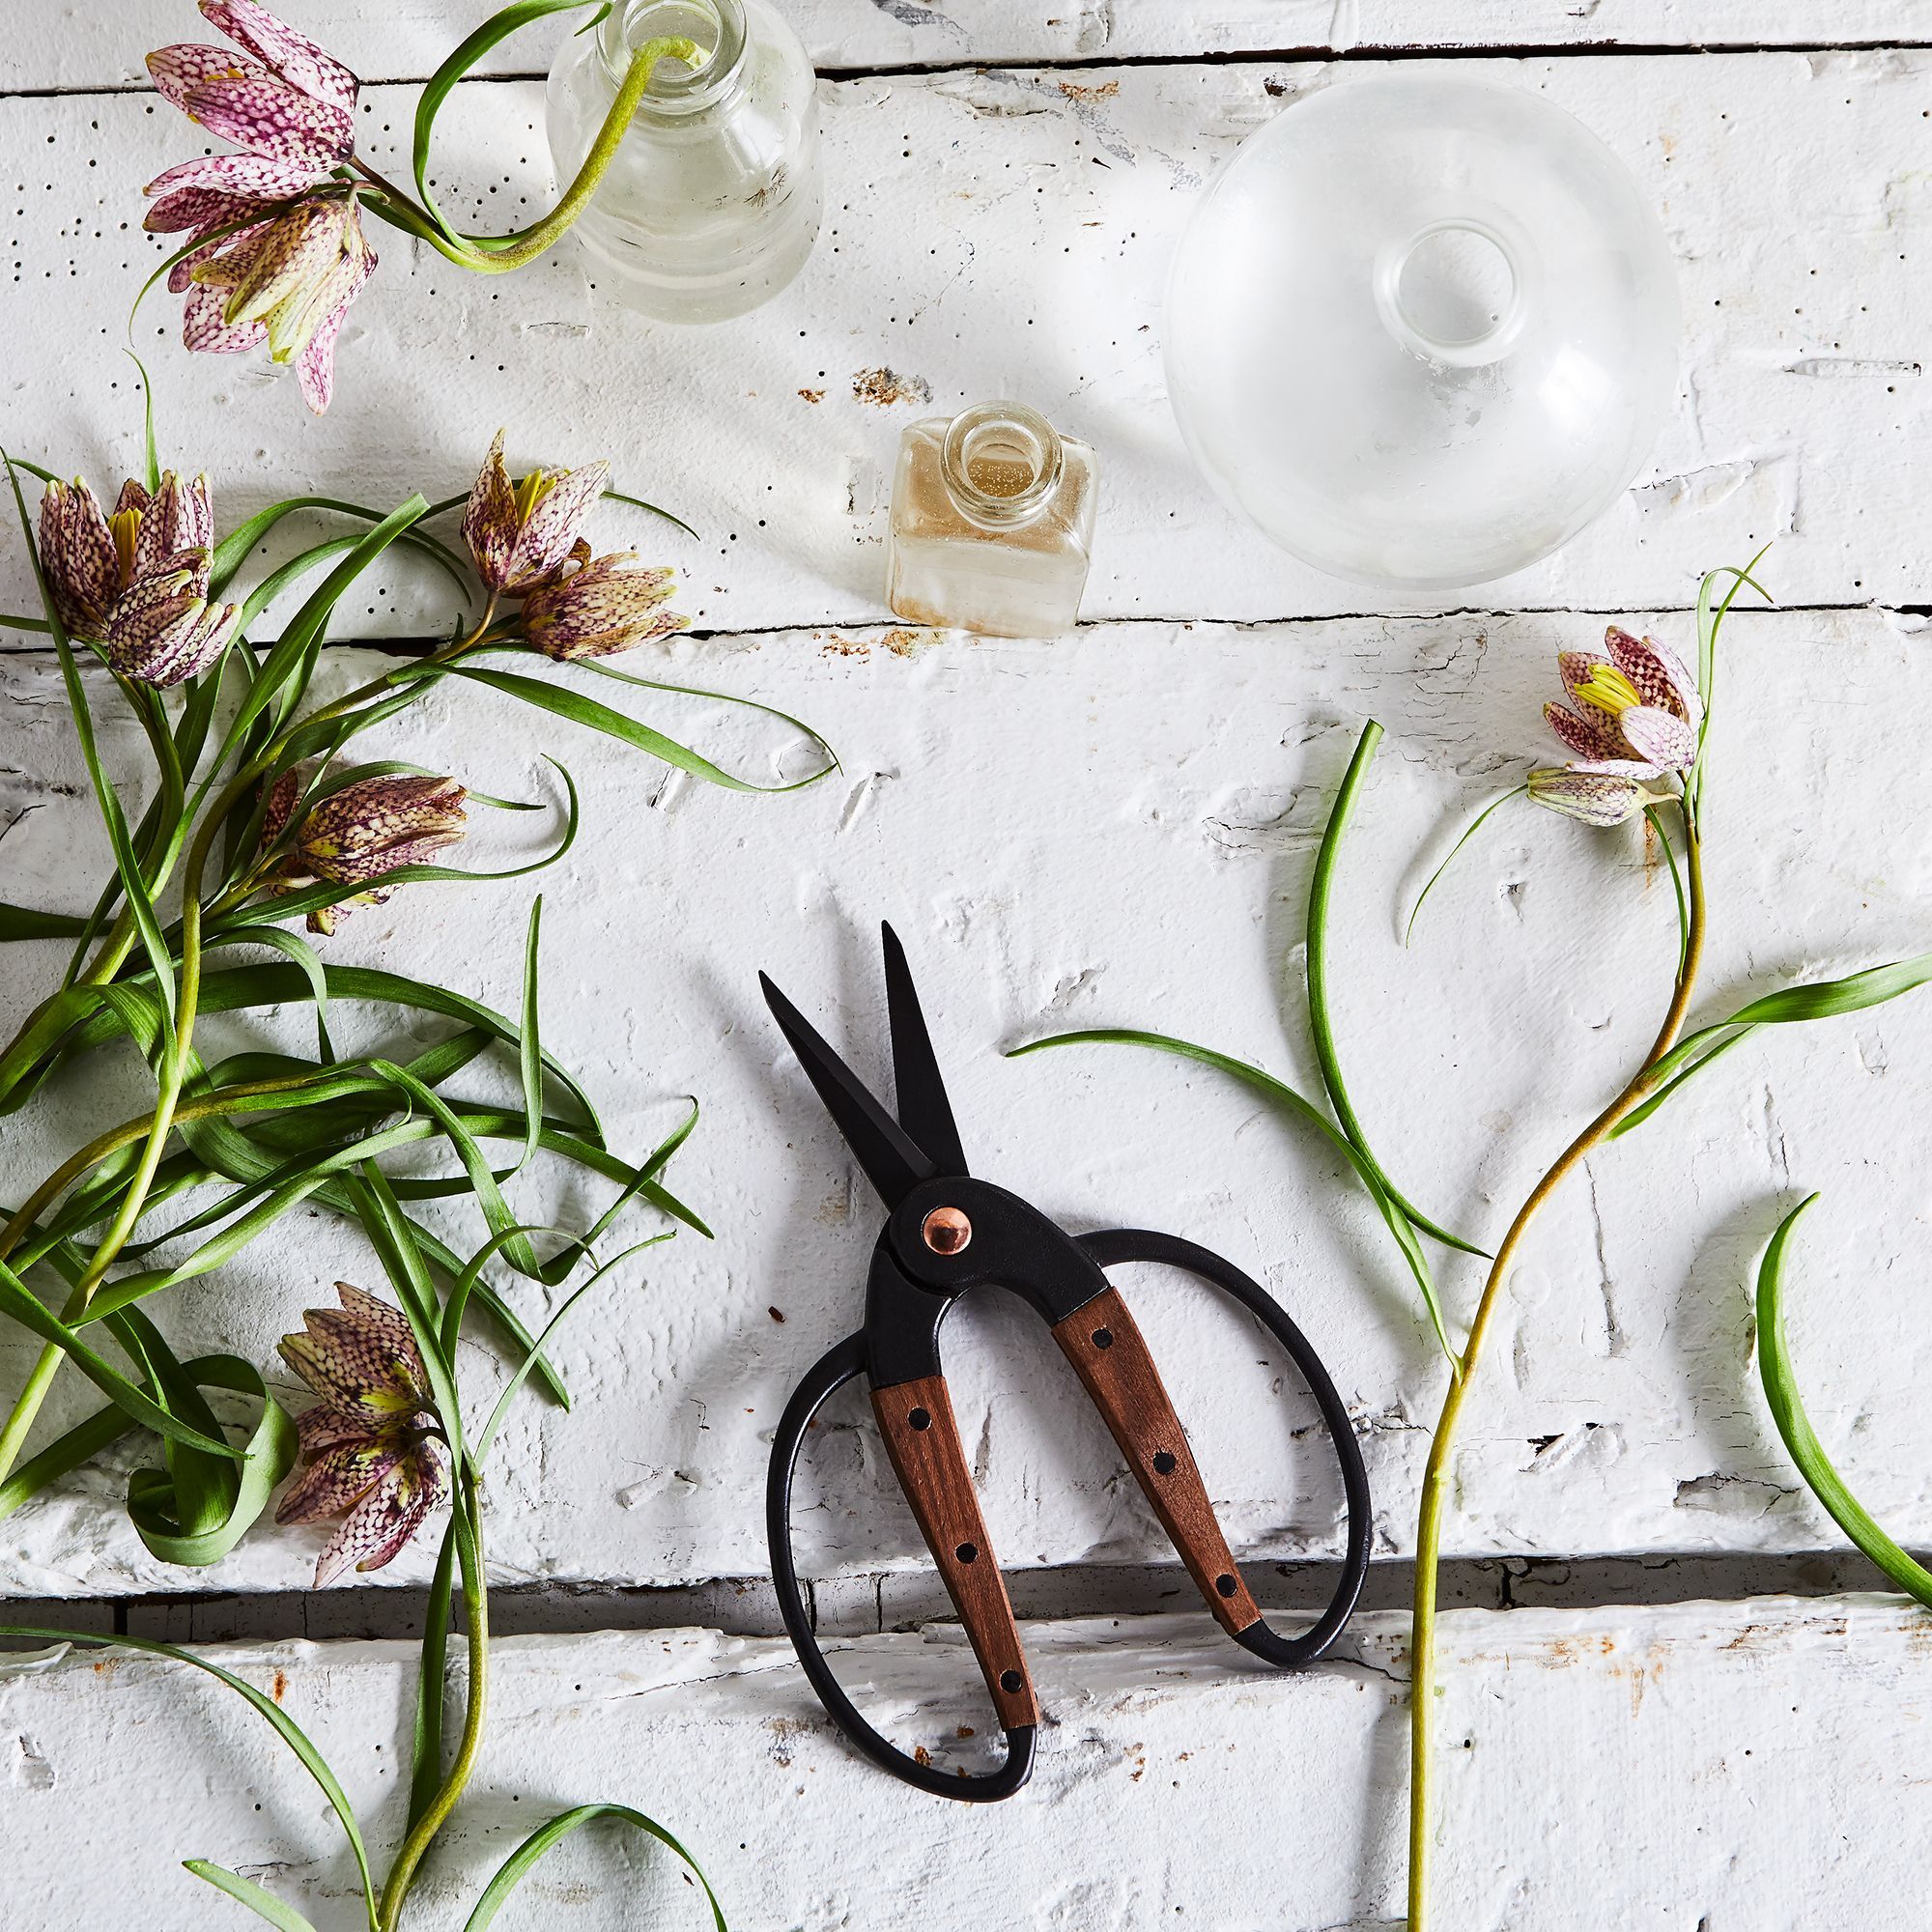
We have mentioned that celery is ready to harvest in the late autumn. Since it is an annual crop, celery needs 16 weeks to prepare for the harvest. Thus, the cool weather in the autumn season is the best time to harvest celery. Using a sharp scissor or pruning shear to pick the celery. You should let the stalks regrow new celery. They are ready to harvest when it reaches 8-10 inches tall.
Thus our discussion of DIY to Grow Celery with Organic Planting from Your Home. Celery is a perennial crop to make delicious soups, salads, stirfries, and so on. This ingredient is a must-have material in the kitchen. You can store them in the fridge for weeks, in the right paper bag and plastic. Growing celery crops is challenging because they need good maintenance such as adequate sunlight, water, and depends on the climate too. This crop is good to grow during the spring and summer seasons. Hopefully, it helps you much to grow celery by seedlings.