Home Blog Page 22

How to Annihilate a Cockroach Infestation on the First Try

0

Are you battling a persistent cockroach infestation that’s making life at home very uncomfortable? You’re not alone. People all over the world are battling roaches on a daily basis because they are that darn persistent. Whether you have smaller German cockroaches or larger varieties, this article is here to help you. 

Chances are, you’ve already tried several methods for getting rid of them, only to have them come back or laugh in your face. Plus, there’s nothing worse than thinking that they’re gone only to see a fresh gang appear when you open your cabinet or fridge.

Firstly, it’s important to note that Raid spray and other similar products are not the solution for a true cockroach infestation.

Step 1 – Plan Before You Act

When your goal is to get rid of roaches for good, you must come up with a solid plan before you act. Why? Because it’s of the utmost importance to hit a home run on your first swing. In other words, you don’t want to use just a little bit of the right product and fail to take out the entire colony.

For this reason, planning is essential. Yes, during the planning phase, it’s annoying that roaches are still in your home, but patience is the key at this point. Just imagine what life will be like without worrying about a crawling roach freaking you out. 

So, with those thoughts, plan, plan, plan first.

Step 2 – Use Poison Bait Gel AND an Insect Growth Regulator

Now that you’re in the proper mindset, it’s time to load up on the right products. First, you absolutely need a poison bait gel. Bait gel works by tempting the roaches to eat it. Your goal is to place adequate bait gel in places you see roaches the most. Then, you must ensure that they’re taking the bait and bringing it back to the rest of the colony. 

In the end, the entire population of roaches comes into contact with the poison, leaving them dead. Next, it’s imperative to also use an insect growth regulator. If there are any stragglers left after the bait gel runs its course, the insect growth regulator (IGR) prevents stragglers from reproducing.

By breaking the cockroach life cycle, you ensure that they don’t come back by annihilating the entire colony. To choose the right gel and IGR for your infestation, use Pest Eradicator roach killer product guides for homes and apartments.

Step 3 – Create a Perimeter Around Your Home

If you’re a homeowner, then creating a perimeter around your home with insecticide will prevent roaches from re-infesting your home. Unfortunately, apartment renters don’t have this same luxury. 

When applying insecticide around your home, always be sure to follow the instructions to a T and use the recommended safety equipment. This important safety tip can not be stressed enough. 

Final Consideration 1 – Test Multiple Baits

One common problem that renters and homeowners run into is roaches that won’t take the bait. This can happen when roaches have been treated with the same product before, or in some instances, they simply don’t take the bait, hence why it’s called bait. 

One method is to test a small area with multiple bait gels to see which brand the roaches like the most. Once you confirm which brand works best for the roaches in your home, then it’s time to act quickly.

At this point, you want to fully apply the bait that works best to ensure the roaches take as much bait as possible. While this technique has a higher upfront cost, it gives you a better chance of the roaches taking the bait on your first try.

Final Consideration 2 – Use Traps to Determine Your Infestation Levels 

Traps are helpful to use before and after treatment to determine infestation levels. A good spot to place a trap is below your refrigerator or other areas where you notice roaches. The glue on the traps prevents the cockroaches from moving once they get stuck.

Use a trap before treatment to assess the type(s) of roaches and how many there are. Then, after treatment, place a trap in the same location to ensure they didn’t return. Plus, it’s wise to check the trap weekly to know whether there are still roaches lingering or if they come back. 

As a result, you’ll stay a step ahead of roaches rather than reacting once the infestation has grown. Unfortunately, apartment renters are more likely to experience re-infestations since they’re at the mercy of their fellow renters and building management.

Plus, apartment roaches are more likely to be immune to some baits since they’ve previously been treated. Because of this, renters should try the multi-bait approach, alert building management, and keep tabs on the infestation by using traps. 

Now, it’s time for you to start planning your attack.

5-Floor Renovation Ideas Using Tile

0

The moment one steps foot in your house, the first thing that they notice is the decor of your place. How your home looks and the feel and vibe it gives out mostly depend on how you’ve designed the space. Choosing the right colors in apt combinations, having artistic pieces, paintings, and wall hangings are some of the ways people try to lift their place’s decor.

One of the most important things, when it comes to taking your decor to another level is the flooring of your space. Flooring is almost a permanent part of a decor, it’s tough to reverse the decision once it’s laid. You can always decorate the walls with a hundred other things, have them re-tiled, re-painted, have wallpapers mounted, and many other hacks if you go wrong with them. However, it’s not the same with flooring. The most you can do with a floor is have rugs on it. So, it’s better and wiser to pay full attention, do your homework, and make the right decision that you’ll happily stick with for years to come.

The more traditional ways in which we’ve always styled our floors are marble and wood. There was a time when these were considered a status symbol. However, times have changed now and people have started to shift their preferences towards tiles. Well, if we may say, it was long due! Tiles bring a lot more to the table as compared to the traditional options.

In this blog, we’ll talk about some of the reasons why tiling should be your go-to option if you’re looking for solutions for your flooring.

1. Battle of the Biggies

When we talk about the giants of both the worlds i.e. tiles and traditional methods, we believe it’ll not be wrong to say that we consider marble over vitrified tiles. Marble has always been the industry giant and it’ll be wrong to not acknowledge the fact that it does add a touch of class to the space. However, when we talk about vitrified tiles, it ups the game a notch higher and here’s why. Vitrified tiles are relatively cost-efficient, low-maintenance, available in various designs, finishes, and colours, are scratch-free, stain-free, easy to mop and clean, and last but not the least, easier to install. The look that they provide is unparalleled that too under controlled budget with additional properties.

2. Natural Look

If you’re looking to give a natural look to your flooring, you can either go for natural materials like marble, limestones, cement or you can opt for natural look tiles– both options are open and available. There is a wide range of marble- and cement-look tiles that are available which provide you the same look at a relatively better cost.

3. Maintaining your floor

Maintaining your floor is very important. Like we discussed, it is one of the most permanent parts of your decor and it needs to stay fresh and look visually appealing all the time for the decor to look pleasing for the decor to seem in place. It gets very difficult to re-do the floor and let’s face it, it’s impractical to do it frequently. So, it’s always better to take good care of it no matter which flooring option you go for. If you go for tiles, it is fairly easy to maintain them as they are low-maintenance and hassle-free. Mop them right and you’re good to go. When it comes to more natural options like wooden or marble, there are some precautions that you have to take to keep them uptight and intact. Too much water might just ruin the extra coveted wooden flooring.

4. Types of tiles

There are numerous options available in the market when it comes to tiles. It ranges from ceramic to vitrified, gloss to matte, large format to short format, and the list of specifications is long for each of these. The best part about going for tiles is that you have options in almost every aspect–be it finish, colour, design, style, material, or look.

5. Things to Consider While Choosing Tiles

Choosing a tile is not a day’s job. You should do your research and know all the requirements for better comprehension while making the decision. There are specific tiles for outdoor areas, industrial usage, and indoor spaces. Ask yourself these questions before making a decision– how you’re going to use these tiles, where you want to mount them, and how much load they are going to carry.

Author Bio:

Isha Tandon has worked within the architecture and interior design industry as a flooring consultant expert – specializing in tiles, stones, and terrazzo. She has worked with Orientbell Limited, a leading tile manufacturer in India, as a product development manager in the design team and has recently joined the marketing team as their digital content expert. Her experience comes in handy in understanding the audience as she creates value-driven functional & informational content for the readers. She creates lifestyle pieces that focus on interior design products, trends, and processes. She loves to travel to historic places with rich architecture.

How Walk-In Tubs Help Those with Parkinson’s Disease

0

Parkinson’s can be a difficult disease to live with on a daily basis. It can cause tremors (especially in the hands), limb rigidity, and balance problems that make even the simplest of daily tasks nearly impossible. If you’re living with Parkinson’s disease, and your symptoms are making it hard to bathe without help, consider installing a walk-in tub in your home. These bathroom features can make an enormous difference in the lives of Parkinson’s patients. Keep reading to find out how.

Easier Entry

The balance troubles and stiff limbs often associated with Parkinson’s disease can make stepping over high ledges extremely difficult. And yet, almost every home in America has at least one high ledge that homeowners must step over on a near-daily basis: their bathtub wall. It’s a movement that most people don’t think twice about, but it’s a different story for Parkinson’s patients. That ledge can be a serious obstacle and a genuine safety hazard.

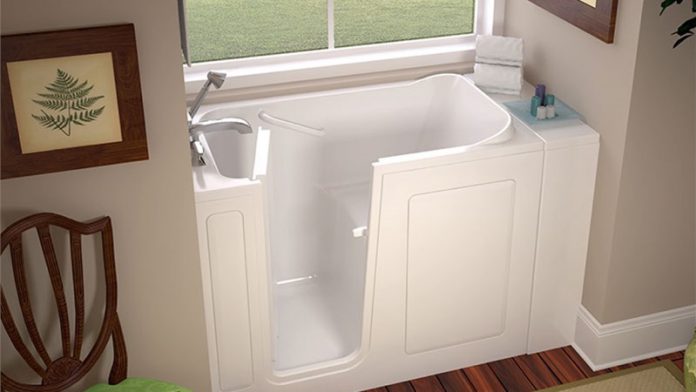
The main feature of a walk-in tub is the door in the outer wall and the low-entry step that allows users to get in and out of the tub easily. This is a much safer option for those with Parkinson’s disease and can allow you to get in and out of the tub unassisted again.

Levers Instead of Knobs

Once again, grasping a knob is something most people don’t need to think twice about. But if your hands are constantly shaking due to Parkinson’s disease, getting a firm grip on a knob to turn on your bath’s tap can be difficult and frustrating. And, if you turn it on too hot, you might have a hard time adjusting the temperature quickly, possibly causing you to be scalded by hot water!

Walk-in tubs usually use lever-like handles instead of knobs for turning the water on and off. This is much easier to use for people who have limited strength and mobility in their hands—not only Parkinson’s patients, but even individuals who struggle with arthritic joints. Plus, these tubs will often have anti-scald technology, so you have one less thing you need to worry about.

Built-In Seats

Balance issues make standing for a shower a near impossibility for many Parkinson’s patients, but having the strength to lower yourself into a low seated position for a bath (not to mention getting back up again) might also be out of reach. Walk-in tubs have built-in seats that are at a more accessible height, so you can easily and comfortably bathe on your own again.

Start up Bathroom Renovation Business and Local SEO: Things You Must Know

0

With all hoping for a fresh start in 2021, many people are trying to make improvements in their homes. Bathroom renovations are a common home improvement project. So if you are thinking of starting your own bathroom renovation business, there is no better time. But starting a business is hard with a variety of things that can go wrong. So we have prepared a guide for your start up bathroom renovation business –

1. Register your business and get the licensing right

The first step is to begin the process of registering your business. You must check that no other company is actually using the name you want to use for your company. Claim the name you want after you’ve confirmed that it’s available.

Find out everything you can about the state and local agencies as well as any new construction permits you might need. This is particularly true if you want to work in the commercial market. Do your research  on the types of licences and insurance required by your state. When it comes to insurance, the bathroom renovation business is no exception. When you want to employ other contractors, you would almost certainly require worker’s compensation insurance. You will also include professional liability insurance, as well as insurance for your equipment and other supplies in case of damage during work. To avoid hefty fees, make sure you have everything in order.

PS – Get the right supplies and equipment you will need to get the job done.

2. Determine your target market

The next step is to find your target demographic. Find your specialty as a bathroom renovation expert. What services do you provide? If you want to work with bathroom tiling or build personalised vanities and storage cabinets? Do you only want to work on minimalist and futuristic design or are you open to any style? Whose income levels do you want to serve? If you want to deal with first homeowners who could need more cost-effective options or renovate luxury bathrooms? There are some critical questions you must resolve.

Then, understand this target market and make a plan. Understand the cost of bathroom renovation that customers in your service area are likely to spend. Conduct any research on average spending, competitor costs, and any new trends in the market.

3. Get online

If you aren’t sure about getting a website, let us help you out. You will absolutely need one. 56% of people say they would not trust a company that does not have a website. A website will help you generate leads, provide positive feedback, and highlight previous work. Since you are just starting out, you might try advertising stuff like free bathroom renovation quotes to develop your credibility. A high-quality website not only makes a strong first impression, but it also immediately increases your reputation as a legitimate company. Simply have a FAQ section on your website to help the customer find pertinent details they need about your business..

54% of social media users will use platforms like Facebook, Instagram, and Pinterest to research businesses. So, if you don’t have a social media page, you’re missing out on over half of all social searches. You should consider building a social media page and share before and after pictures of your bathroom renovation, customer feedback, video testimonials, and any other fun activities you are doing as a company. It’s an excellent way to connect with your clients, share your brand name, and learn about their needs.

4. Local SEO

When searching for something online, over 75% of the people do not go beyond page 1. For example, A customer is looking for a bathroom renovation business in Darwin. If your website or business doesn’t come up on page 1, you might lose that job without even knowing about it. So how do you ensure that your business gets up there?

The answer is SEO or Search Engine Optimization. It is the process of increasing the amount of “quality” traffic to your website through organic search engines. When you’re up against hundreds of other companies, it can be tough to stand out online. However, if you are a local business, SEO may have a significant impact on your short and long-term growth. It will assist users in discovering, learning about, and visiting your company. Local searches have an average conversion rate of 80%, indicating that 80% of users are interested in taking the desired action. According to Google, searches for “near me” have increased by more than 500% in the last few years. If a local company has a smartphone-friendly website, 61 percent of mobile searchers are more likely to contact them. As a result, it is important to adapt your SEO approach in light of these local search trends.

How to Disinfect Parts of Your Home Where Rodents Have Been

0

Many people will agree that a  rodent infestation is not a good thing. Not only do these unsightly vermin cause diseases, they also gnaw on cables, walls, carpets, and building insulation. This risk to your health and the state of disrepair in your home they can wreak on your house make rodents a very undesirable presence in your place indeed.

Signs of infestation

Spotting rodents can be quite challenging, but if you know the signs they leave behind, you can determine which areas of your home may be harbouring vermin.

The most common sign of a rodent infestation is their droppings, which are typically dark brown. They often collect nesting materials as well, like paper scraps and plant leaves. You’ll also want to check whether your cables and wires have been chewed on.

Another sign of rodent infestation is scratching noises, especially late at night as they scurry across floorboards and quiet rooms.

Cleaning up a rodent infestation

Once you find signs that rodents may have inhabited somewhere within the property, you should start cleaning up and disinfecting right away.

You aren’t required to buy special equipment or chemicals; you can use whatever cleaning and disinfecting items are available in your home. Use only one type of chemical—avoid combining them. You never know what chemical reactions might occur if you mix different types of disinfectants.

Before doing anything, however, determine if the cleaning materials are safe to use on the surface you are cleaning. If the cleaning agent requires you to dilute it, make sure you carefully follow the instructions. Don’t forget to wear protective gear too, like disposable gloves.

Here are some tips on how you can properly clean and disinfect areas where rodents may have been:

Cleaning droppings

Rodent droppings may be small, but they’re filled with viruses and bacteria and as such, can compromise your health and those of loved ones living with you.

To clean and remove droppings, you need to wear non-absorbent gloves and a mask of some sort. Pick up the droppings one by one and place them inside a non-absorbent material (similar to your gloves) and dispose of them properly. Once you are done, remove all clothing you wore and disinfect them right away. (You can even opt to dispose of them if you wish.) Wash your hands for several minutes as well.

Never use your vacuum cleaner or broom in cleaning rodent droppings. Dry rodent excrement will readily crumble into very small particles and these are light enough that they can float through the air. You can easily inhale these. Instead, spray the droppings with ordinary household detergent or disinfectant. Let the droppings steep in the disinfectant for a few minutes after spraying, and then use a disposable cloth or paper towel to wipe them up. Place the droppings inside a sealed bag and throw the packet away.

Finding dead rodents

Removing dead rodents requires extra care.

Wear your gloves and spray a bleach-and-water solution on the carcass. Let the body soak in the mixture for several minutes. When you remove it, do not use your bare hands when picking it up. Use a pair of high-quality disposable gloves. Place the remains inside tightly sealed bags. Many people also use double bags.

Throw the bag into the refuse bin or any outdoor trash bin. Throw away your disposable gloves as well, along with all the other materials that may have come in contact with the rodents.

Clean the area or surface where the rodents were removed. Exposing it to sunlight and fresh air for several hours will help in disinfecting the area.

Don’t forget to wash your hands thoroughly after removing the rodents and cleaning the area.

Cleaning up rodent nests

For areas where rodents may have lived or built their nests, use a mixture of water and bleach for disinfection. If the area is enclosed, ventilate it for around 30 minutes by opening windows and doors. This allows fresh air to flow through the area thus removing any contaminated air.

Search for rodent droppings that are sure to be present. For instructions on how to get rid of them, see the “Cleaning droppings” section, above.

When you’ve made sure no droppings remain, pour your disinfectant mix onto the area and let it dry. Avoid using a spray bottle; you will inadvertently break up any contaminated material like urine-steeped shredded fabrics and aerosolized the viruses and bacteria feeding off them.

Apply disinfectant or a water-and-bleach solution on floors and mop off any signs of dirt.

Cleaning furniture and bedding

If you think rodents infested and urinated on your carpet, bedding, and furniture, these items have to be cleaned and disinfected.

For carpets and furniture, the ideal thing to do is to shampoo or steam-clean them. Wash your clothes and beddings with hot water and laundry detergent.

Rodent infestation due to disrepair

If the rodent nests in your rented home are caused by disrepair, you shouldn’t do anything about solving the problem on your own. You have to inform your landlord and provide them with all of the details. If your landlord has not responded or actioned a solution after 21 days, you can file a housing disrepair claim. Don’t worry if this sounds complicated,, you can get in touch with the disrepair experts at DisrepairClaim.co.uk and they’ll guide you down the right path by helping you file a disrepair compensation claim.

How to Grow Rosemary Herbs in a Small Pot in Your Home Garden

0

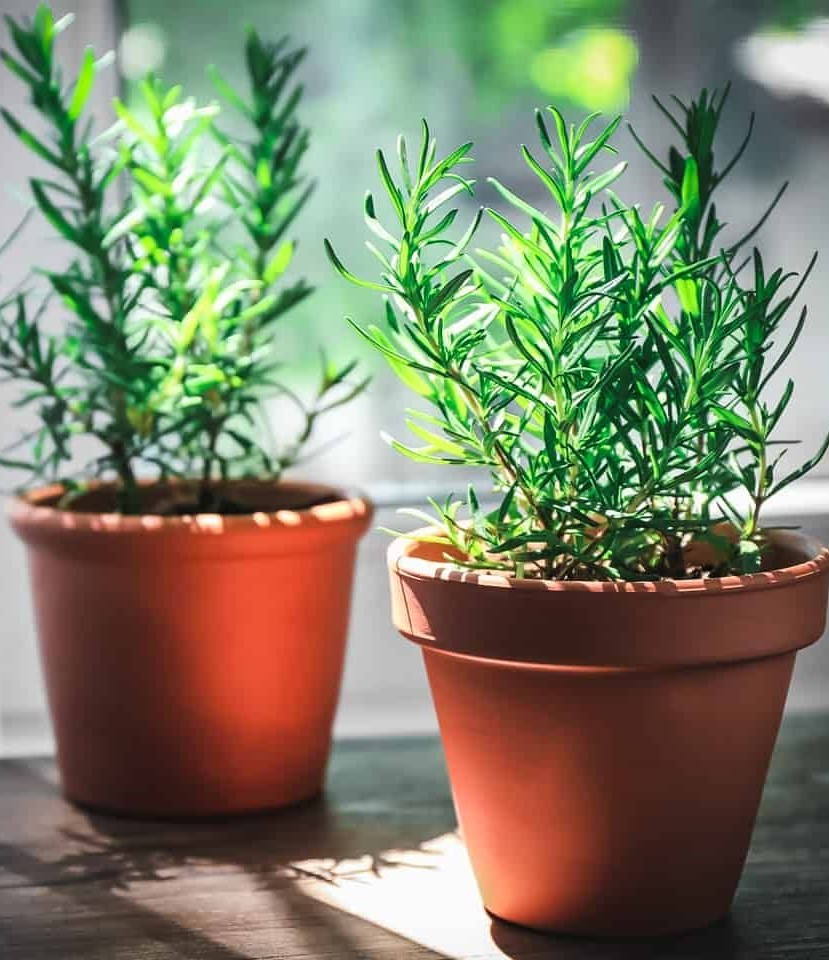
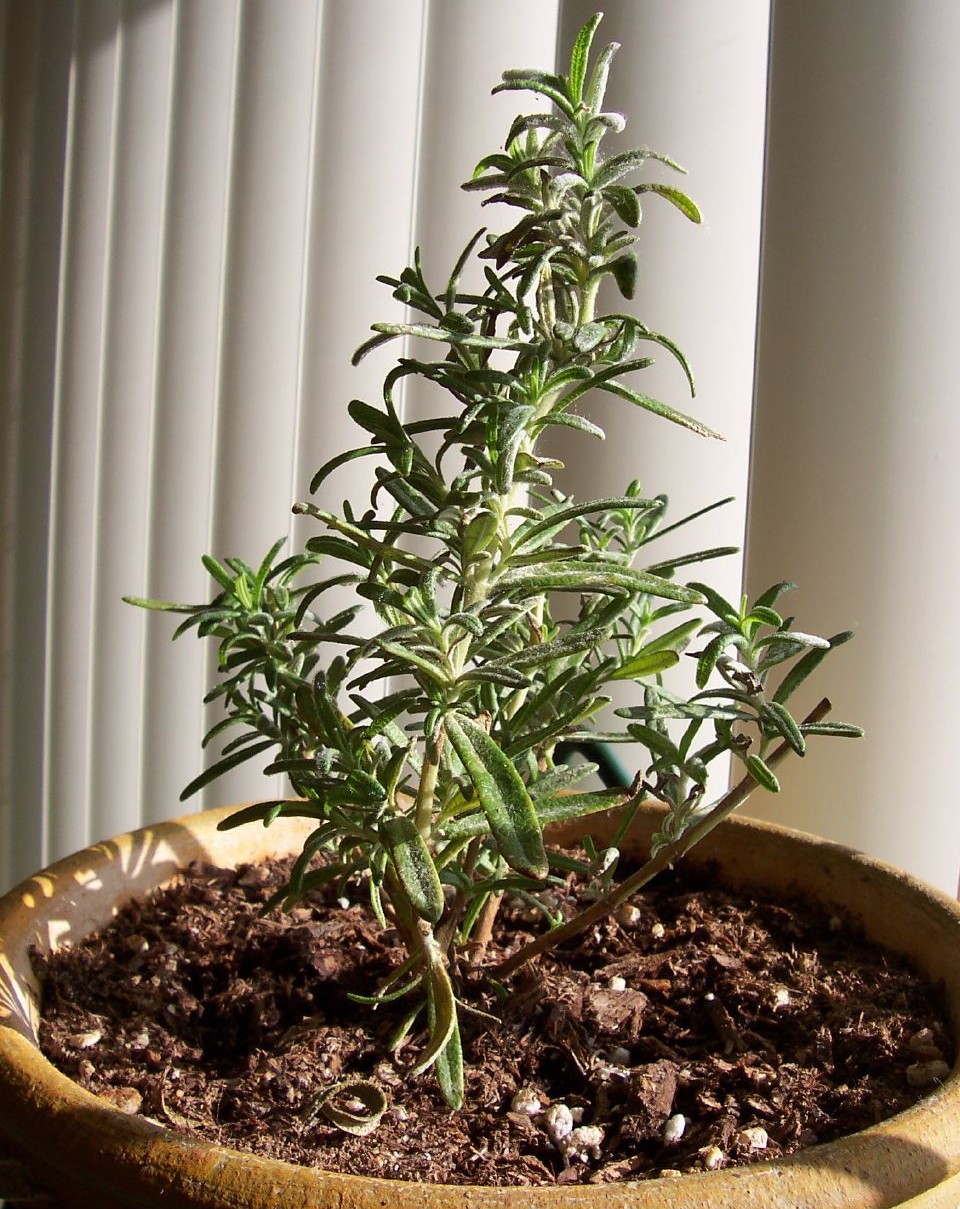
Homesfornh.com – Rosemary is a member of a mint family plant. This herbal plant is native to the Mediterranean region. You may find this herb in a cup of delicious tea or coffee. Rosemary gives a fresh aroma and a slightly minty flavor. It is also nice to add rosemary in dishes such as pizza, focaccia, tomato sauce, etc. This herb tastes well with chives, tomatoes, soups, and chicken. Thus, it can be one of the beneficial ingredients to growing in your home such as in a small pot. Here, we will give a short guide for you to grow rosemary! Before that, you should know that rosemary has some species. Most rosemary grows well in any container. Here are rosemary varieties:

  • Albiflorus
  • Tuscan blue
  • Benenden blue
  • Hill hardy
  • Majorca pink
  • Arp
  • Flora rosa
  • Holly hyde

How to Plant Rosemary from Cuttings

The next topic we cover in this article is the various ways to grow rosemary from cuttings. By using this method, you can create a fresh and beautiful herbal garden in your home. You can also create the concept you want afterward. Therefore, let’s discuss a variety of How to Plant Rosemary from Cuttings!

  • Cut Your Rosemary

Cut Your Rosemary

The first step is cutting your rosemary. Choose the best stem to cut, the lower stems are stronger than the upper leaves. The woody stem can grow roots from its cutting. Don’t forget to clean the scissor or pruning shear before cutting the rosemary. Don’t cut too often because it may shock your rosemary. Regular pruning is good but doesn’t do it too often.

  • Remove the Lower Leaves

Remove the Lower Leaves

The needle-like leaves from rosemary are useful to add flavor to dishes. Take a cutting stem from your rosemary. You need to remove the lower leaves from its cutting stem, so it can grow new roots. This cutting rosemary is easy to grow in a water container if you want to manage how long its roots are. As a leafy herb, rosemary can produce more leaves when it gets enough fertilizer.

  • Planting it Directly in the Soil

Planting it Directly in the Soil

It is an easy way to plant rosemary from its cutting stem. You can plant them directly in the soil. It is safe for the cutting stem to grow roots. They can grow roots in the soil. As long as it gets adequate water, its roots will grow faster. Wait for your rosemary to grow massively.

How to Care for Rosemary

The next topic after you plant rosemary in your home is a variety of easy ways you can do to care for it. You need to take care of the rosemary that you grow so that you can get good results. Let’s discuss!

  • Water

Water

Rosemary loves to live in an environment that feels like its natural habitat. Let’s take a look at the Mediterranean area as its original home. Mediterranian area has a dry condition. Rosemary is drought-resistant, thus, it lives well in dry soil and hot temperature. You can water this herb when the soil is really dry. Once per two weeks are enough for rosemary.

  • Soil

Soil

Rosemary loves sun, water, and sort of minerals in the soil. It thrives well in loose, rocky, with some sandy soil. Rosemary roots thrive well in well-draining soil. Add some rock or sand with regular potting soil will make healthy soil for rosemary to grow in a small pot. You can add compost to increase fertility as they love rich soil. It should mimic the soil texture from Mediterranian.

  • Fertilizer

Fertilizer

Rosemary is not a heavy feeder. Fertilize them once per month is enough to restore nutrients in the soil. You can use compost, manure, or blood meal to mix in soil. We recommend you fertilize in the winter season when the temperature is cold and the soil is moist. If you feed in summer, you can water the soil first, then fertilize them. During the winter season, you should protect them from frost, if you put them outdoors then move them indoors.

  • Pruning

Pruning

Prune your rosemary if you want to take some of its needle leaves. Some people always prune their plants to grow them vigorously. Most plants will grow bushier after pruning. This method is also useful to make your rosemary grow massively and produce new branches. You can prune the lower stems that have more than one branch. Let them focus to grow branches in a different part, then it gets a balanced growing process. The pruning leaves are useful to propagate them directly in the soil.

  • Pests and Diseases

Pests and Diseases

Rosemary is pest-resistant. This herb has a little problem with pests. Although the common pest is spider mites, it is not a big deal for rosemary. You can remove spider mites around this plant with your hands. Spraying pest control to your rosemary will repel other bad insects yet we don’t know if it also damages the good insects. It is better to remove spider mites and other insects that you maybe see in rosemary.

Conclusion

Thus our discussion of How to Grow Rosemary Herbs in a Small Pot in Your Home Garden. You will get a delicious cup of tea with rosemary leaves. Rosemary is easy to plant by cutting stems. This herb may grow bushy when you give them full sun, adequate water, and fertile soil. Peat moss and compost are the best ingredients to create well-draining soil. Hopefully, your rosemary will grow healthy. Good luck with your garden!

Easy Ways to Make a DIY Raised Bed for Your Plants

0

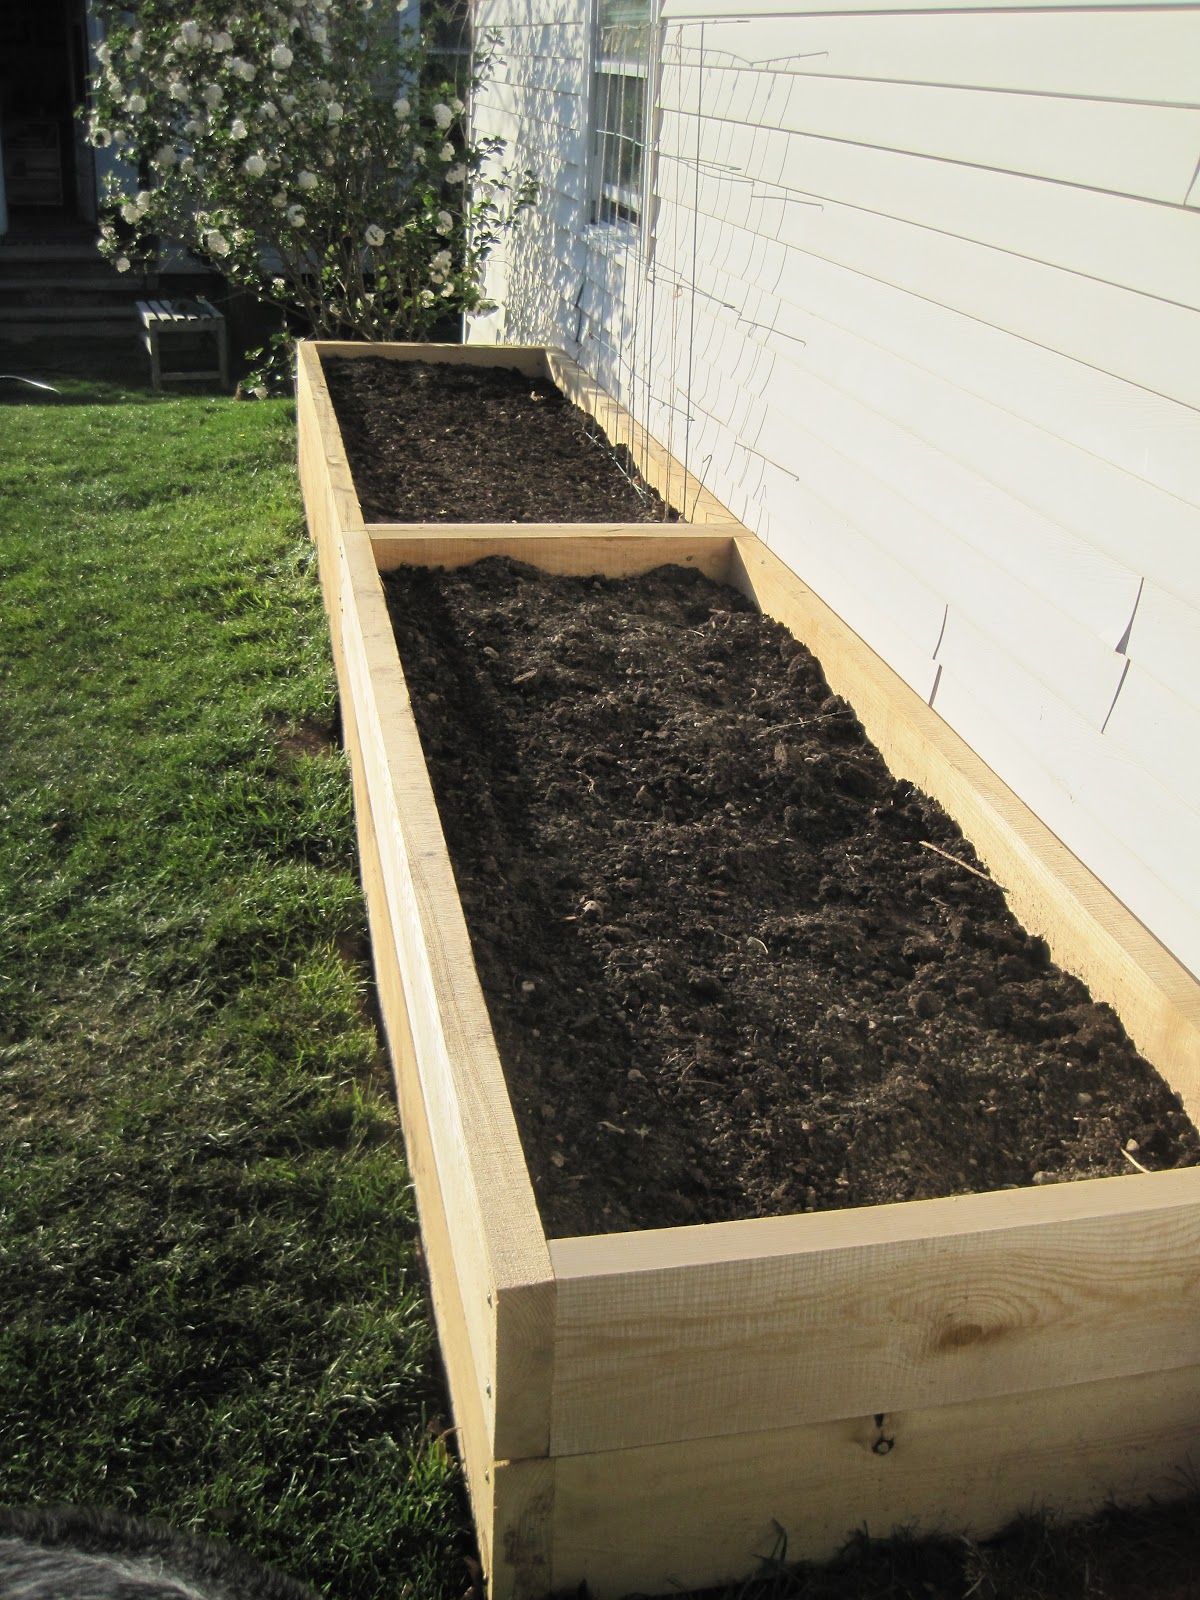
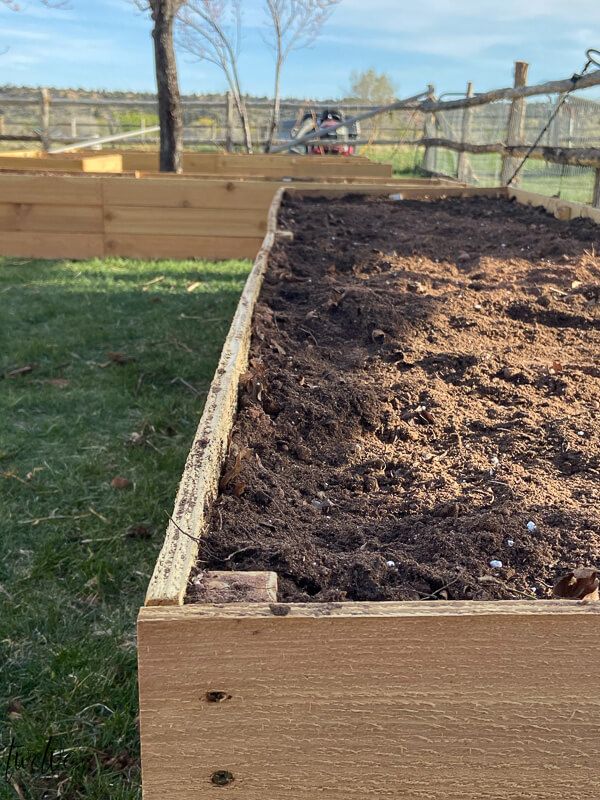
Homesfornh.com – A DIY raised bed is a large container to grow plants in the garden. Most gardeners use some raised beds in their garden and start growing vegetables, fruits, and herbs. It is a useful container that offers a large space to grow plants in one area. Thus, the garden is neat and you can classify the plants. You can make one group plant and easier to care for them. Some plants need different fertilizers, pest control, and soil nutrients. It is better to grow them in a group and give them good maintenance.

Doing a gardening activity is easier when you start using a raised bed. Make a DIY raised bed at home and manage your garden layout. Also, some tools that you need to make a DIY raised bed for plants are 4 boards (per one raised bed), some screws, and a drill machine. Here, we are gonna share with you how to make a DIY raised bed for plants!

How to Make a DIY Raised Bed for Plants

The first topic we discuss in this article is the various ways you can create a DIY raised bed for your plants. You can use a variety of these methods for the garden you create. Let’s discuss!

  • Draw Your Garden Layout on a Canvas

Draw Your Garden Layout on a Canvas

You have to make a concept first. Draw your garden on a canvas, draw some raised beds if you want to create more than one raised bed. Concepting your garden is important to get an image of how your garden will look like. You can use this layout to guide you when resembling the boards for a raised bed and put a nice location for plants. As long as your plants get enough sunlight, they will grow well, thus, a sunny location is a recommendation for you.

  • Mark the Location

Mark the Location

Let’s go to your garden and find the best location to grow plants. Once you find this location, then remove the grass in this area, clean it thoroughly. It is an important step to get a good environment for plants. The grass will damage the plants’ roots in a raised bed when they are mature. They can absorb minerals and nutrients in your raised bed. Thus, clean them all from your garden before resembling the raised bed.

  • Cut the Woods Based on the Size of Raised Bed

Cut the Woods Based on the Size of Raised Bed

Determine the size of your raised bed. You can make a large raised bed or prefer the smaller ones. Measure the board before you resemble the raised bed. It depends on your need to create a raised bed with a certain shape such as rectangular, triangle, or square.

  • Resemble the Boards

Resemble the Boards

Take the boards and other tools to your garden. Resemble the board upon the chosen location. It is not difficult to resemble the boards. You need to make four holes to merge the boards on each corner by using a drill machine. We recommend you use screws rather than nails. Nails can damage the boards and screws are better to merge the boards.

  • Add Soil

Add Soil

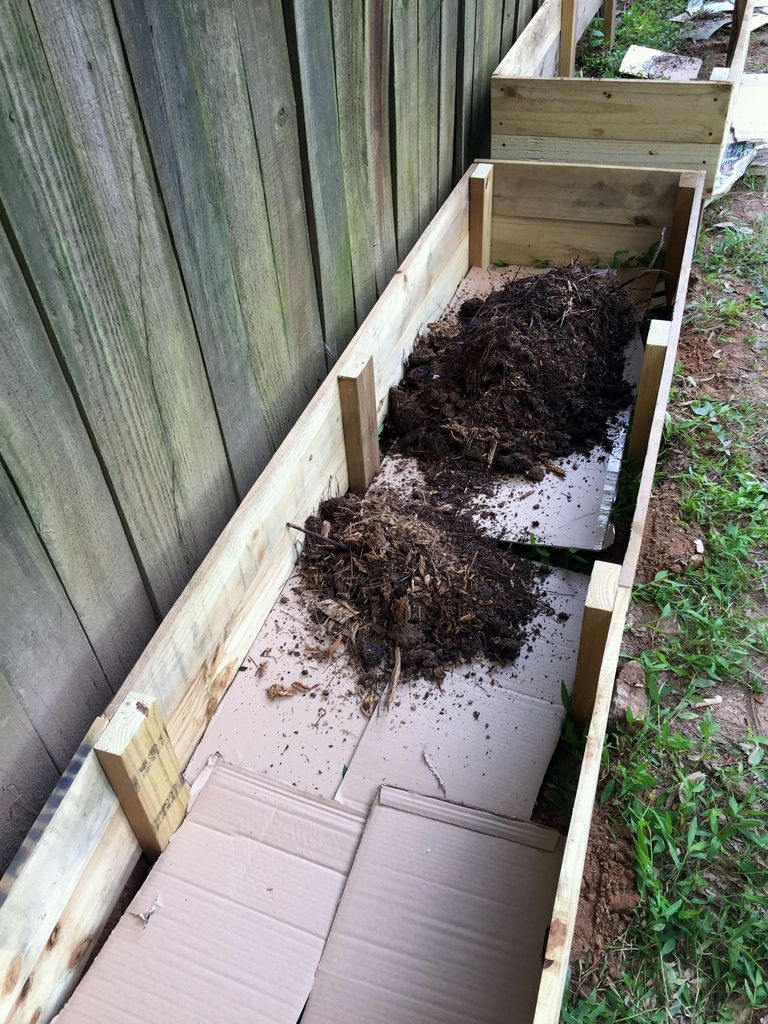
Put some cardboard to cover the bottom side of your raised bed. Cardboard is easy to decay rather than using plastic. Fill the raised bed with garden soil. Add compost, regular potting soil, manure, and mix them well. Make a loose texture that gives well drainage for the plant roots. Let it for 1-2 days till the raised bed is ready to use. Watering the soil every evening. Two days are enough to give soil adequate sunlight and water.

Some Plants that Grow Well in a Raised Bed

The next topic is a variety of plants that you can grow well with a raised bed. You can choose the plants you want from vegetables, fruits, and herbs. With the right plants, you can get effective in growing plants in raised beds. If you have no idea to grow plants in a raised, here are some recommendations for you:

  • Vegetable

The first plants you can choose are vegetables. Vegetables are a healthy food ingredient for you to grow in your home garden. By having a vegetable garden, you can save your shopping budget and also start living every day.

  1. Lettuce

Lettuce

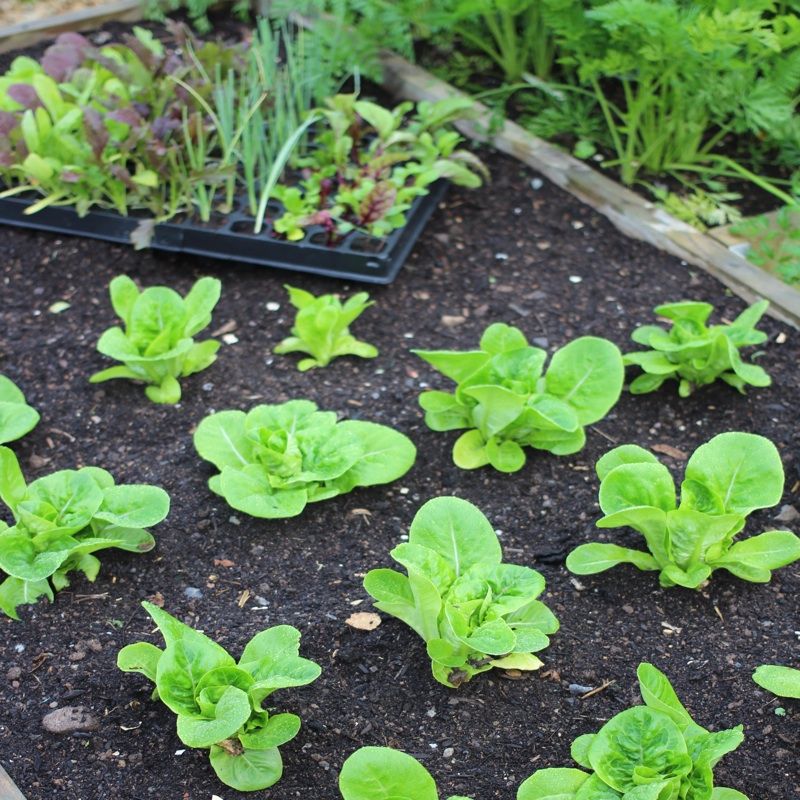
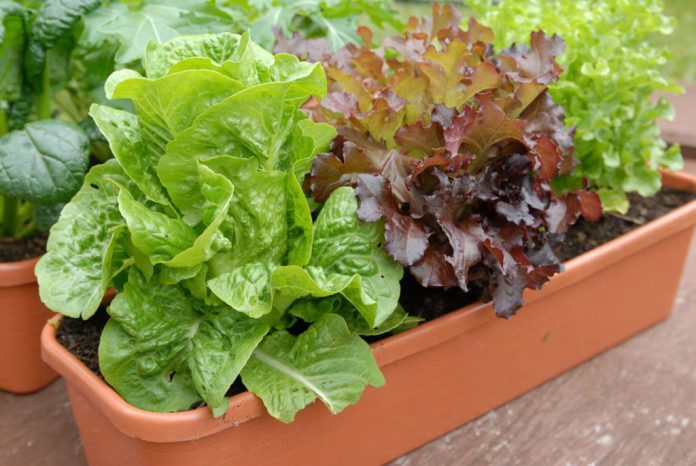
Lettuce is a leafy plant that you can consume every day. This vegetable has a rounded shape when it is mature. Growing lettuce in a raised bed is the best home for them to develop their crop. Plant some lettuces with a distance of at least 4-6 inches between the plant. You can put some marks on the soil and give some lines to plant lettuces.

  1. Broccoli

Broccoli

A Broccoli is a vegetable native to the eastern Mediterranean. Broccoli has a dark green flower-head, some broccoli has a purplish green flower. The centerpiece of broccoli is delicious to add to a soup. You can grow this vegetable in any season, especially in the winter season because they are frost resistant.

  1. Spinach

Spinach

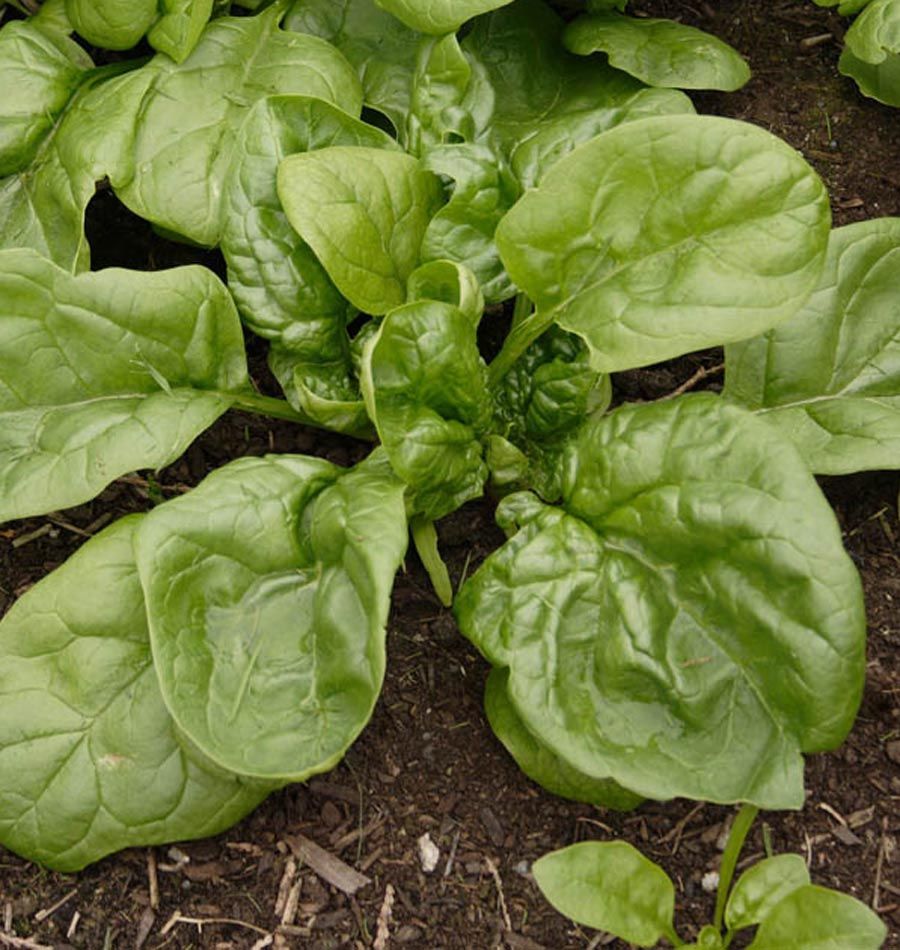
Spinach is an easy-growing vegetable. You can grow this crop everywhere in the garden. Spinach can grow by seeds and cutting roots. Plant them directly in your raised bed and manage their growth by watering regularly during the first growing season. Planting them in a raised bed provides a nice environment to develop their roots.

  • Fruits

The next plant that you can plant is fruit. You can plant a variety of small fruits according to your wishes and the size of your home garden. Thus, you can get an orchard that matches the size of the house you have.

  1. Strawberry

Strawberry

Strawberry is a delicious fruit that has sweet and sour tastes. Many species of strawberry that you can grow in the garden. This plant is easy to grow by transplanting seeds and cutting roots. You can plant them in the raised bed because it is easy to maintain their growth in one group. Strawberry plants like to crawl and spread their runners, you can plant them or simply cut the runners.

  1. Watermelon

Watermelon

Watermelon is another fruit to plant in the raised bed. This plant gives you the challenge to manage their vines. The watermelon vines are growing fast in the fertile soil. You can give a trellis in the raised bed for their vines because it will support them during the growing season.

  1. Tomato Cherries

Tomato Cherries

Do you like to eat tomato cherries? If you are a cherry fan, you can plant them in a raised bed. Make a cherry garden in your area and care for them to produce more delicious cherries. This plant has a small woody stem with a bunch of cherries. Growing cherries in a raised bed can put them in a group and looks simple.

  • Herbs

In addition to growing vegetables and fruits, you can also grow a variety of herbs in your garden. By using a raised bed, the various herbs that you grow can live healthy and fresh for your needs at any time.

  1. Rosemary

Rosemary

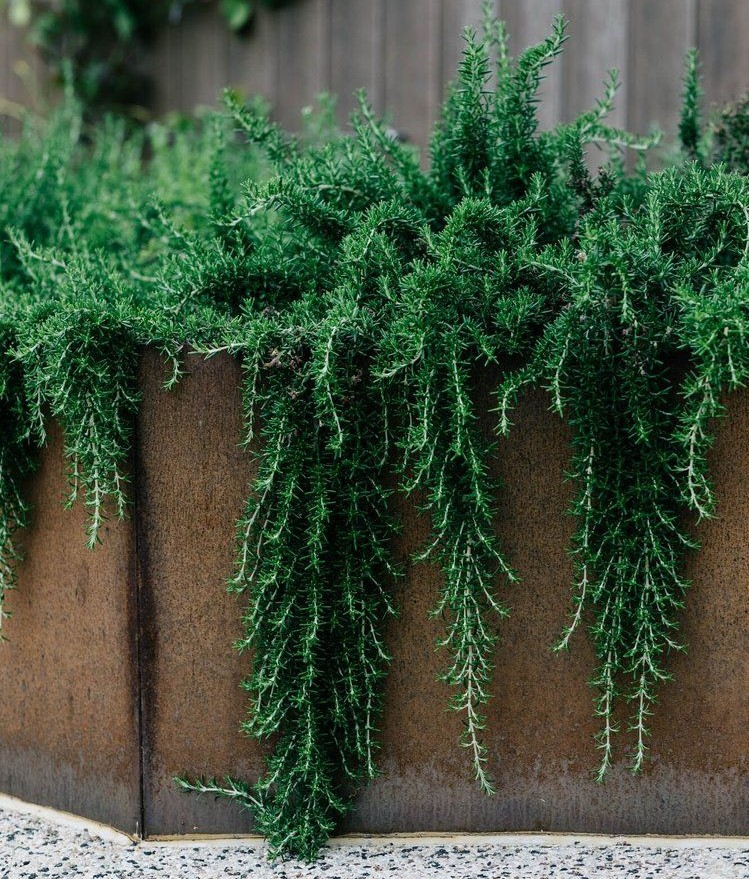
Rosemary has small leaves and a spicy flavor. This herb is a condiment for tea and some dishes. You will find it easy to grow rosemary in your raised bed. Rosemary plants will not take lots of space if you grow some rosemary. If your raised bed is too big for rosemary, you can grow other herbs as a companion plant. Make a room for each species by growing them in a different line.

  1. Basil

Basil

Basil is a perennial plant to add fresh and spicy flavor to dishes. Some people grow basil in a small pot and put them near the window in the kitchen area. This herb is multifunctional for dishes, beverages, and traditional medicine. Grow basil in your raised bed to give fresh air and exposure to sunlight.

  1. Garlic


Garlic can grow in some places such as in a water container, potting soil, and garden soil. It needs fertile soil and adequate water to grow well. You can transplant garlic seedlings into the raised bed, it gives them more space to develop. Moreover, the raised bed has a different soil mixture than the garden soil. This container will keep soil nutrients inside the raised bed. Thus, you can add garlic to your raised bed.

Conclusion

Thus our discussion of Easy Ways to Make a DIY Raised Bed for Your Plants. A raised bed is a beneficial container to grow plants in the garden. It contains more than one plant in a group. Thus, you can classify the plants based on their species. Make a vegetable garden in a raised bed will make it easy to manage their growth. It is easy to resemble a raised bed in your garden. Hopefully, you will have neat and healthy plants. Happy gardening!

N-P-K Fertilizer as Primary Macronutrients for Your Healthy Houseplants

0

Homesfornh.com – Macronutrients are the essential elements that every plant needs in large amounts for living. These macronutrient elements are Nitrogen (N), Phosphorus (P), Potassium (K), Calcium (Ca), Magnesium (Mg), Sulfur (S), and Iron (Fe). A plant needs macronutrients to grow well. The macronutrients have three primary elements that every plant needs the most. The primary macronutrients that we will discuss in this article are Nitrogen (N), Phosphorus (P), and Potassium (K). Maybe, you ever heard about N-P-K elements in fertilizer. These three elements are important for plants, thus the best fertilizer should contain N-P-K in certain amounts based on the plant need. You should know more about N-P-K elements in fertilizer and how to find an organic material for them. Therefore, in this article, we will discuss N-P-K Fertilizer as Primary Macronutrients for Your Healthy Houseplants. Let’s discuss!

Primary Macronutrients for Plant

The first topic we discuss in this article is the various primary macronutrients that you can use to fertilize your houseplant. By using these N-P-K elements, you can make the houseplants you have grow better and healthier. You can use it for various types of plants such as ornamental plants to vegetables. Therefore, here are some primary macronutrients that you need to know!

  • Nitrogen (N)

Nitrogen is essential to boost energy for plants metabolism. It produces protein synthesis and nucleic acids. An expert gardener will use Nitrogen elements to develop their plants and stimulate their growth. It helps the plants to absorb nitrate from Nitrogen elements. Nitrogen elements also help your plant to involve in the formation of chlorophyll. If your plants get lack Nitrogen, they will grow slowly and their leaves turn yellow. You should measure the Nitrogen need for your plant. Don’t over-fertilizing with Nitrogen because it can decrease the immunity of your plant, make them grow too fast, and delay the blooming process.

  • Phosphorus (P)

Phosphorus is another primary macronutrient for plants. This element makes your plant grows healthy. It mends the roots system and blooming problems. Phosphorus has a crucial role to deliver and store energy for plants. These elements focus on blooming flowers, roots grow, and help the photosynthesis process. Your plant’s leaves will turn reddish-brown, bluish brown, and bent up if they lack Phosphorus. When they are over-fertilizing by Phosphorus, it damages the development process to become slow down. Their leaves turn yellow as they less produce chlorophyll.

  • Potassium (K)

Potassium is easy to find in avocados, oranges, guavas, and other fruits. Plants also need potassium to grow healthy. They need potassium to strengthen their tissue, absorb nitrates, stimulate the absorption of carbohydrates, and enzymes. Potassium gives energy for your plants to stand in cold weather, fight against fungus, and prevent withering. When your plants lack potassium, they will show dark spots on leaves. Curl and wrinkle leaves are also an indicator of lack of potassium. Your plant is easy to get sick because they reduce strength, show dull leaves, and bluish brown spots.

Things That Can Substitute The Primary Macronutrients

The next topic that we discuss in this article is a variety of things that can substitute the primary micronutrients that you use to fertilize your houseplant. If you want to know more about N-P-K fertilizer, we have some recommendations for a fertilizer that will help you increase N-P-K in the soil. Here are some things that can substitute N-P-K fertilizer with organic materials around you.

  • Manures

Manures

Manure is an animal wasted. It is an organic source of Nitrogen. Usually, you can get manure from chickens, cows, and goats. These diaries animals are easy to find in the barn. Moreover, if you have some chicken in your barn, you can store their manure in the corner of the barn. Make a pile of chicken manure to fermentate the organic substance. It is an organic material to feed your plants. The age of chicken manure and how you store it determines a good quality of fertilizer. It is better to use manure that you have stored for more than a week.

  • Ground-up Animals

Ground-up animals

The ground-up animals are blood meal, feather dust, leather dust. These are organic sources of Nitrogen. You can get these organic materials in a gardening store. It is easy to use this fertilizer. Ground-up animals have a high concentration of Nitrogen for plants. Thus, you can add ground-up animals to your fertilizer mixture.

  • Pulverized Rock Phosphate

Pulverized Rock Phosphate

Rock phosphate is a beneficial material with phosphorus-rich. It is made of rock phosphate that will convert into phosphorus for plants. It helps your plant to mend its root systems. When your plant has a darker blue color on the edge leaves, maybe it is a symptom that your plant is lacking phosphorus.

  • Compost

Compost

Compost is an organic fertilizer for plants. It contains many organic sources, thus, compost is a good recommendation for fertilizing the plants. You can add compost in your garden and increase phosphorus in the soil. This material makes a healthy garden and your plants will produce more flowers or fruits.

  • Wood Ash

Wood Ash

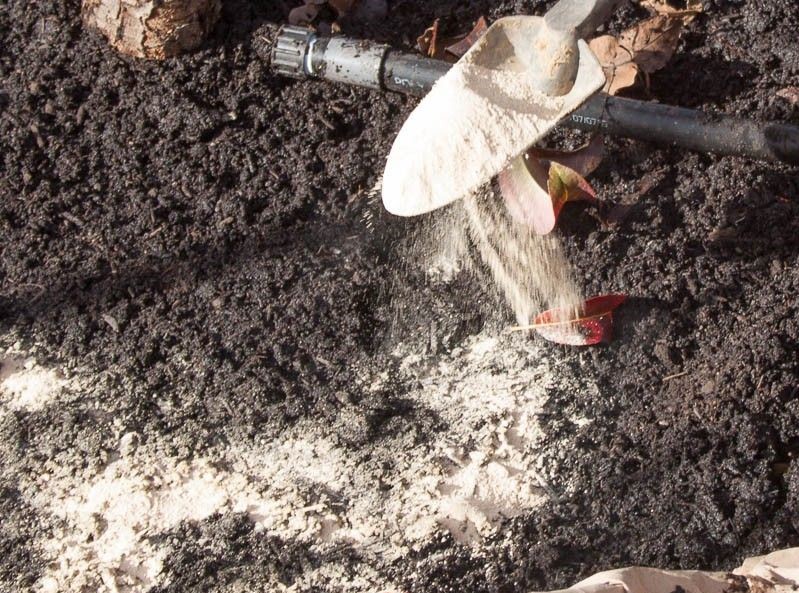
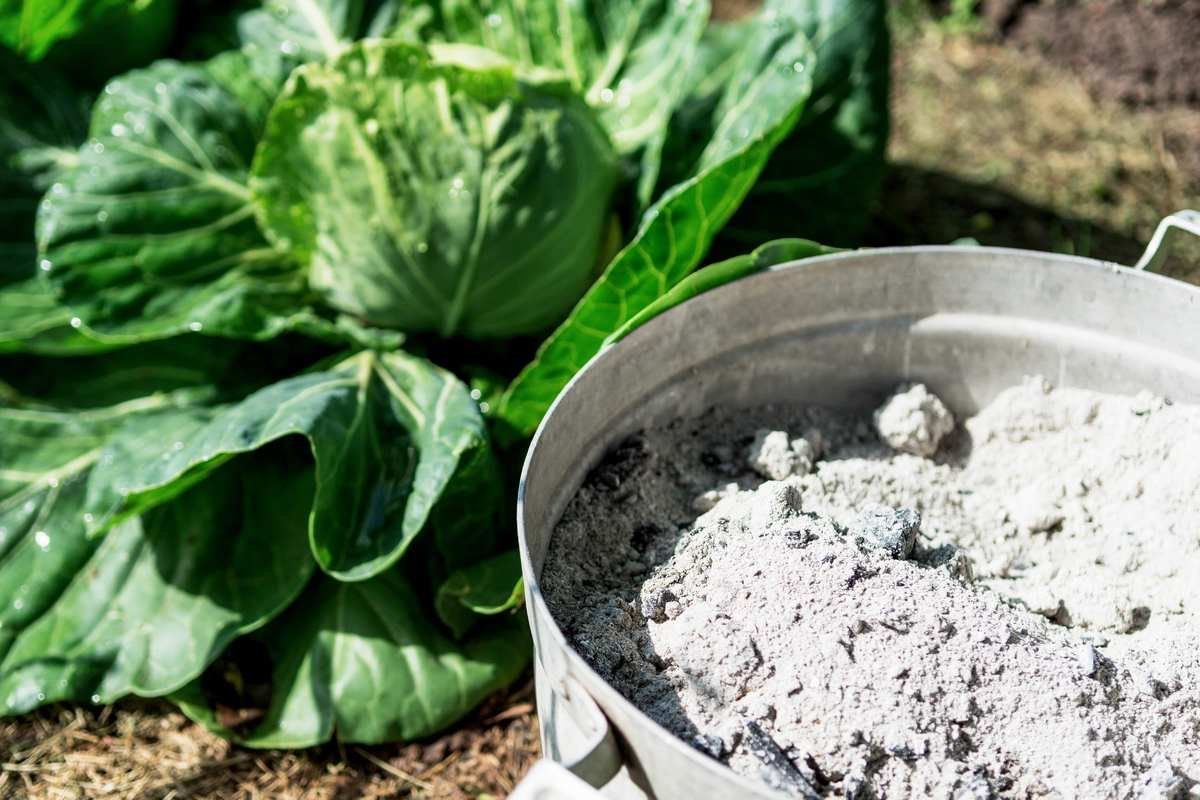
This organic material is easy to make at home. You need to burn some wooden planks and let them burn completely. Use a fireplace to burn the wooden planks while you enjoy the time and get warmth. Wood ash is useful to increase potassium in the soil. Some plants need more potassium to ripe the fruits. You will find wood ash in an organic mixture for soil. Wood ash is good for garlic, lettuces, chives, leeks, and so on.

  • Kaolin Clay

Kaolin Clay

Kaolinite or clay is an essential element to add potassium as an organic source. This element is useful to control pests and diseases. Kaolin clay is also beneficial to protect plants from sunburn. Thus, your plants can produce more fruits and flowers. Kaolin clay will cover every leaf and repel bad insects such as beetles, mites, thrips, and others.

Conclusion

Thus our discussion of N-P-K Fertilizer as Primary Macronutrients for Your Healthy Houseplants. N-P-K is essential elements that plant needs in living. These three elements have an important role to stimulate plant growth. Some gardeners need N-P-K elements in their fertilizer to develop plants properly, due to the massive growing, blooming, and fruiting more. Hopefully, this article helps you to apply fertilizer with a balanced ratio that contains N-P-K. Happy gardening!

Create a Small Garden on Your Porch with Sunflowers

0

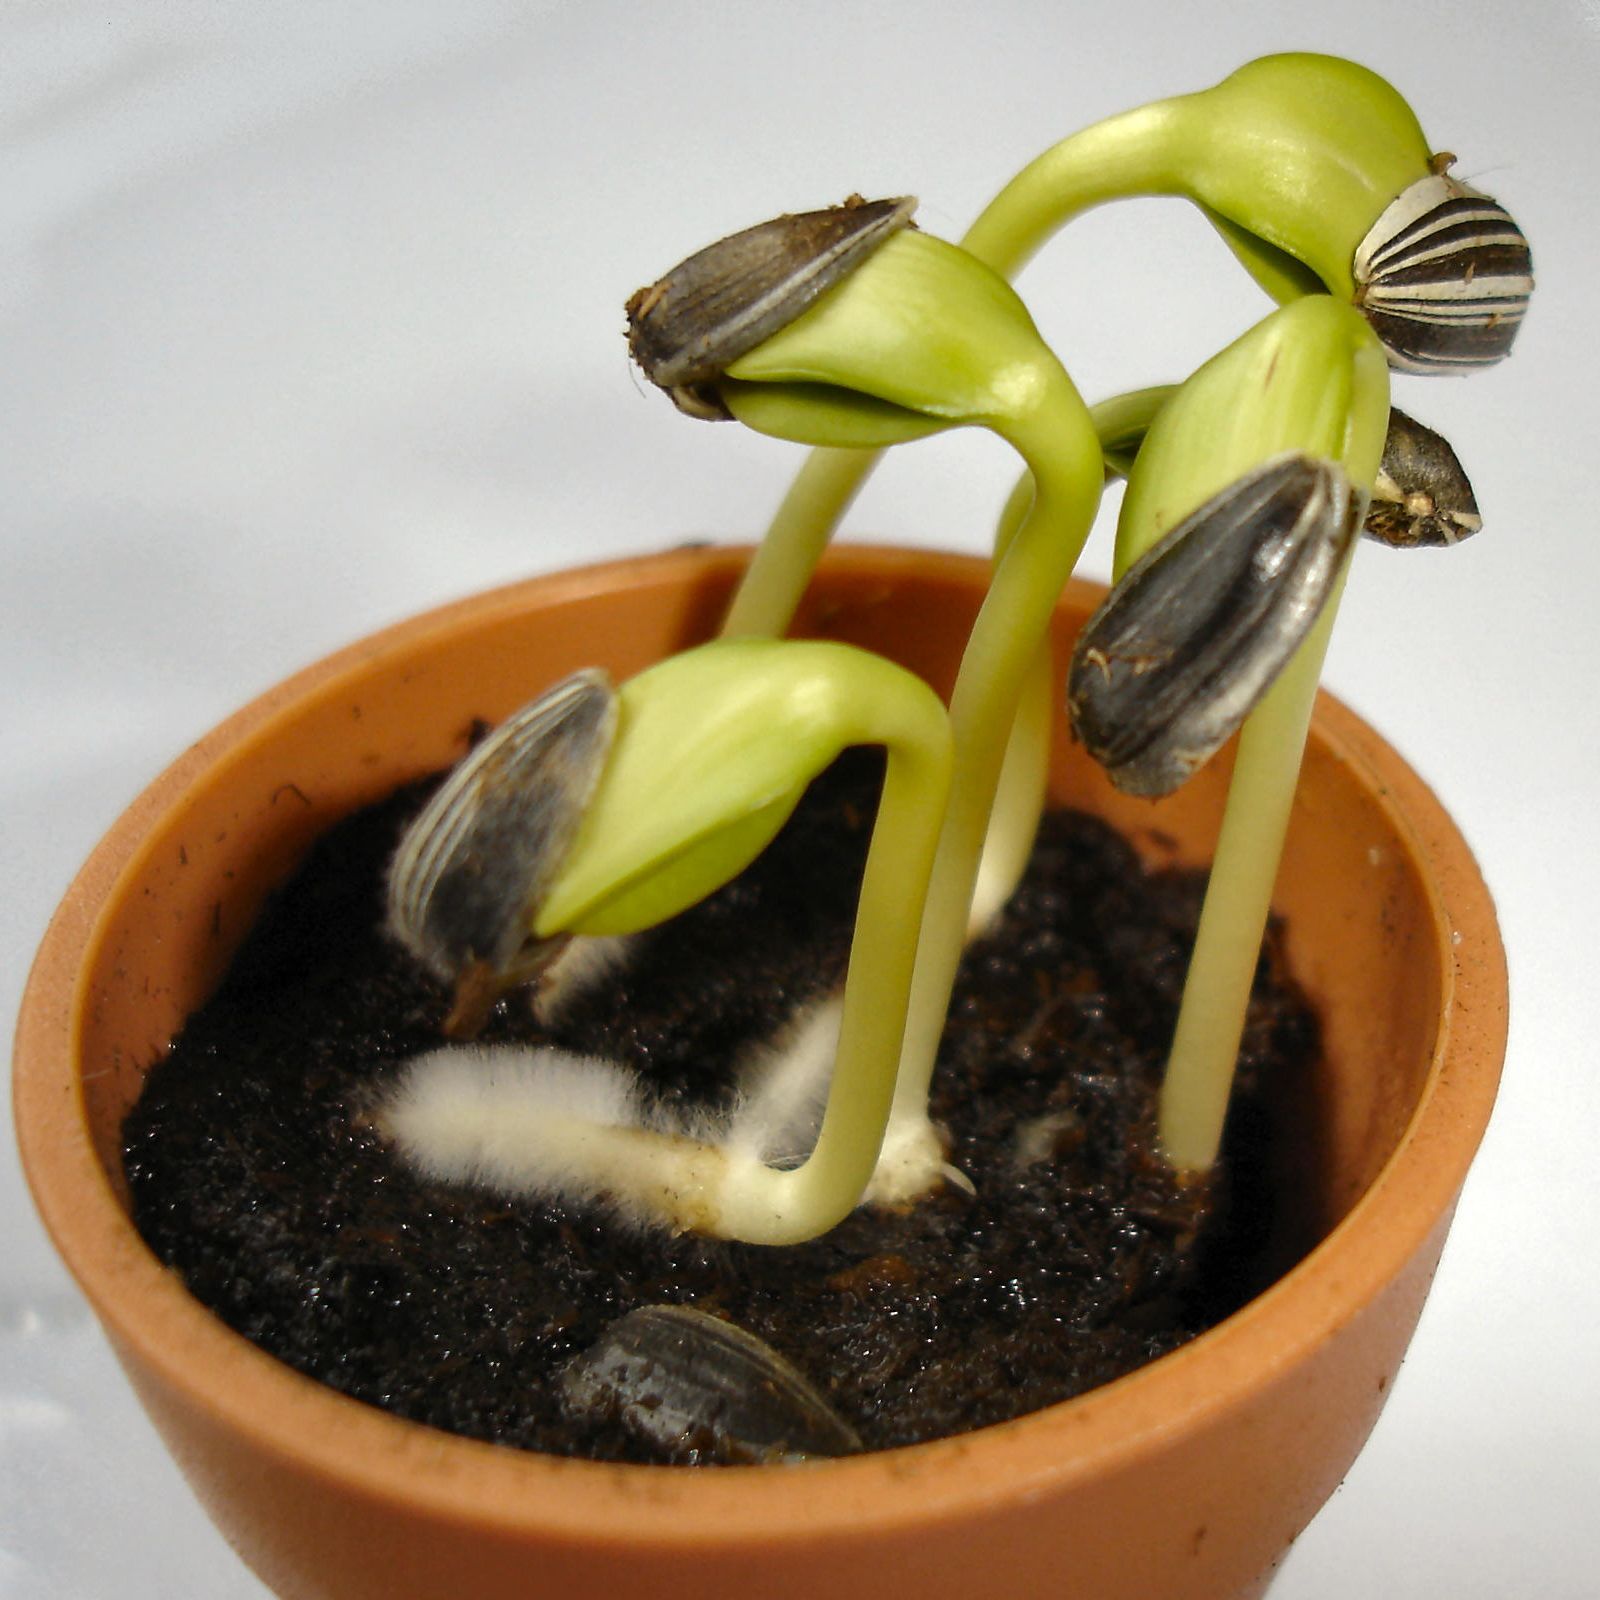
Homesfornh.com – Sunflower plant or Helianthus annuus is native to North America. This flower has yellow petals with a black centerpiece. The sunflower produces seeds on the centerpiece of its flowers. Most people know it as kwaci that usually sell in the market as a snack. Sunflower has soft thorn stems that can grow tall more than 10 feet tall. When they mature, their flowers are heavier and it makes their stems lean down. This flower looks stunning to grow in a colony. Sunflower garden attracts attention and represents happiness during its growing season. They can be an interesting plant to grow on the porch and brightening your home. If you love this flower, we have a short guide to growing sunflowers on the porch.

Gardening Tools to Plant Sunflowers

Gardening Tools to Plant Sunflowers

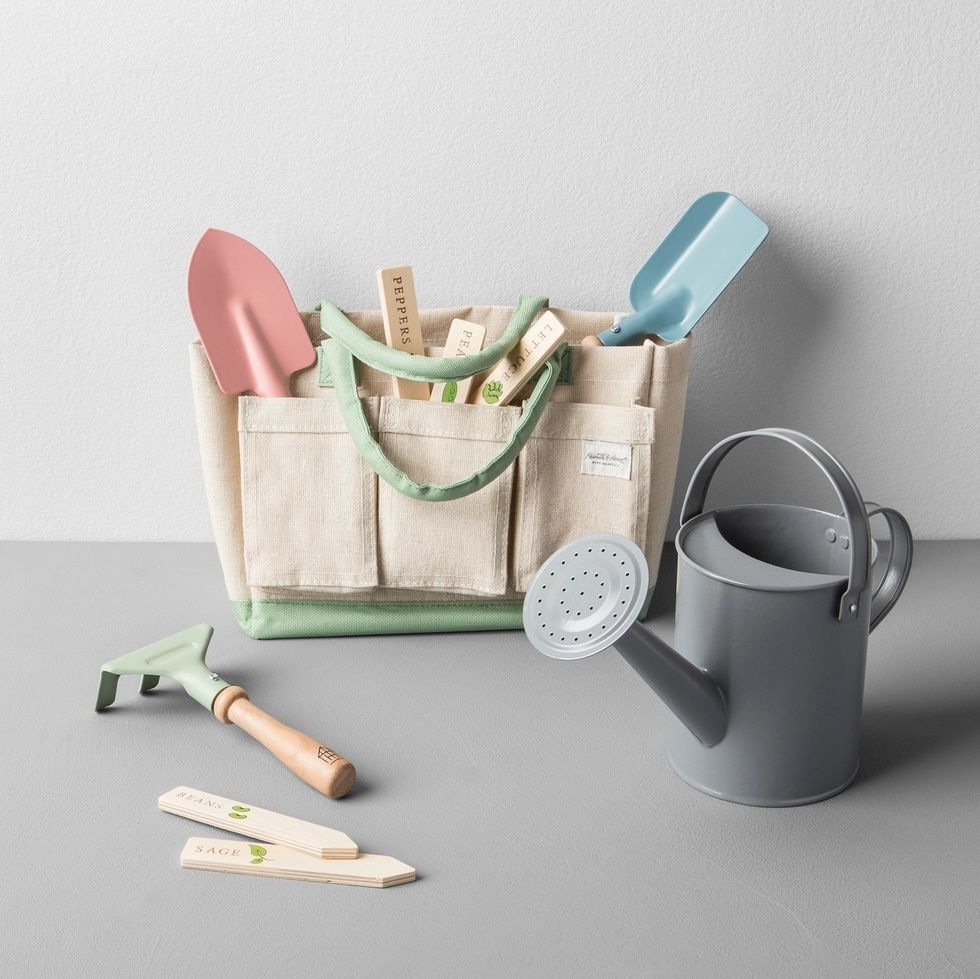
An expert gardener should collect gardening tools to help them do their work. Even though you are a new gardener or just take it as a hobby, it is fine to use several tools below when planting sunflowers.

  • Gardening fork (optional)
  • Garden trowel
  • Regular potting soil
  • Medium pot (use more than one pot to plant more sunflowers)
  • Watering can

Steps to Plant Sunflowers

Here are a variety of easy ways for you to grow sunflowers as a garden in your porch. The happy and healthy plant depends on how you care for your ornamental plants. The planting process also determines the plant’s growth. Do the simple steps below to plant sunflowers on the porch. Wish you luck.

  • Investigate the Sunlight on the Porch

Investigate the Sunlight on the Porch

This plant requires adequate sunlight to grow flowers. Ensure that sunlight can reach your porch where you will plant sunflowers. The sunny place is the best spot to grow sunflowers. This flower loves sunlight and warm temperature. You can mark some spots that get exposed to sunlight on the porch. The small garden in front of the porch can be a nice place to plant sunflowers.

  • Prepare a Container to Grow Sunflower Seeds

Prepare a Container to Grow Sunflower Seeds

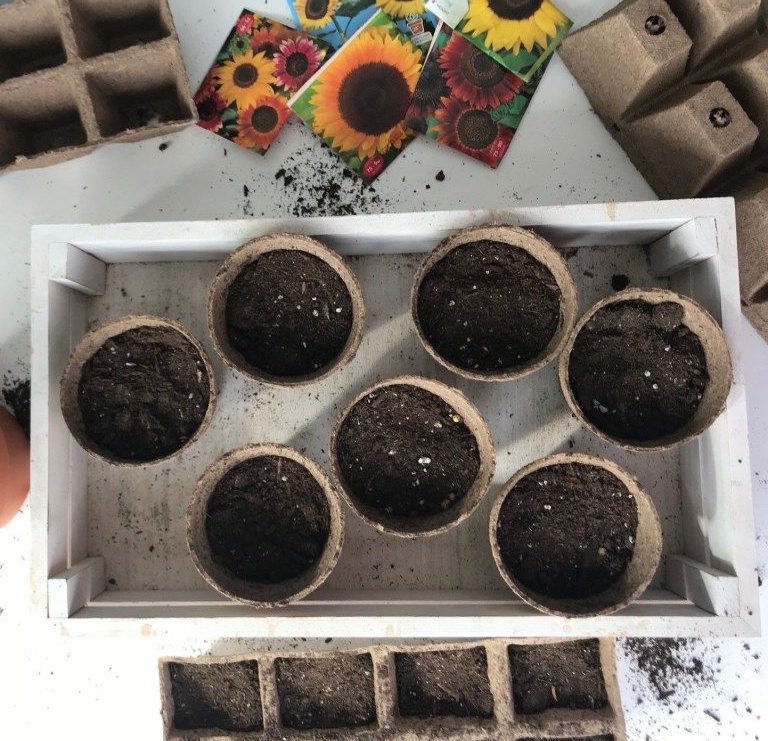
You can use a medium-raised bed to provide a large space for sunflowers. This container offers a long space to manage their growth because they can get space apart from the sunflower plant. Using a raised bed gives neat landscaping but if you want something to manage, use some pots to plant more sunflowers individually. It depends on your need and the porch size because not all container suits that spot.

  • The Soil Mixture for Sunflowers

The Soil Mixture for Sunflowers

Use regular potting soil for a practical material. If you want to use the original garden soil is also good. Add 25% chicken manure, 25% compost, 10% coconut coir, and 40% garden soil. Mix them well. Make sure that the soil mixture has soft textures so it is easy for water to reach the soil. Well-draining soil is the key to get healthy roots systems. Thus, soil mixture determines the nutritions that sunflowers can absorb.

  • Plant the Seeds into the Soil

Plant the Seeds into the Soil

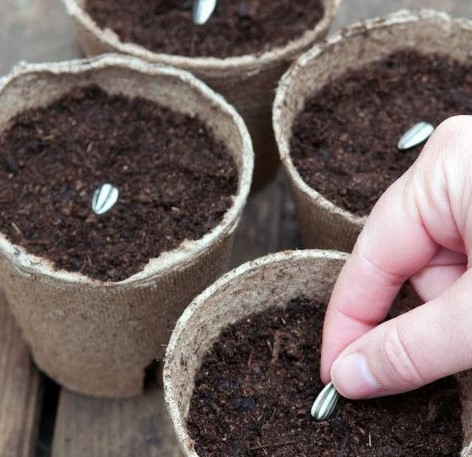
The strong root systems will make a healthy plant. Plant the sunflower seed directly in the soil. It is a simple method to grow this plant. You don’t need to start seedlings then transplant them. This method requires a spot for sunflowers to live mature and you have no plan to move them anywhere. Dig the soil about 1-2 inches, then put one seed for each hole. Spread some soil to cover the holes.

How to Care for Sunflowers

The next topic we discuss in this article is how to care for the sunflower plants that you have grown. Treatment is the most important part for you to do. This is because care is very influential on the survival of the plants you have. Therefore, there are various aspects and various treatments that you can do to care for your sunflowers. Let’s discuss!

  • Sunlight

Sunlight

We have mentioned that a sunny place is the best place to grow sunflowers. Thus, your porch should provide sunlight for at least 6-8 hours per day. If you have a west-facing porch, then the sunflowers can grow in the south or north direction. Sunflower is heat tolerant, thus, it is fine to plant them under direct sunlight. You can grow them on the edge of your porch, it treats them well to reach sunlight.

  • Watering Needs

Watering Needs

Sunflower is drought tolerant but it still needs water to stimulate its root systems to grow healthy. Water this flower every evening, at least once per week, during the summer season. Ensure they get enough water and moist soil, don’t make them look thirsty. They can fit in a raised bed or small pot on the porch, then it is easier to water the sunflowers. Water them around the roots area to get a deep watering.

  • Symptoms of Pests and Diseases

Symptoms of Pests and Diseases

Downy mildew, brown leaves, drying edges of their leaves, powdery mildew, etc. Create organic pest control from neem oil, eco-friendly detergent, and olive oil. If you want to use a practical pesticide, choose an organic pesticide from a gardening store. Spray the infected leaves with this pesticide. Use this pesticide only when you need to control pests and diseases.

  • Harvest Sunflowers Seeds

Harvest Sunflowers Seeds

The sunflowers have a brown centerpiece full of seeds. This flower’s head produces seeds that will lose after blooming. You can harvest the sunflower seeds by hand. Remove them gently and take all seeds from their head. Store the seeds in a dry bottle, it gives you free seeds to plant in the next year.

Conclusion

Thus our discussion about Create a Small Garden on Your Porch with Sunflowers. Sunflower is stunning to grow on the porch. This flower represents the summer vibe. If you like to see sunflowers on the porch, start growing them in the spring to get a summer blooming. This flower looks more attractive when growing in a group. It is easy to grow sunflowers on the porch. You will have an interesting landscape by growing a sunflower garden. Hopefully, you enjoy this short guide to growing sunflowers. Happy gardening!

Easy Ways to Grow Garlic from Its Scraps in Your Home

0

Homesfornh.com – Garlic is an Allium plant. It is one of the recipes to make soups and pasta more delicious. This ingredient has a spicy taste and sometimes can hurt your eyes with its aroma. Garlic is easy to find in the market, you can also find them in powder texture. Most people in the world use garlic to add flavor. It is a must-have recipe to store in the kitchen. If you like to use garlic, why don’t you try to grow them in the kitchen scrap? The kitchen scrap like garlic gives you free seed to plant in the pot. Let’s learn how to grow garlic from scrap and make it simple to harvest!

The Species of Garlic to Grow from Scraps

Garlic has 700 species in the world. You should know the species of garlic before regrowing this crop at home. It consists of hardness and softness garlic. Here are some species of garlic to regrow:

  • Hardneck Garlic

Hardneck Garlic

The hardneck garlic is easy to identify by its stiff and woody skin. It has large cloves but fewer cloves. You can regrow this garlic but you need to cut the woody skin. This species prefers a cold climate rather than a warm climate, thus, winter may do just fine for their growth. More species for hardneck garlic are Asiatic hardneck, Glazed purple stripe hardneck, Middle Eastern hardneck, Creole hardneck, etc.

  • Artichoke Garlic

Artichoke Garlic

Artichoke garlic is a common species of garlic in a supermarket. It includes softneck garlic. You can find them in homemade dishes. It includes softneck garlic species. Another type of softneck garlic is silverskin. Artichoke garlic contains 20 cloves per bulb. They have white and thick skin.

How to Grow Garlic from Scrap

Garlic has a strict smell. It is a sturdy plant that can grow in the warm season and winter season. To know more about garlic, let’s start gardening!

  • Germinate Their Roots

Germinate Their Roots

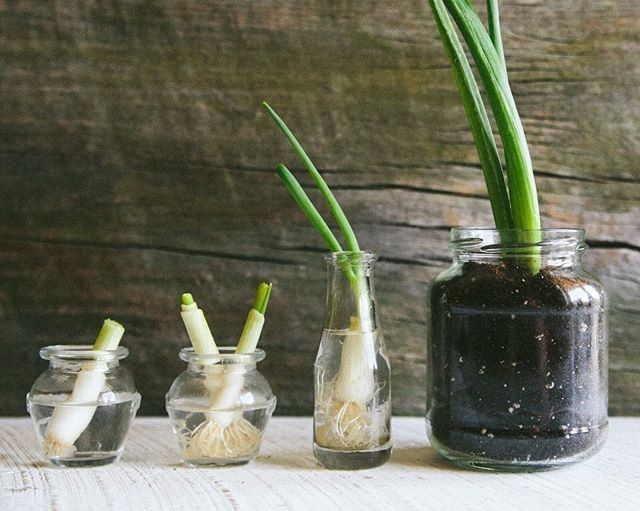
The old garlic has few roots, then it needs to grow the new ones. You can use the watering method to regrow their roots. Use three toothpicks on three sides on garlic, then put them on a glass of water. Ensure that their roots touch the water. Their roots will germinate again after 7 to 10 days, sometimes it takes more time, and just be patient to see this process. The germination process needs cold temperatures to sprout.

  • Prepare the Medium to Grow

Prepare the Medium to Grow

Use regular potting soil to stimulate the garlic. Add compost, yard waste, and organic fertilizer to make fertile soil. Garlic will thrive well in rich soil. The best soil to plant garlic has a loose texture. You can add some sand to the good soil mixture. Sand is well-draining material for succulents, it helps soil to release water through it. Before planting the garlic, you can pour a sand layer on the bottom of the pot.

  • Transplanting the Garlic

Transplanting the Garlic

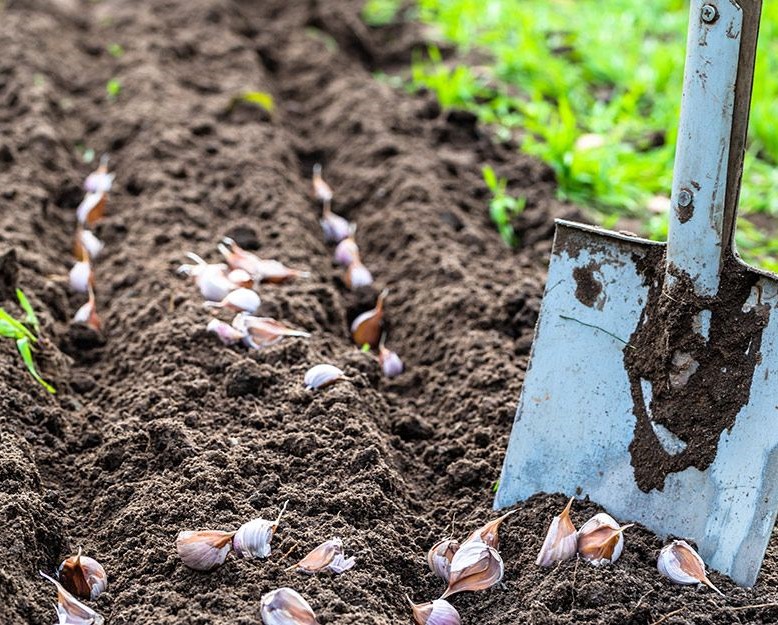
Take the germinated garlic and remove the outer skin. Plant the garlic with the tip-up position. Separate each crop at least 4 to 6 inches apart. It keeps each garlic to spread roots and grow new buds. The adequate room for garlic can maximalize their growth. Every garlic clove can grow to multiply in the soil, thus it will produce more garlic bulbs. Ensure that your garlic crops get good maintenance and normal conditions such as a stable temperature, enough water, sunlight, and fertilizer.

  • Add Mulch Around the Garlic Crops

Add Mulch Around the Garlic Crops

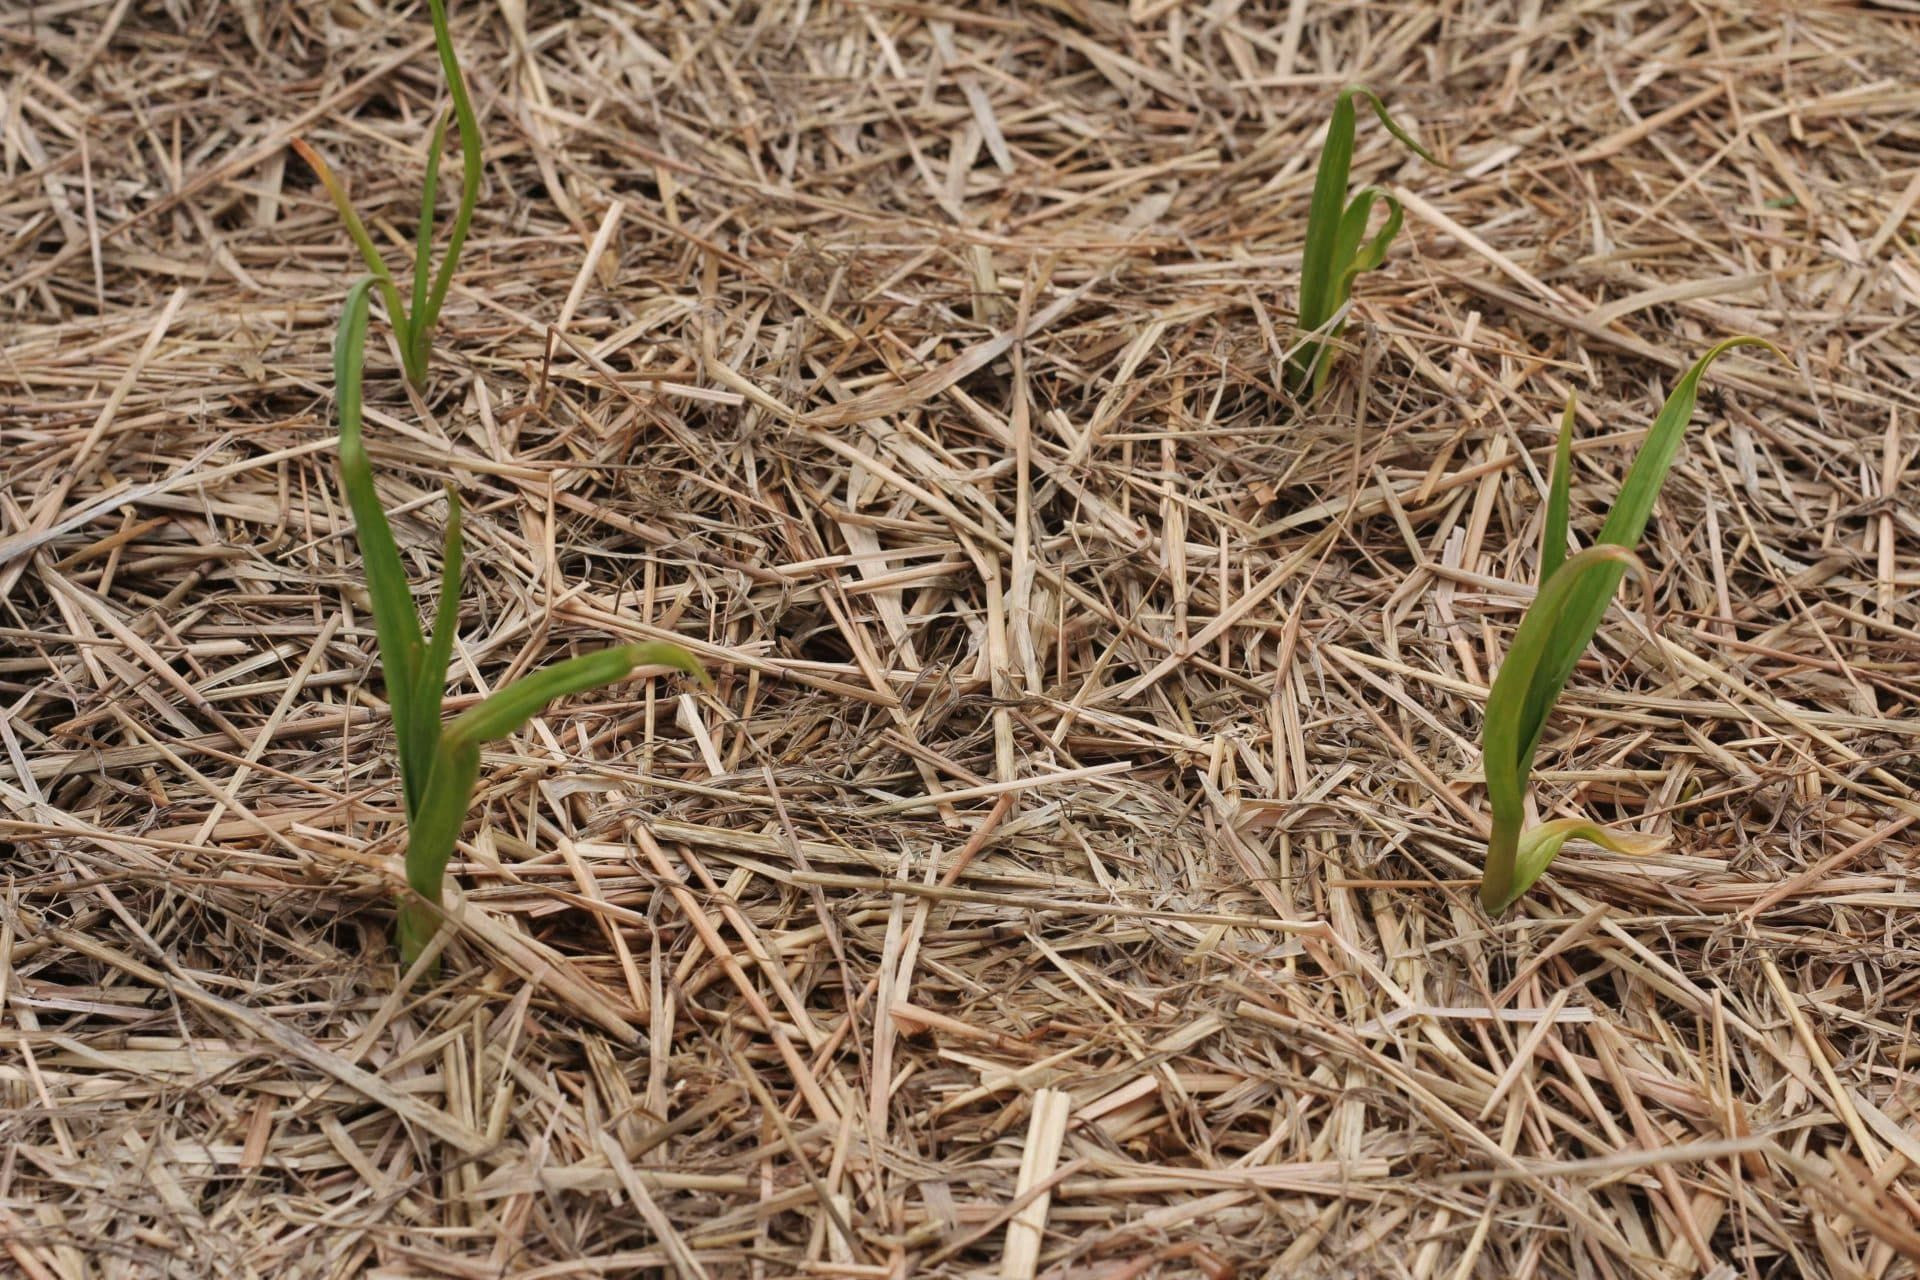
Mulching the plant is an important thing to do after planting. Mulch materials will protect your plant from dehydration and prevent damages from bad insects. The first thing to consider is the mulch is clean from any fungus and infected part. Spread an organic mulch such as straw, pine straw, wooden chips, compost, shredded leaves, etc on the surface of the soil around the garlic plants. You can collect this organic mulch for free.

  • How to Water the Garlic Plants

How to Water the Garlic Plants

Watering the garlic every day in the early morning or evening. Like other plants, garlic needs more water during the early growing season. You can reduce the amount of water for the next six weeks after planting. This step is important to prevent rotten roots. Since it can grow in a pot, the soil should drain quickly to avoid soggy soil.

  • The Best Fertilizer for Garlic

The Best Fertilizer for Garlic

Give fertilizer for garlic at least every two weeks. We recommend you to use compost or NPK with a ratio of 10-10-10. Mix them thoroughly into the soil. This fertilizer is the food for your garlic crops. Another choice to fertilize your garlic is an organic blood meal. Moreover, the organic mulch on soil is useful to feed your garlic too. Let them decay slowly as the growing process goes on. They prevent weeds to attack your garlic crops.

  • The Sign of Mature Plant and How to Harvest

The Sign of Mature Plant and How to Harvest

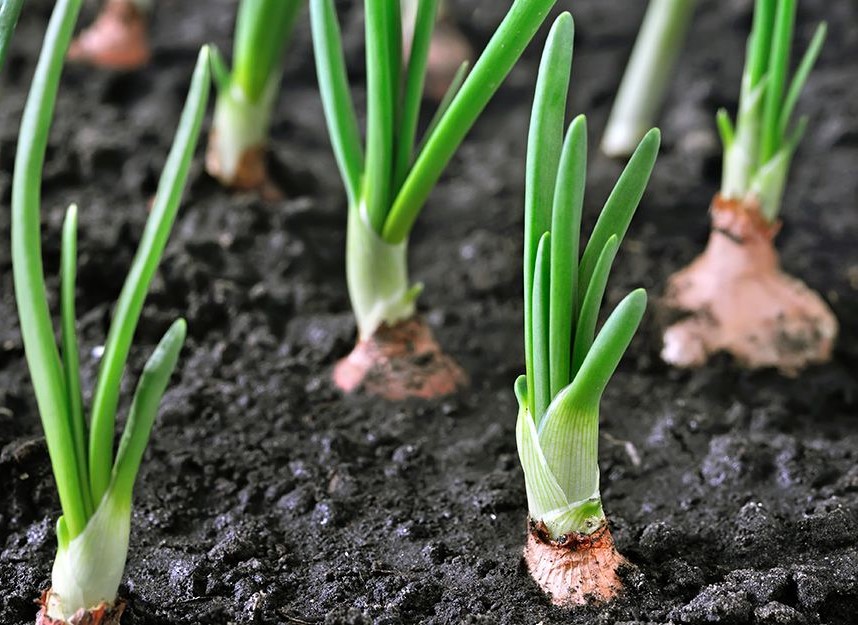
Observe your garlic crops every day to know their growing process. You can add some growing lists to your book note. Normally, the mature garlic sprouts long green leaves. If their leaves turning yellow with dry and brown spotted, it means ready to harvest. Garlic needs 3 to 4 months to mature after transplanting into soil. Harvest them before they become sour. Usually, you will get 5 cloves for every garlic bulb.

Conclusion

Thus our discussion of Easy Ways to Grow Garlic from Its Scraps in Your Home. The simple steps to growing garlic can start by germinating one garlic bulb. Every bulb at least consists of 5 cloves. Some garlic species are easy to grow in a pot. They will not consume lots of space. This step is beneficial for you to get free recipes to store in your kitchen. Look at how garlic can regrow from its scrap! May this short guide is helpful for you. Explore your garden and happy gardening!